88192277-01-19 - Micron Technical Reference V9 Volume 4.pdf - 第55页
STINGER REPLACEMENT PROCEDURES Chapter Issue 4, Nov 19 Technical Reference Manual 38.13 REPLACEMENT PROCE DURES W ARNING BOARD CLAMPS. EXTREME CA RE MUST BE EXERCIS ED WHEN WORKING IN THE TOOLING AREA OF THE MACHINE TO A…
38.12 Technical Reference Manual Chapter Issue 4, Nov 19
STINGER
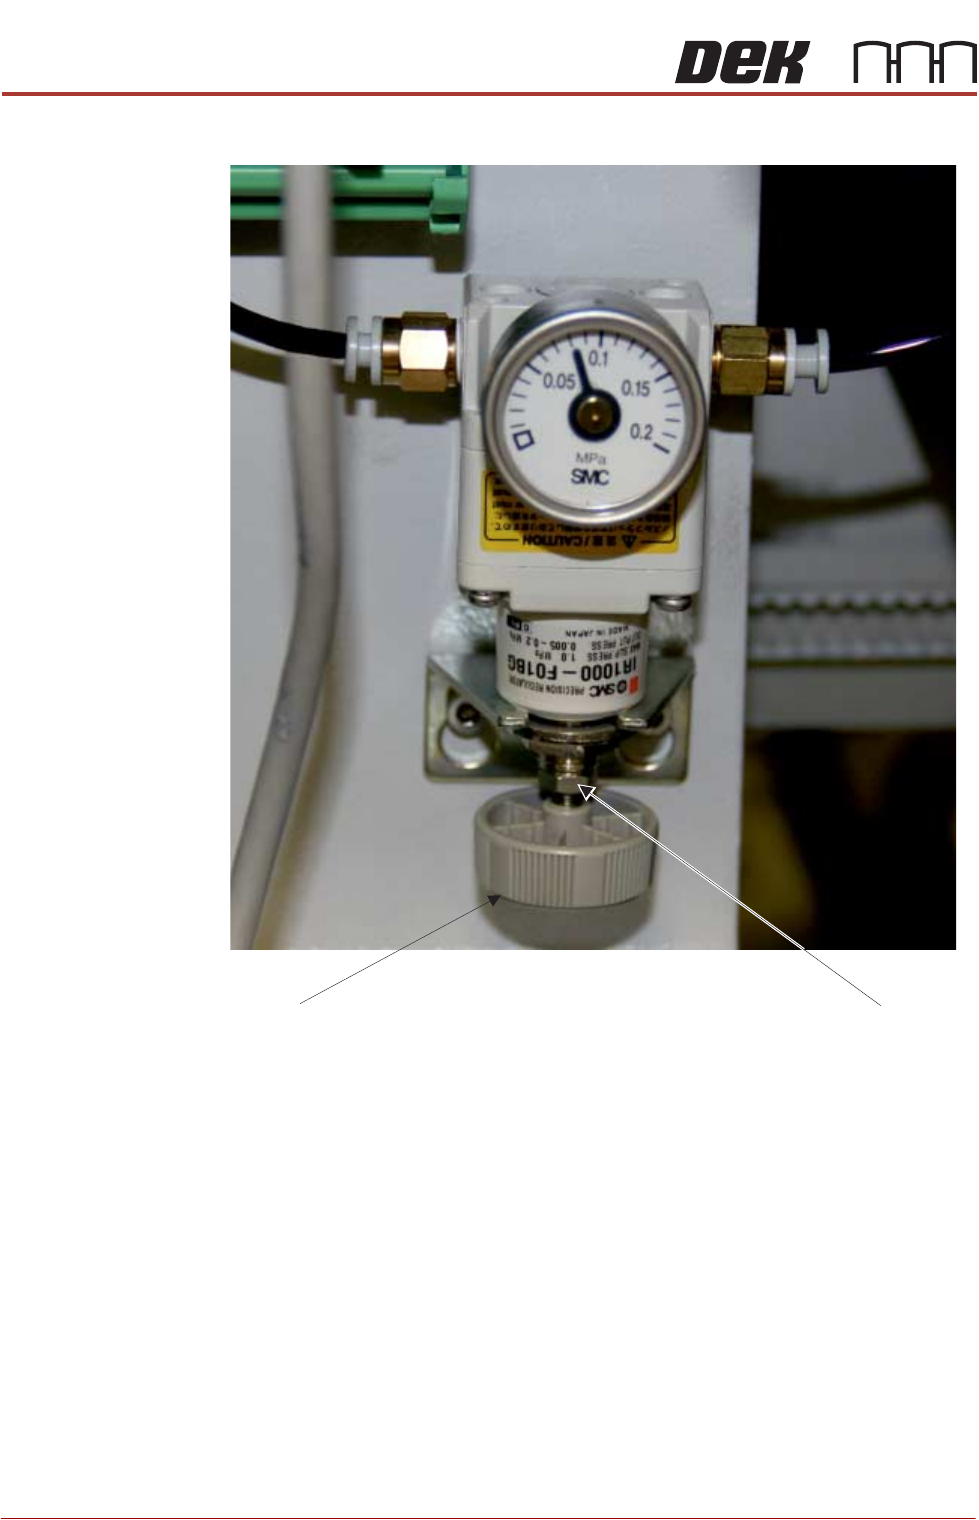
ADJUSTMENTS AND SETTINGS
require adjustment.
3. If adjustment is required, using a 8mm open-ended spanner release the lock
nut.
4. Turn the adjuster on the bottom of the regulator to increase or to decrease
the pressure until the reading is set to 0.8 Bar (0.08MPa).
5. Tighten the lock nut.
6. Refit the printer’s rear cover.
Lock nut
Adjuster
STINGER
REPLACEMENT PROCEDURES
Chapter Issue 4, Nov 19 Technical Reference Manual 38.13
REPLACEMENT PROCEDURES
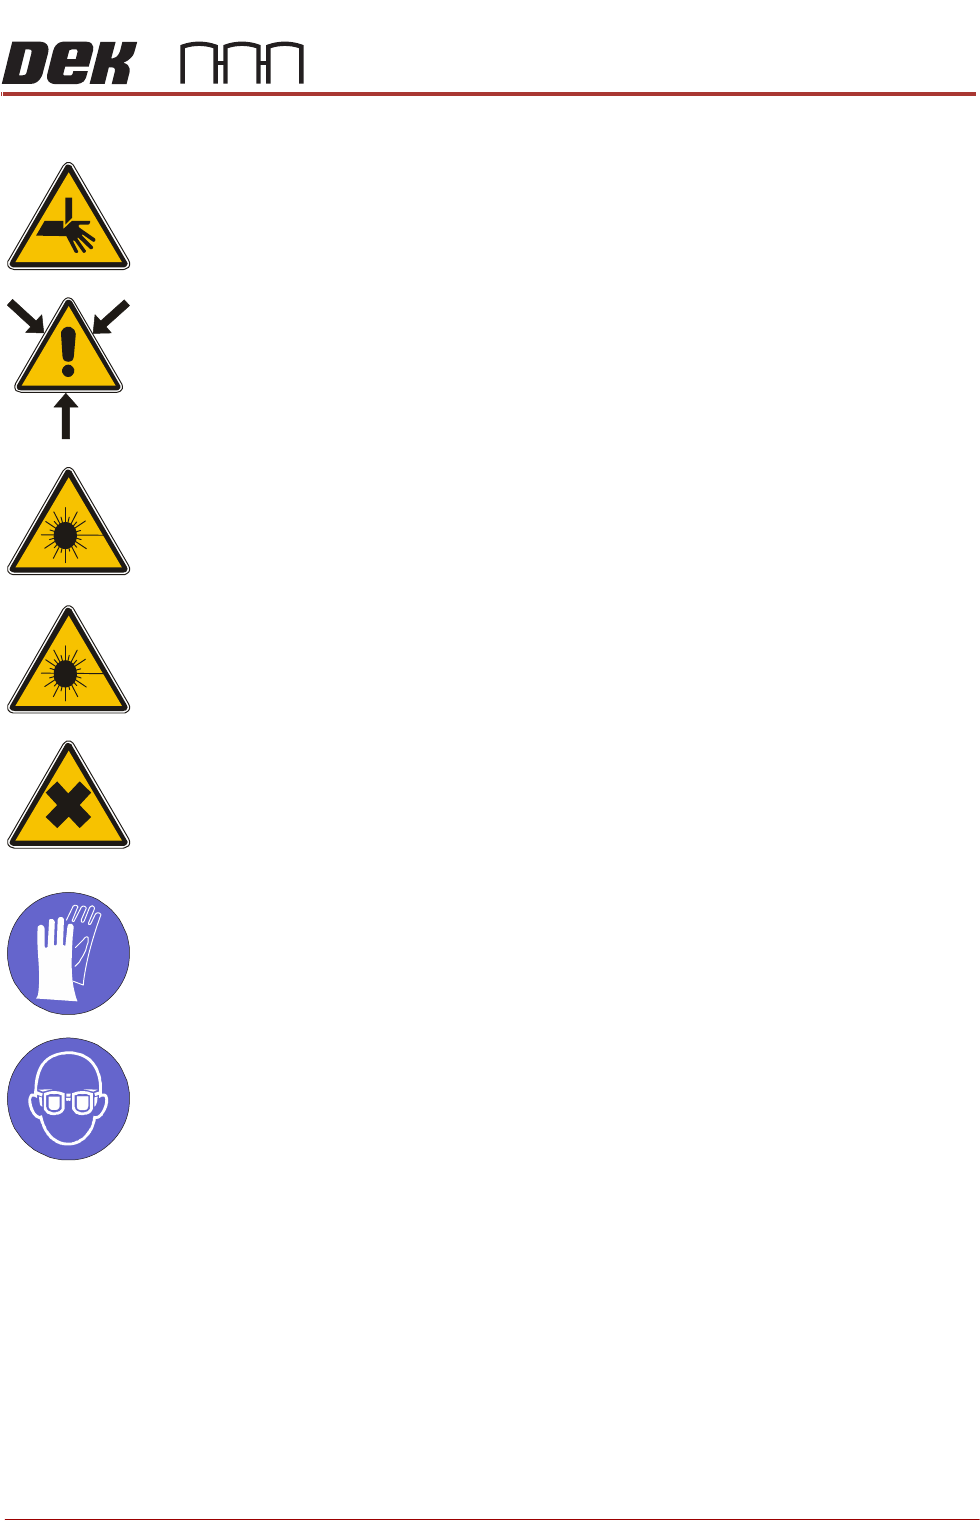
WARNING
BOARD CLAMPS. EXTREME CARE MUST BE EXERCISED WHEN WORKING IN
THE TOOLING AREA OF THE MACHINE TO AVOID INJURY. THE FOILS ON THE
FRONT AND REAR BOARD CLAMPS ARE VERY SHARP.
WARNING
COMPRESSED AIR. COMPRESSED AIR SHOULD NEVER IMPINGE UPON THE
BODY. PORTS, PIPES, ETC MUST NEVER BE BLOCKED BY HAND. BEFORE
CONNECTING OR DISCONNECTING ANY PNEUMATIC COMPONENTS, ENSURE
THE COMPRESSED AIR SUPPLY HAS BEEN DISSIPATED AND DISCONNECTED
FROM THE MACHINE.
CAUTION
EQUIPMENT SERVICING. THE LASER DOES NOT CONTAIN USER
SERVICEABLE PARTS. OPENING THE UNIT COULD CAUSE MIS-ALIGNMENT OF
THE LASER, THIS MAY MAKE THE EQUIPMENT DANGEROUS TO OPERATE.
CAUTION
RADIATION. RISK OF INJURY TO THE EYES DUE TO LASER LIGHT BEING
PRESENT IN THE VICINITY OF THE LABEL. DO NOT LOOK AT THE LIGHT
SOURCE OR REFLECTIONS FROM A SURFACE.
WARNING
HARMFUL SUBSTANCES. CLEANING WIPES AND CLEANING SOLUTIONS MAY
CONTAIN SUBSTANCES HAZARDOUS TO HEALTH. WHEN USING CLEANING
WIPES AND CLEANING SOLUTIONS THE MANUFACTURERS’ SAFETY DATA
SHEETS MUST BE STRICTLY ADHERED TO.
MANDATORY
TOXIC CHEMICALS MAY BE PRESENT. SAFETY GLOVES MUST BE WORN.
MANDATORY
TOXIC CHEMICALS MAY BE PRESENT. EYE PROTECTION MUST BE WORN.
Replacing the
Purge Pot Wiper
Pad; Removing the
Waste Container
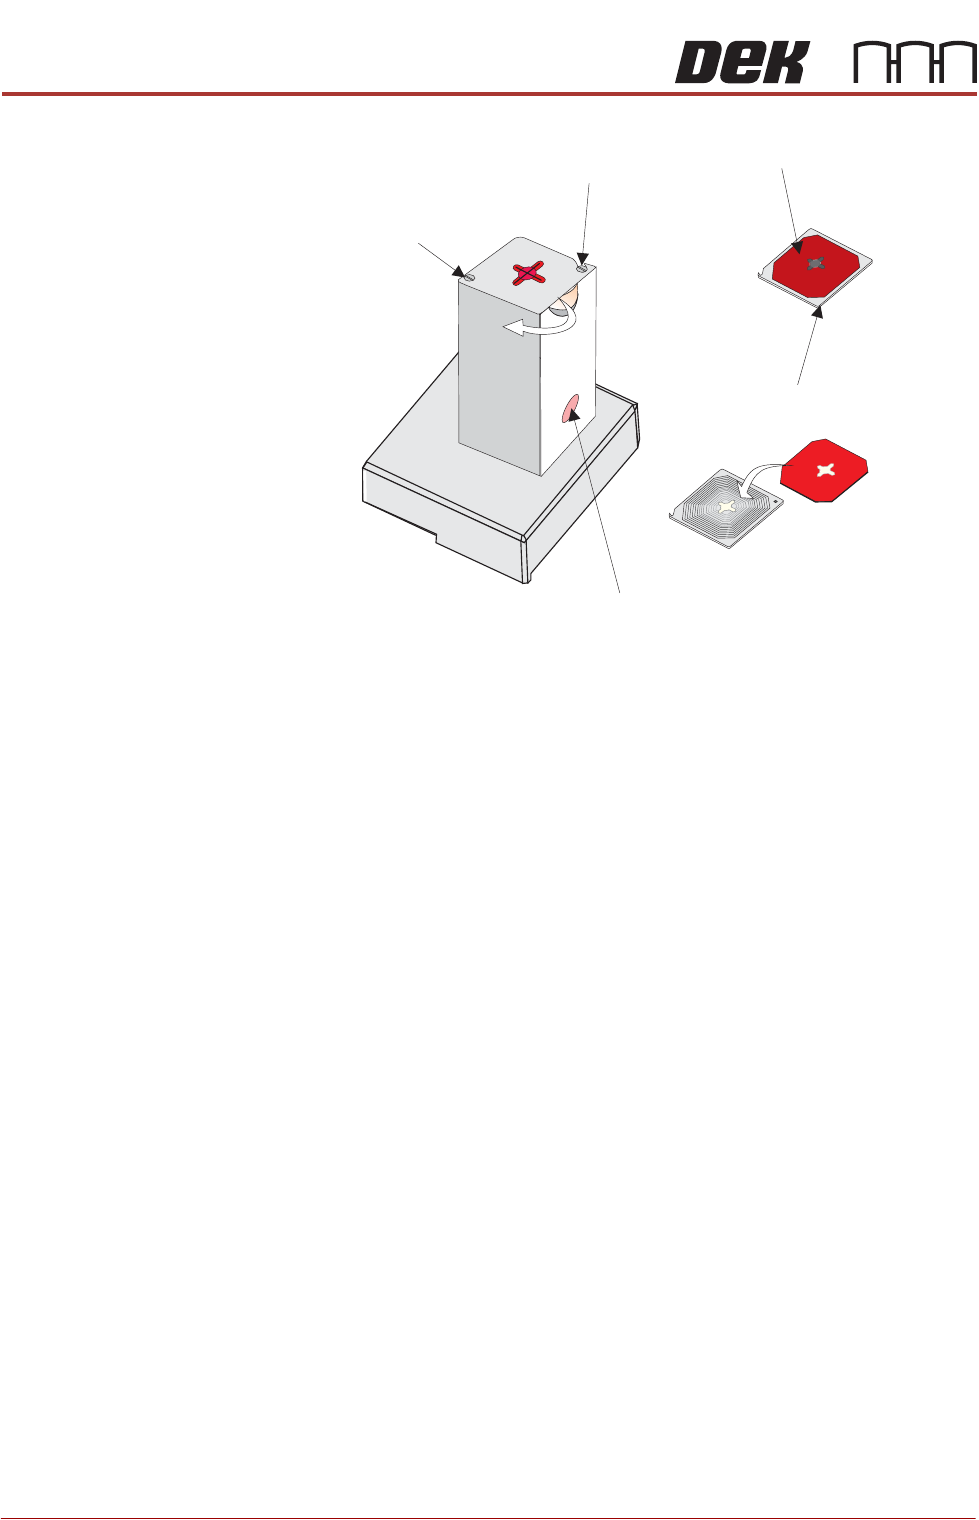
The lid is fixed with two captive shoulder screws, when in the locked position it
engages a hook mechanism. Underneath the lid there are two ball bearings that
engage a dimple in the lid to provide the lock. The lid can be opened by
38.14 Technical Reference Manual Chapter Issue 4, Nov 19
STINGER
REPLACEMENT PROCEDURES
swivelling it as shown by the arrow in the graphic.
1. Swivel the lid in the rotate direction shown, inwards away from the board
clamps.
2. The waste container can now be removed, emptied, cleaned and replaced.
3. Remove the used wiper pad and replace with new.
4. Rotate the lid and wiper assembly back into position until it locks in place.
NOTE
The unit can be fitted to either the right hand or the left hand side of the rising
table. The lid is designed such that it swivels in towards the centre of the
machine. The lid can be fitted correctly for either left hand or right hand
usage; simply fix it to the opposite screw locations to those shown, i.e. the
hook screw becomes the captive screw.
Captive Screw
Hook Screw
Waste Container
Wiper Pad
Lid
(as viewed from underside)
Replace