2OM-1104-001.pdf - 第268页
8. Half-Y early Maintenance 0106-001 Chapter 3 1 30-2 AFU01EINP Fig. 5A36-3 Cover Section Fig. 5A36-4 Cover Section Lubrication Rear Safety Door Gas Damper (Upper) Apply grease to the damper with a brush. Lubrication Rea…
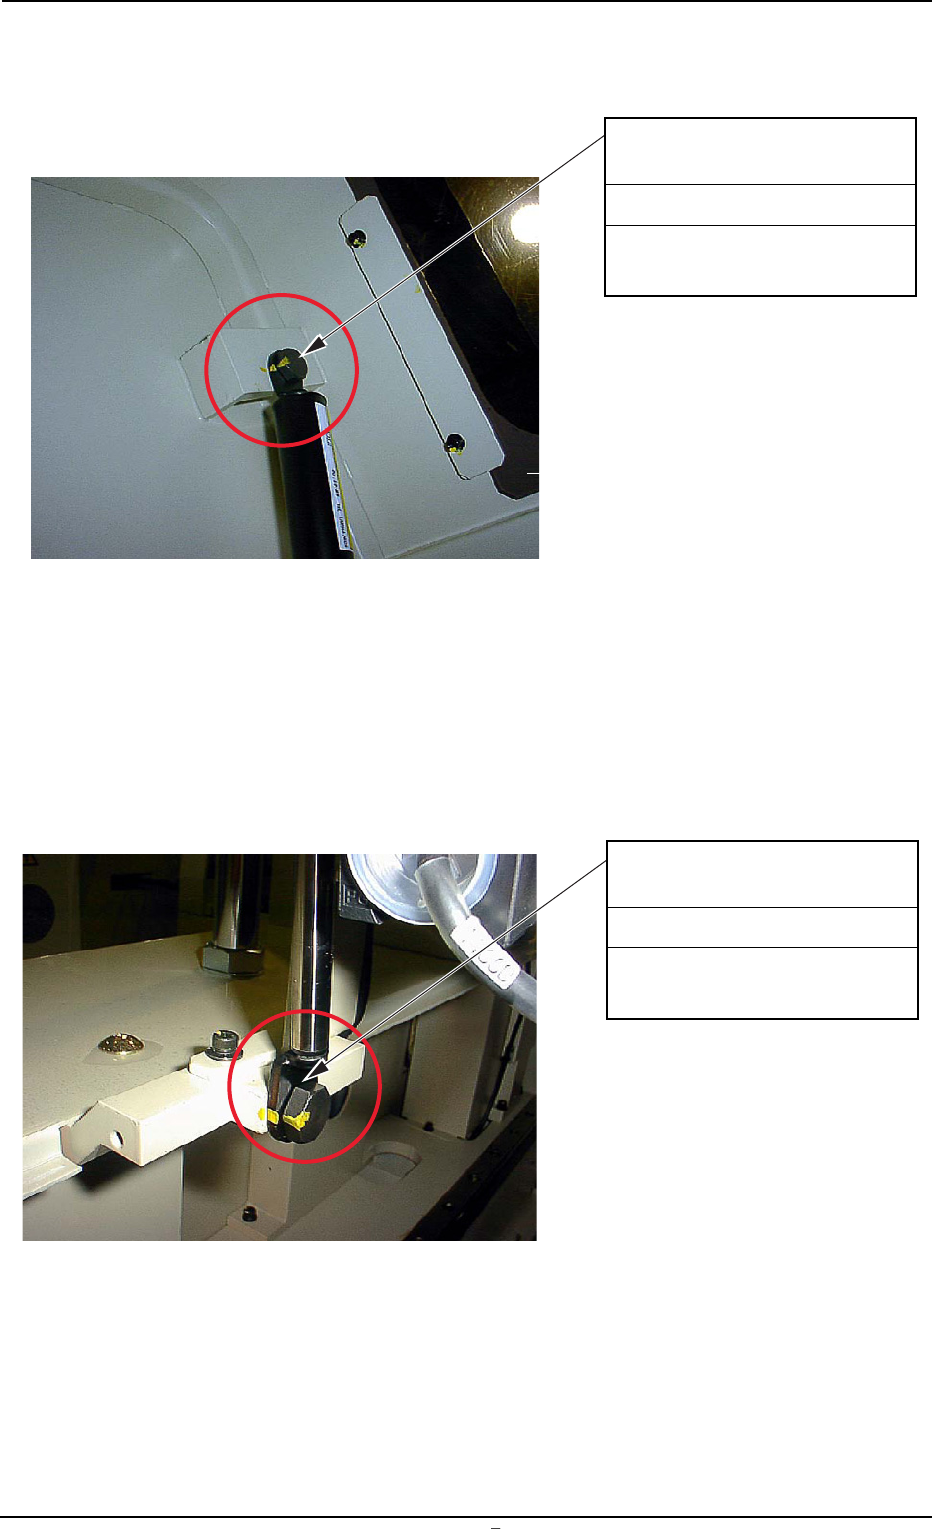
Fig. 5A36-1 Cover Section
Fig. 5A36-2 Cover Section
8. Half-Yearly Maintenance
0106-001 Chapter 3 1 30-1 AFU01EINP
Lubrication
Front Safety Door Gas
Damper (Upper)
Apply grease to the damper
with a brush.
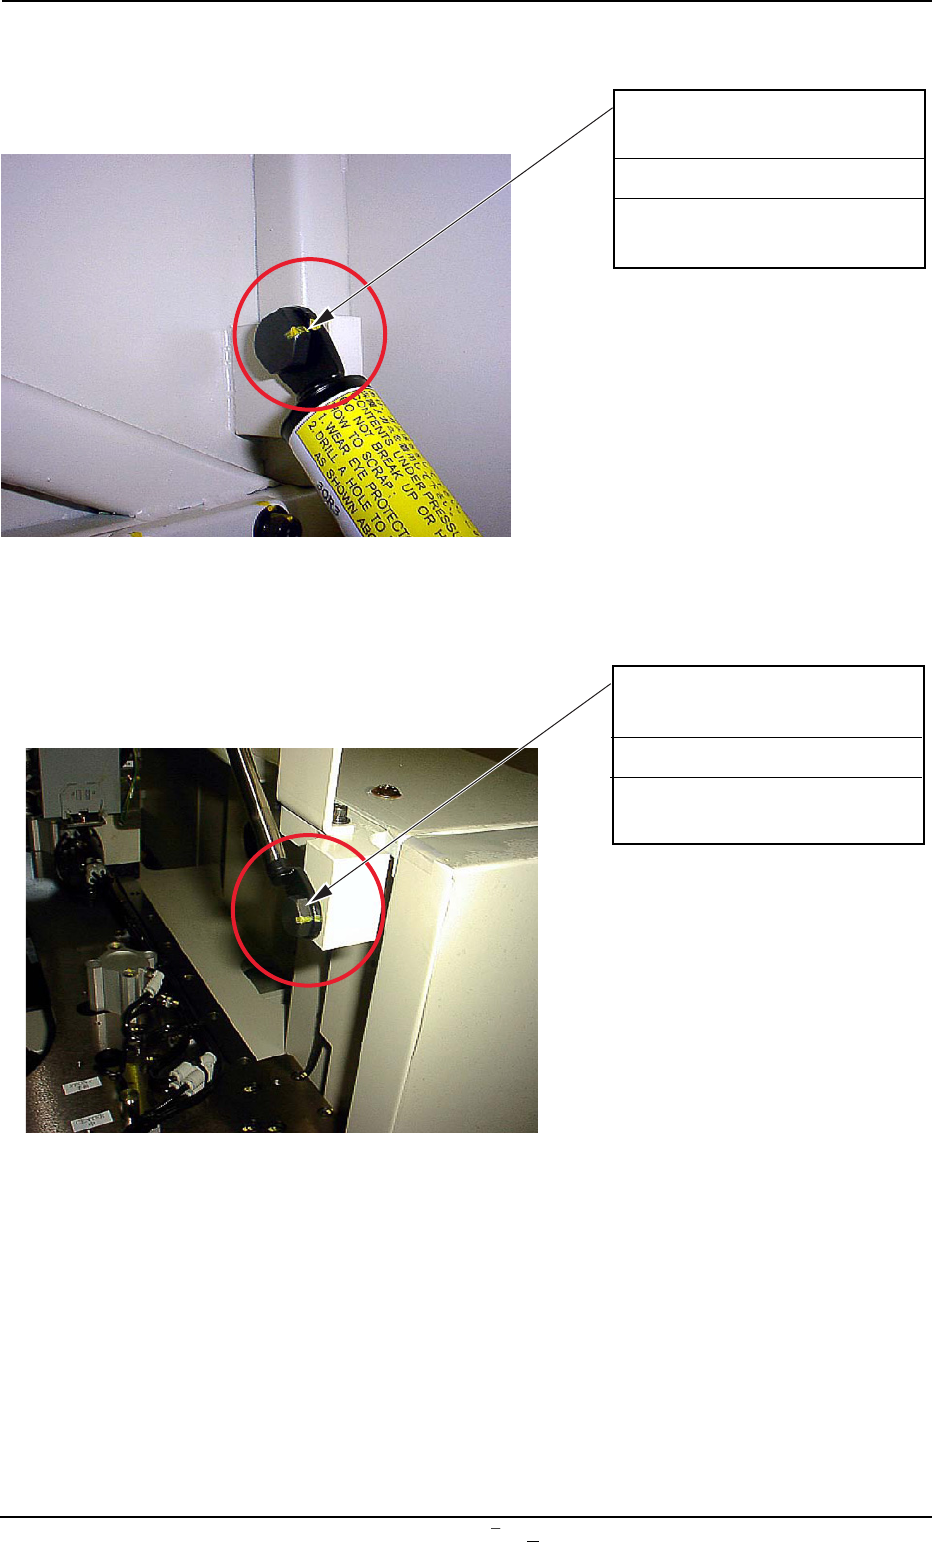
Lubrication
Front Safety Door Gas
Damper (Lower)
Apply grease to the damper
with a brush.
8. Half-Yearly Maintenance
0106-001 Chapter 3 1 30-2 AFU01EINP
Fig. 5A36-3 Cover Section
Fig. 5A36-4 Cover Section
Lubrication
Rear Safety Door Gas
Damper (Upper)
Apply grease to the damper
with a brush.
Lubrication
Rear Safety Door Gas
Damper (Lower)
Apply grease to the damper
with a brush.
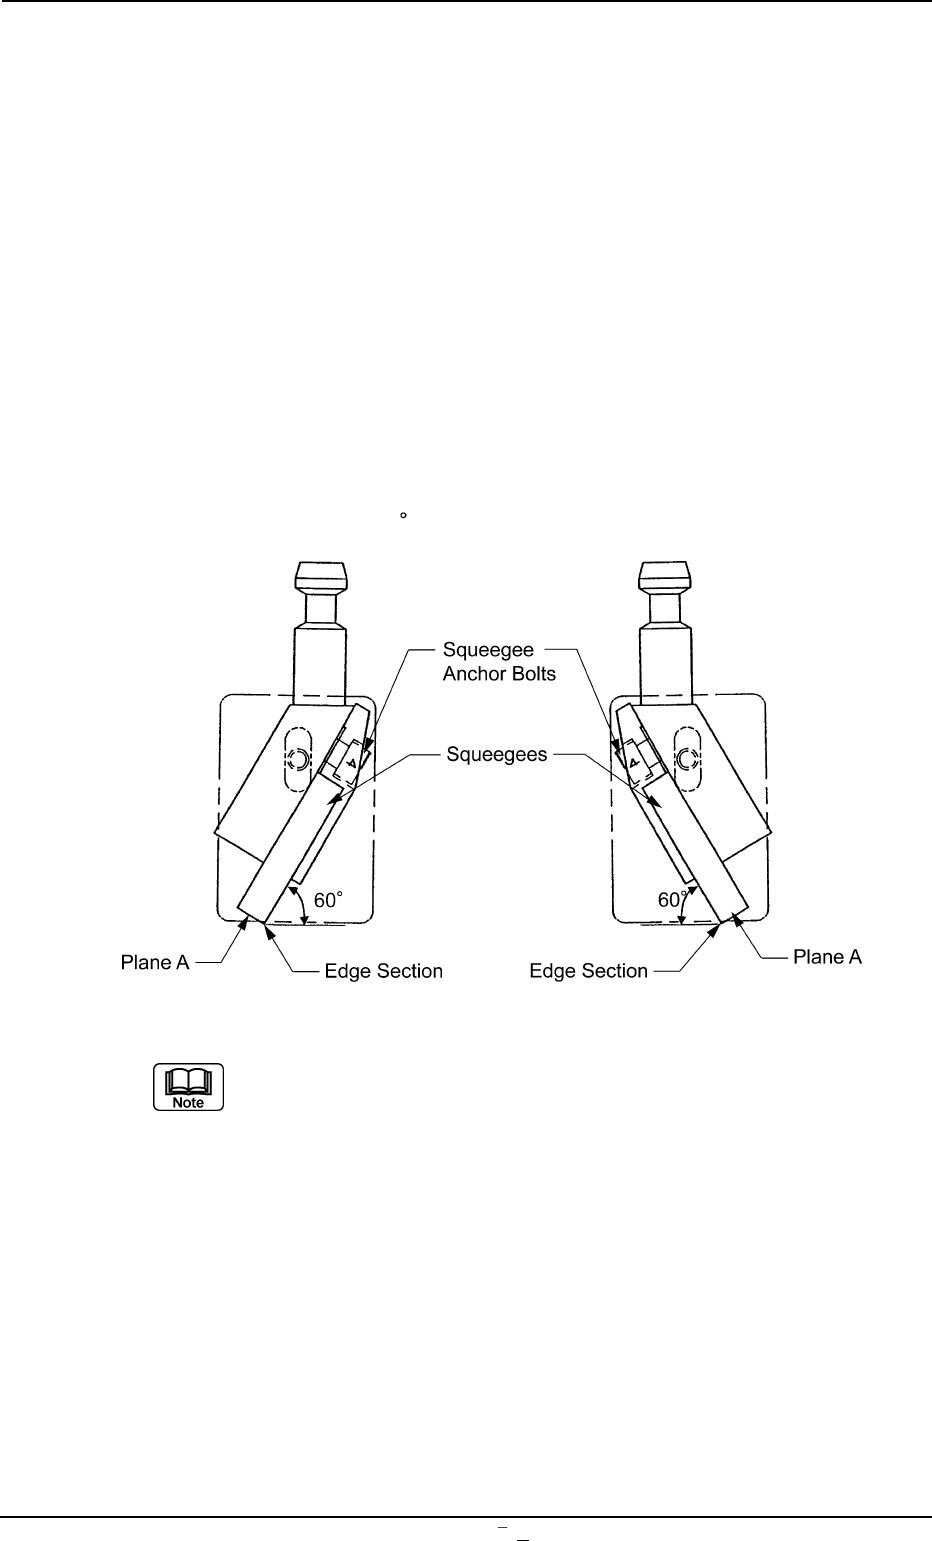
9. Replacement of Consumables and Adjustment
9.1 Replacement of Squeegees
When the squeegee edge is worn out or deformed by solvent, etc.,
replace the squeegee with a new one to avoid any hindrance in printing.
• Loosen the squeegee anchor bolt and detach the squeegee.
• Attach a new squeegee as shown in Fig. 5A37 and tighten the an-
chor bolt. At this time, be sure to push Plane A of the squeegee
against the flat surface such as a surface plate and tighten the bolt
evenly without any warpage.
• After tightening the bolt, put the edge against a flat surface to con-
firm that straightness is secured without any clearance.
The confirmation should be made with the squeegee pushed against
the surface plate at 60
(fixed).
Fig. 5A37
It is advisable that plane A should be polished with the squee-
gee being mounted to secure the straightness of the squee-
gee for good printing.
Especially, it is effective to print fine-pitched patterns and keep
the coating of the printed patterns in accurate shape.
0106-003 Chapter 3 1 31 AFU01EINP
9. Replacement of Consumables and Adjustment