2OM-1104-001.pdf - 第283页
(12) Mount the take-up roller by turning the knob counterclockwise while supporting the take-up roller such that the notch of the left adapter is engaged with the pin of the left flange on the cleaning unit. Fig. 5A49 Mo…
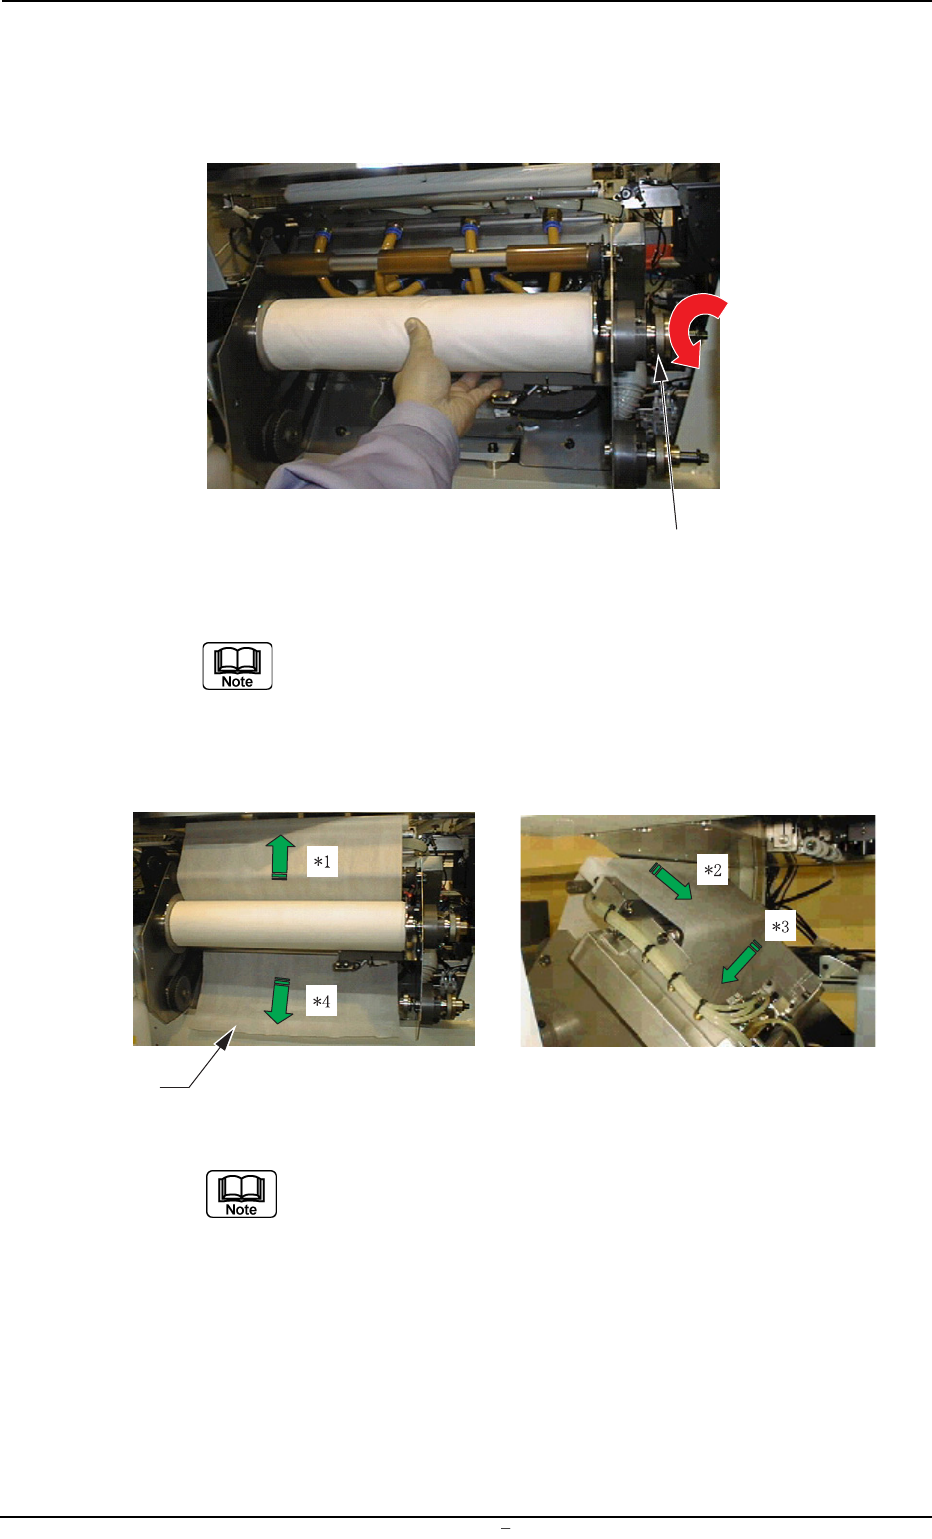
(10) Mount the supply roller by turning the knob counterclockwise while
supporting the new supply roller such that the notch of the left
adapter is engaged with the pin of the left flange on the cleaning
unit.
Fig. 5A47
Mount the roller while tilting the right side up because the
right adapter easily falls off from the roller shaft.
(11) Insert the end of the cleaning paper and follow the steps *1 through
*4 to thread it.
Fig. 5A48
Note the rolling direction of the paper.
12. Replacement of Cleaning Paper (How to change the cleaning paper width)
0009-002 Chapter 3 1 38 AFU01EINP
Knob
Paper End
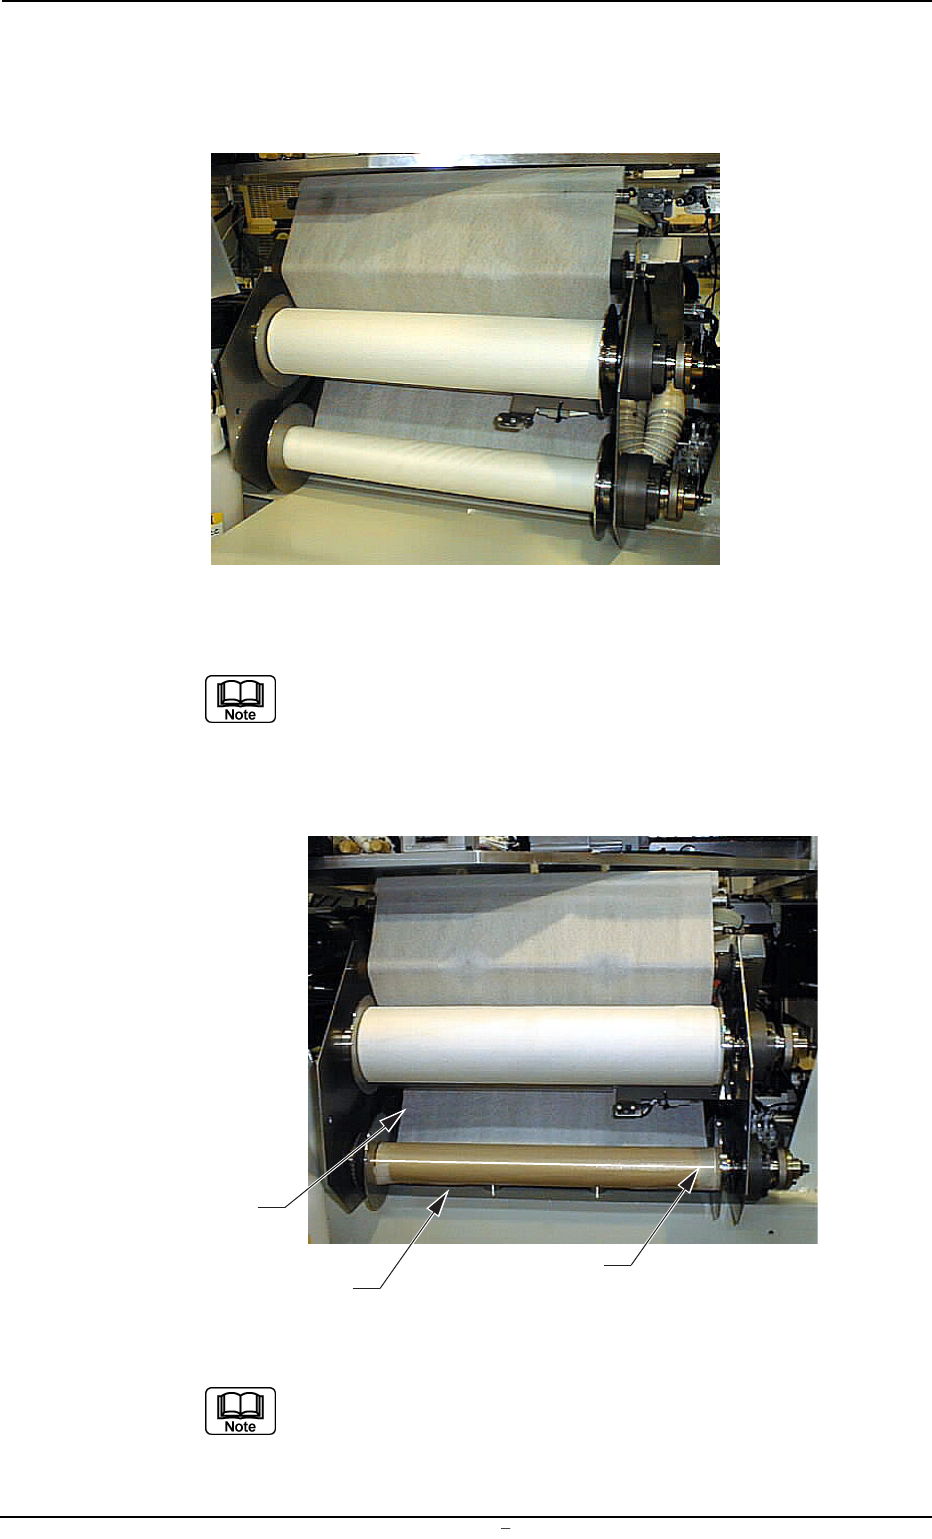
(12) Mount the take-up roller by turning the knob counterclockwise while
supporting the take-up roller such that the notch of the left adapter
is engaged with the pin of the left flange on the cleaning unit.
Fig. 5A49
Mount the take-up roller while tilting the right side up be-
cause the right adapter easily falls off from the roller shaft.
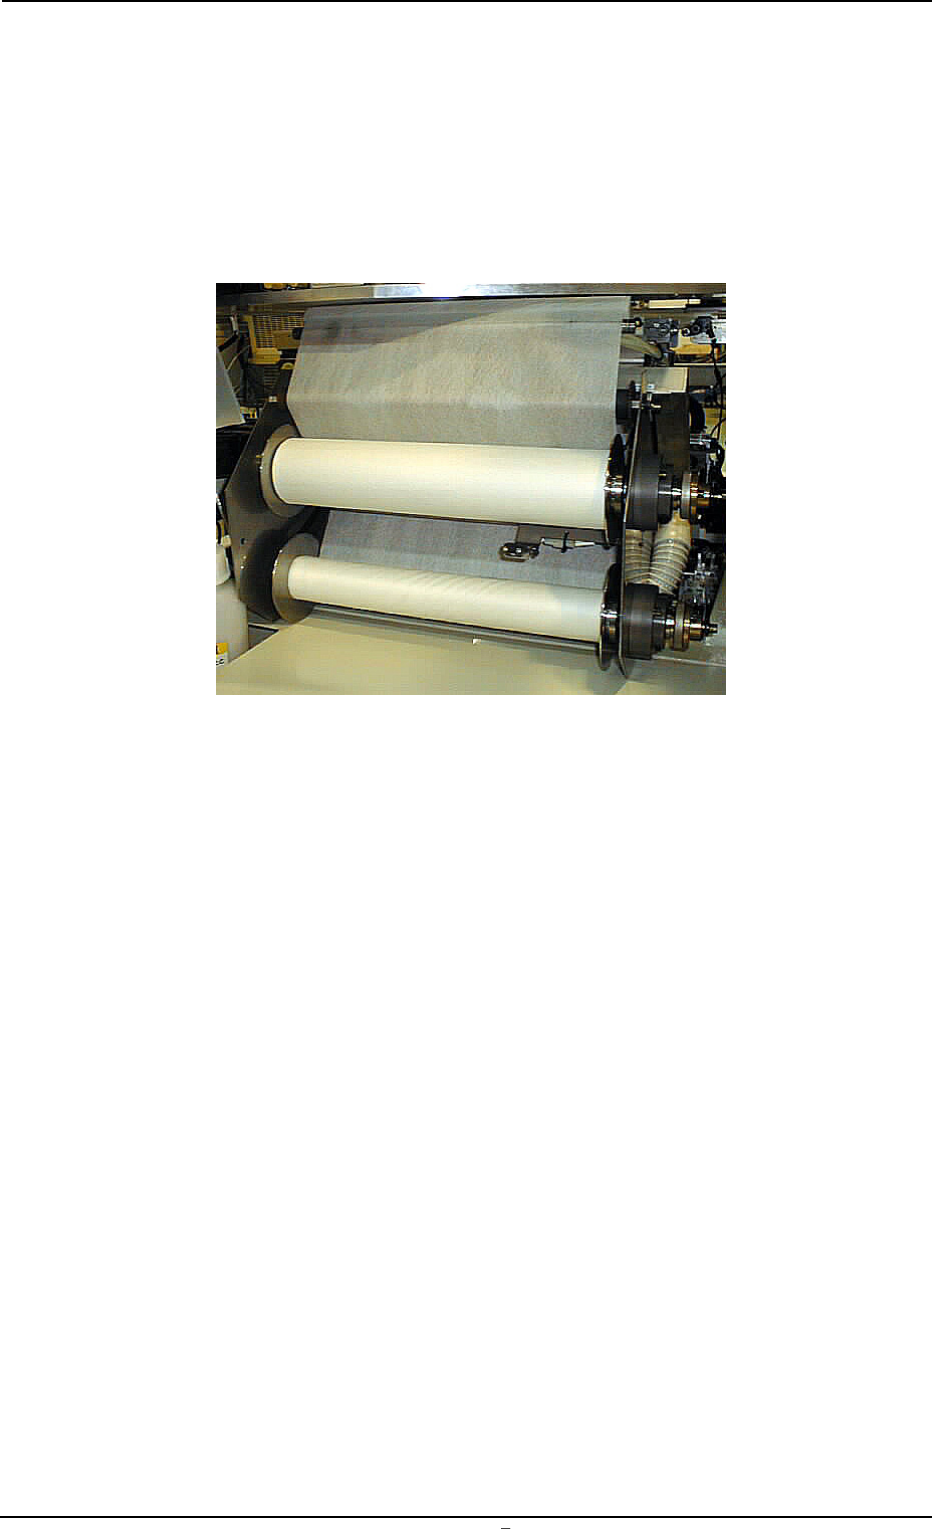
(13) Fasten the paper end securely to the take-up roller shaft with a
gummed cloth tape, etc.
Fig. 5A50
Fasten the paper such that the edges become perpen-
dicular to the roller shaft to equalize the uneven pull of the
paper (to avoid forming a spiral pattern).
0009-002 Chapter 3 1 39 AFU01EINP
12. Replacement of Cleaning Paper (How to change the cleaning paper width)
Roller Shaft
Gummed Cloth Tape, etc.
Paper Edge
(14) Turn the knob of the take-up roller clockwise to unlock the roller
free.
(15) Rotate the take-up roller by hand to wrap two or three turns of
paper around it.
(16) Turn the knob of the take-up roller counterclockwise to lock the
roller.
Fig. 5A51
0009-002 Chapter 3 1 40 AFU01EINP
12. Replacement of Cleaning Paper (How to change the cleaning paper width)