00191413-01.pdf - 第86页
3 Desktop (Root W indow) User Manual Line Computer UNIX 3.2 Desktop User Interface Software Version 501.xx 01/99 Issue 3 - 16 ● Close the File Dis play ma in win dow by se lecting t he FILE --> Quit menu opti on. ● Cl…
User Manual Line Computer UNIX 3 Desktop (Root Window)
Software Version 501.xx 01/99 Issue 3.2 Desktop User Interface
3 - 15
NOTE
Package forms are considered to be similar if they are of the same package form type (PDC, FDC or
BGA) and, in addition, if the following criteria are met:
- PDC / FDC / BGA same length and width of the component, including the tolerance
- FDC / BGA same number of pins or "balls"
- FDC / BGA same number of lead or ball models
Procedure:
● Insert the diskette containing the new GF library into the floppy drive.
● If required, activate/deactivate the appropriate buttons in the settings area of the dialog window.
● Click on OK.
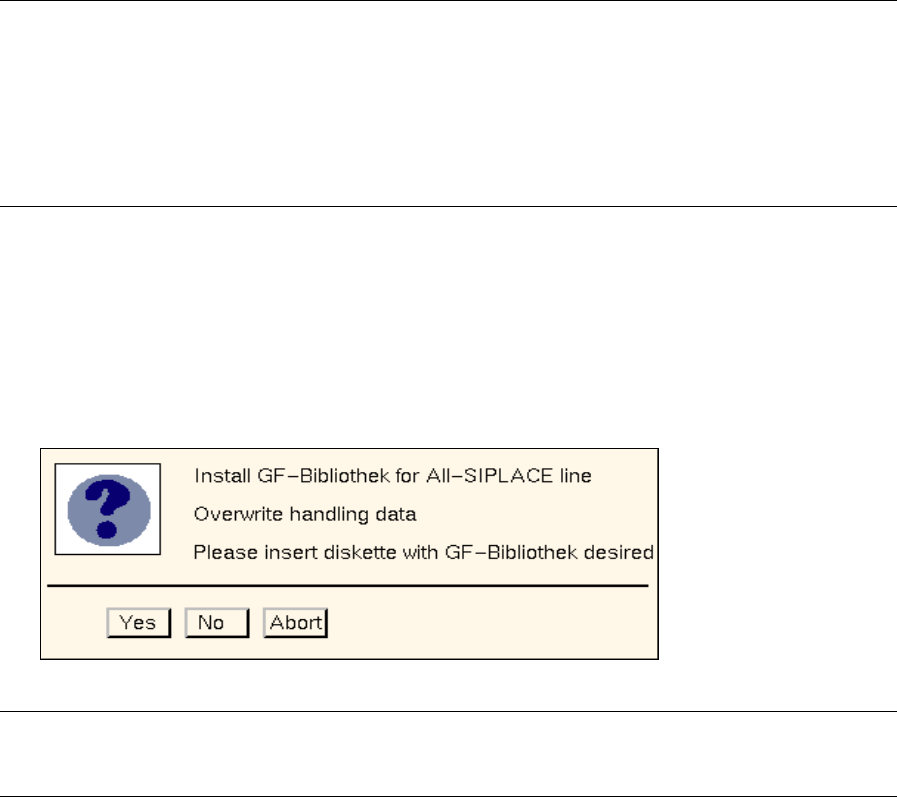
The following dialog box opens.
NOTE
The texts displayed in the dialog box vary according to the selected settings.
● Click on No or Abort if there are still settings to be changed.
● Click on Yes if the installation process is to be started based on the settings displayed. A
message is displayed in the dialog box informing you that the diskette is being read.
● Click on Abort when a message is displayed in the dialog box informing you that the GF library
has been installed.
The dialog box closes.
Use the Report button in the dialog box to obtain a display of the installation results and of any similarity
comparison that may have been performed.
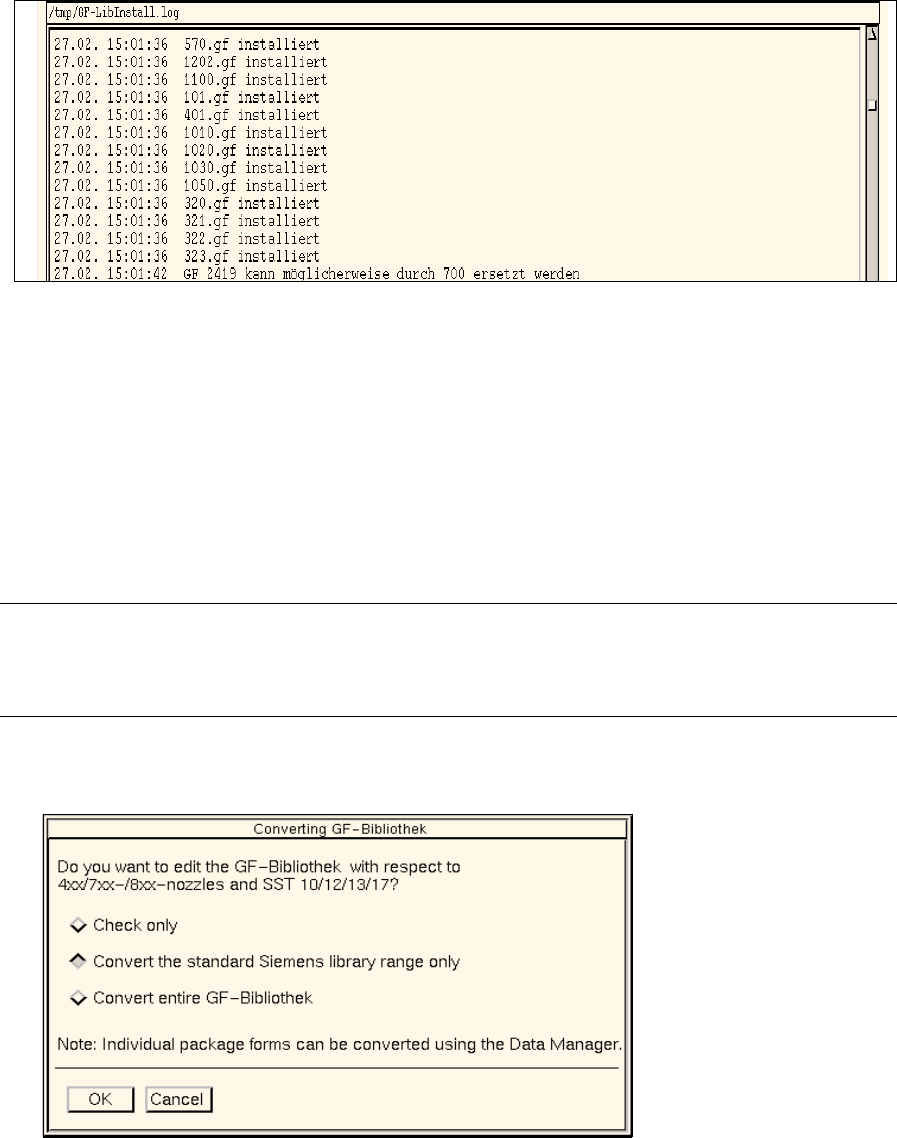
● Click on Report in the dialog box.
The File Display main window opens. The contents of the "GF_LibInstall.log" log file are dis-
played in the view area.
3 Desktop (Root Window) User Manual Line Computer UNIX
3.2 Desktop User Interface Software Version 501.xx 01/99 Issue
3 - 16
● Close the File Display main window by selecting the FILE --> Quit menu option.
● Click on Cancel in the dialog box.
The dialog box closes.
● Remove the diskette from the floppy drive.
- Conversion of GF-Bibliothek (Package Form Library)
This menu option serves to either check the entire GF-Bibliothek for any entries that may have to be
changed, or to supplement the standard SIEMENS library range and/or the entire GF-Bibliothek by
adding the entries for the standard configurations of nozzle and sensor system types.
NOTE
Individual GF-files can be converted with the aid of the Data Manager (see chapt. 4,
section 4.3.4.5)
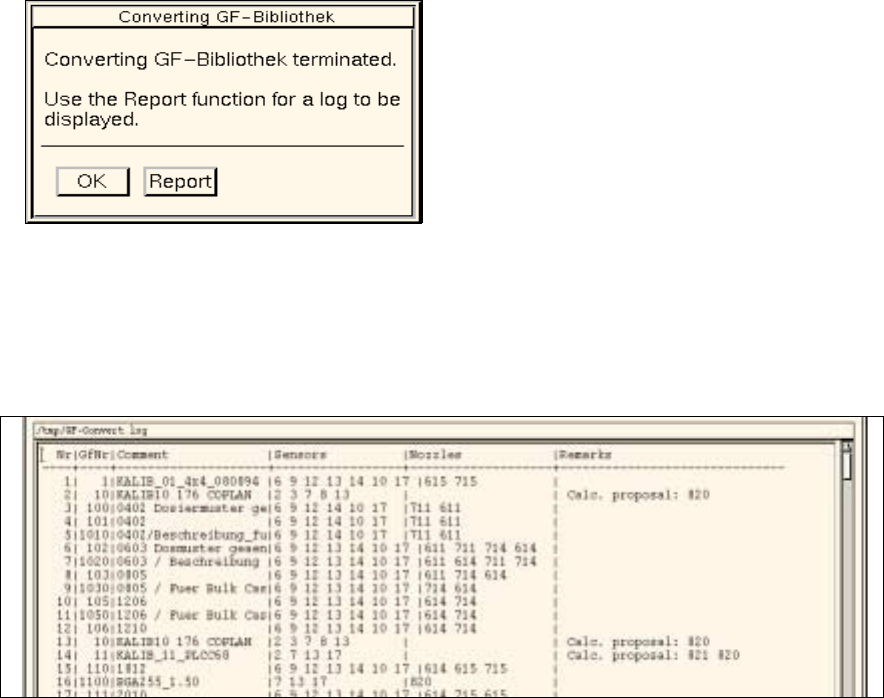
● Click on OPTIONS --> GF-Handling --> Convert GF-Bibliothek.
The dialog box shown below opens.
Selection Options
- Check only
This option serves to check the entire GF-Bibliothek. During this check it is determined which entries
relating to standard configurations of nozzle and sensor system types have to be changed in the
respective GF-files.
The result of the check is entered in the "GF-Convert.log" file and can be viewed using the file display
function (see page 3 - 17).
User Manual Line Computer UNIX 3 Desktop (Root Window)
Software Version 501.xx 01/99 Issue 3.2 Desktop User Interface
3 - 17
- Convert the standard Siemens library range only
The standard configurations of nozzle and sensor system types that may still be missing will be
entered in all GF-files contained in the GF-Bibliothek within the range from 1 through 1499.
- Convert entire GF-Bibliothek
The standard configurations of nozzle and sensor system types that may still be missing will be
entered in all GF-files contained in the GF-Bibliothek.
Procedure:
● Click on the button associated with the desired option.
● Click on OK.
The checking process or conversion, respectively, starts.
When the action has been completed, the following dialog box is displayed.
Use the Report button if you wish to view the result of the check or conversion.
● Click on Report in the dialog box.
The main window of the File Display function opens. The contents of the "GF-Convert.log" log file
are displayed in the view area.
● Close the main window of File Display using the menu option FILE --> Exit.
● Click on OK in the dialog box.
The dialog box closes.
● Click on Cancel in the dialog window.
The dialog window closes.