FlexTRAK OH Material Handler Manual.pdf - 第68页
FlexTRAK-OH Material Handli ng System IOM Manual Installation 3-18 © 2023 Nordson C orporation c. Adjust the lens focal length to 105 mm ( Figure 3- 33 ). Figure 3-33 Adjust Len s Focal Length 2. Connect a Type C USB to …

FlexTRAK-OH Material Handling System IOM Manual Installation
© 2023 Nordson Corporation 3-17
2. Identify position of holder plate (Figure 3-29).
3. Loosen the scale plate tightening bolt (A) with hexagon wrench size ISO = 10
(Figure 3-31).
4. Move the scale ruler (B) so that magazine centering flag (C) will point to the value of
magazine’s length.
Figure 3-31 Magazine Scale Plate Adjustment
5. Tighten the scale plate tightening bolt (A) and torque to 57 lb.-in.
6. Perform Steps 1 through Step 5 above for both the loading and unloading stations.
3.7.3 Magazine Scanner Installation and/or Adjustment (Optional Feature)
Tools and Materials Needed:
• Type C USB
• DataMan software V5.7.0 CR11
To install and or adjust the magazine scanner:
1. For a new scanner, following the steps below to adjust the focus lens before performing
software configuration:
a. Loosen all screws.
b. Remove the cover and flashlight (Figure 3-32).
Figure 3-32 Remove Cover and Flashlight from Magazine Scanner
FlexTRAK-OH Material Handling System IOM Manual Installation
3-18 © 2023 Nordson Corporation
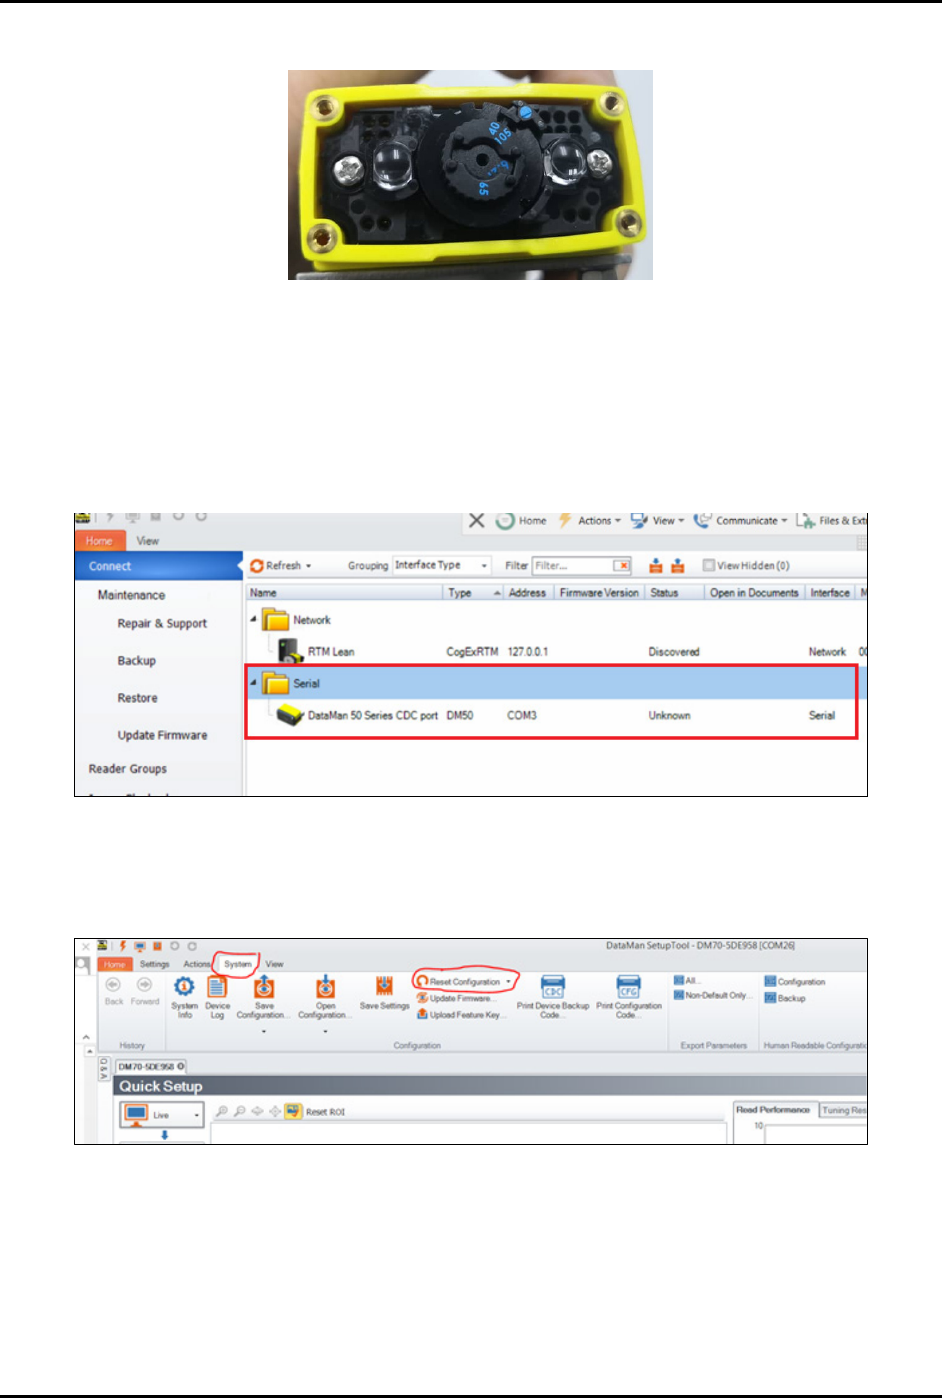
c. Adjust the lens focal length to 105 mm (Figure 3-33).
Figure 3-33 Adjust Lens Focal Length
2. Connect a Type C USB to the scanner
To configure the software:
1. Start the DataMan software.
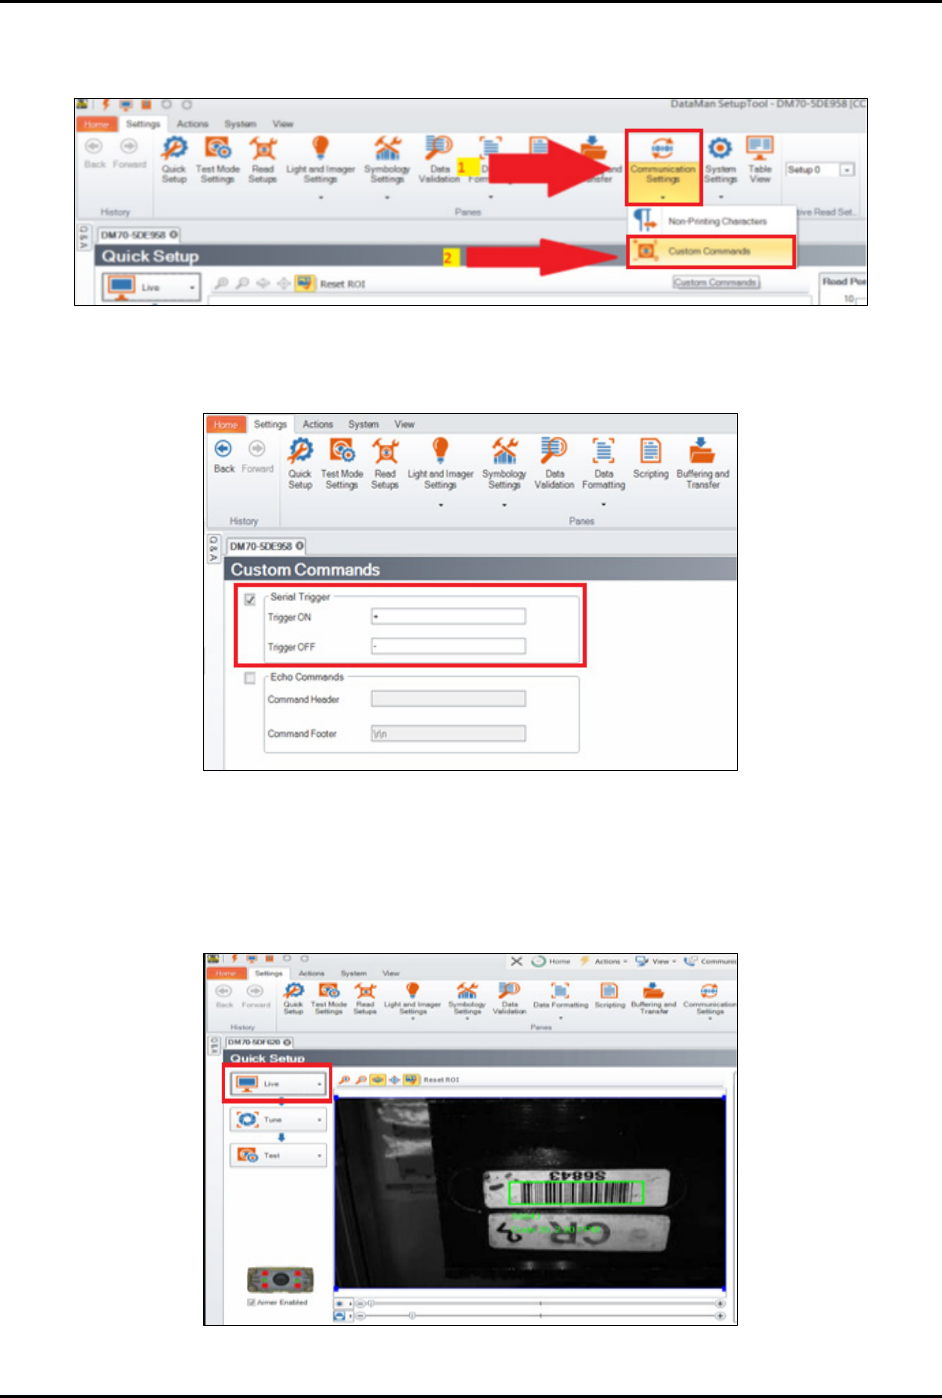
2. Click on the DataMan option to connect the scanner to the software (Figure 3-34).
Figure 3-34 Connect Software to Magazine Scanner
3. Configure the communication settings between the scanner and PLC:
a. In DataMan software, select
System > Reset Configuration (Figure 3-35).
Figure 3-35 DataMan Software – Reset Configuration
FlexTRAK-OH Material Handling System IOM Manual Installation
© 2023 Nordson Corporation 3-19
b. Select the Settings tab and then select Communication Settings > Custom
Commands
(Figure 3-36).
Figure 3-36 DataMan Software – Communication Settings
4. Enable the Serial Trigger option (Figure 3-37).
Figure 3-37 Enable Serial Trigger Option
5. Autotune the brightness.
a. Click
Live at the left panel to check the barcode position.
b. Adjust the scanner bracket to align the barcode position with the scanner (Figure 3-38).
Figure 3-38 Align Barcode with the Scanner