Programming_mail.pdf - 第187页
IV - 23 Programming Manual Part IV Option Setting 3.2 Mak e Inspection Data on BF-Editor Step1: Press New button on the tool-bar or select File > New from the menu-bar on BF-Editor. Figure 3-7 New Step2: Check Make In…
IV-22
Programming Manual
Part IV Option Setting
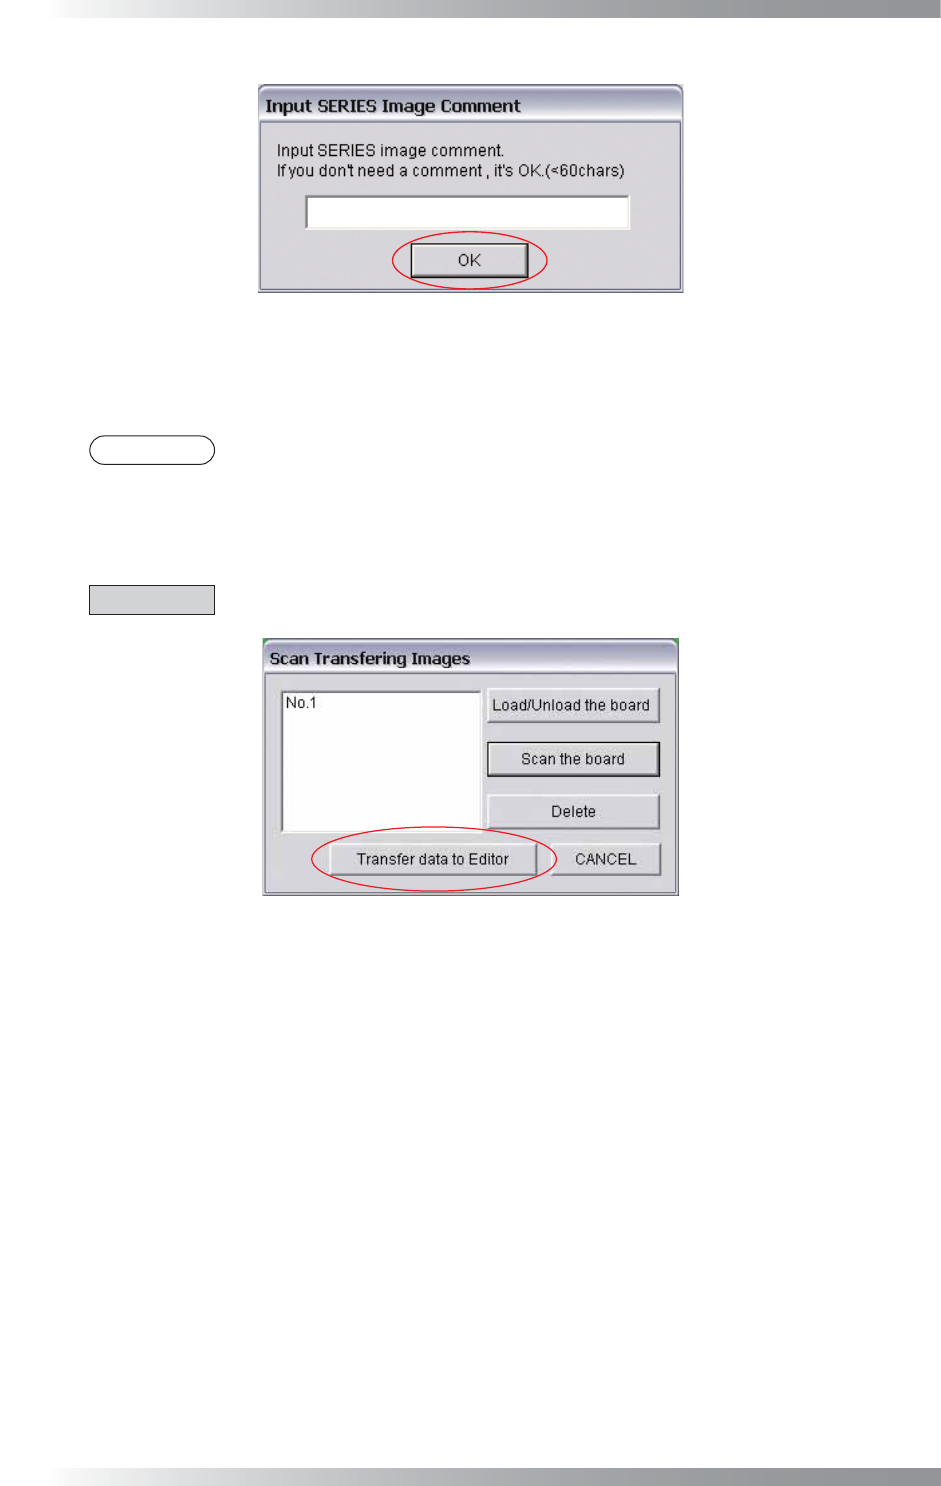
Figure 3-5 Input SERIES Image Comment
Step5: Images can be used for inspection data debugging if multiple images are saved.
Scan the necessary number of images.
NOTE
The maximum number of images can be saved is 10.
Step6: Press Transfer data to Editor to transfer images. Transferred data will be saved in Transferring
destination of BF-Editor data\TRANSDATA folder.
CAUTION
Make sure that BF-Editor is activated before pressing Transfer data to Editor.
Figure 3-6 Transfer Data to Editor
IV-23
Programming Manual
Part IV Option Setting
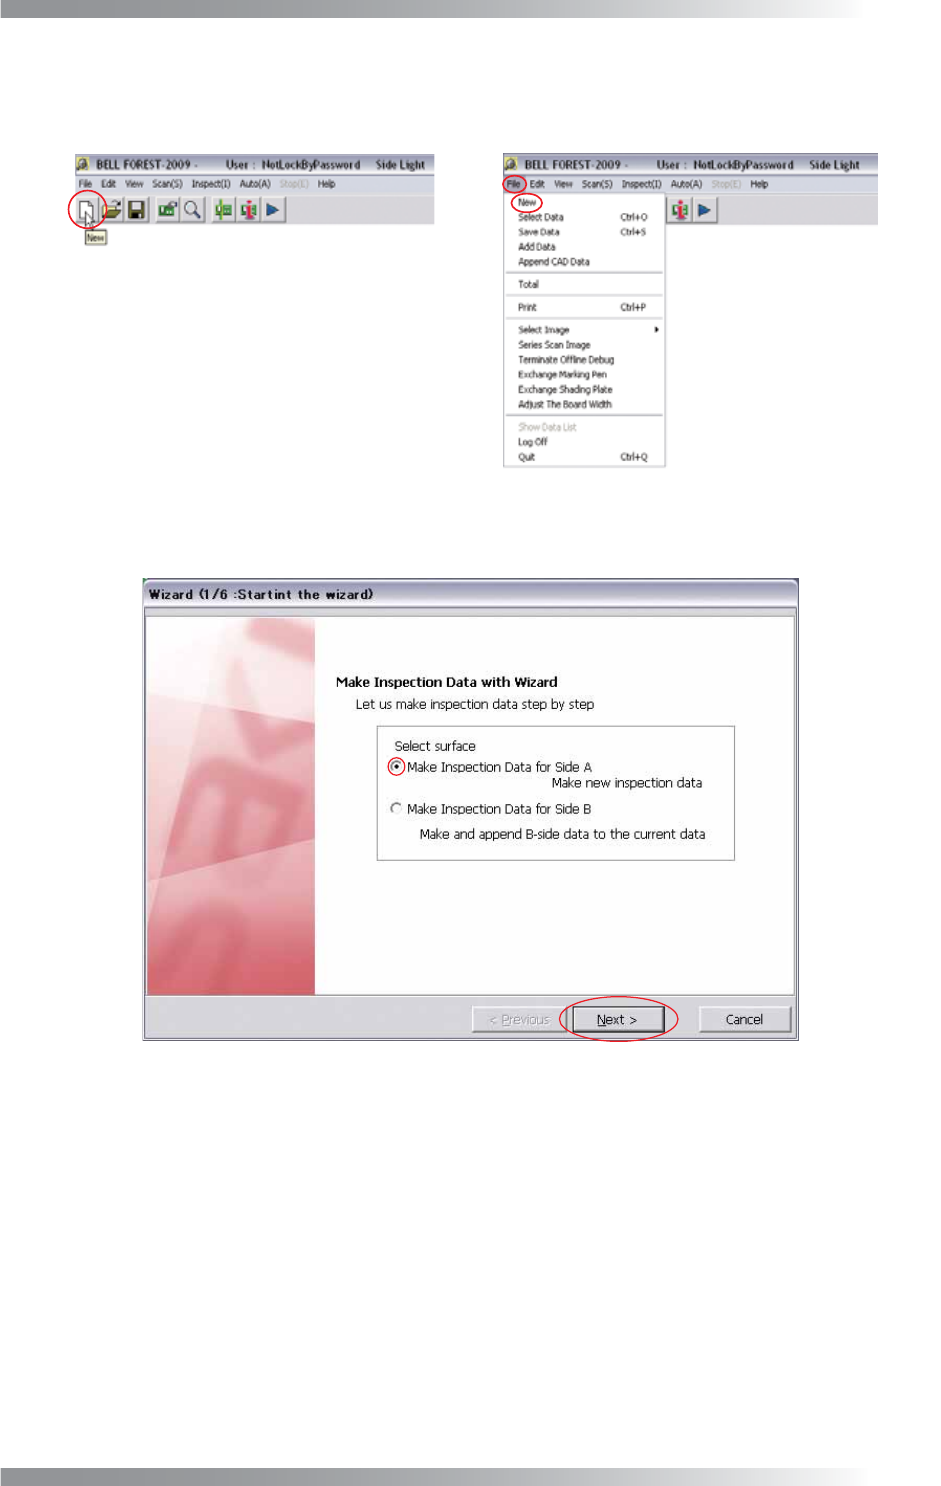
3.2 Make Inspection Data on BF-Editor
Step1: Press New button on the tool-bar or select File > New from the menu-bar on BF-Editor.
Figure 3-7 New
Step2: Check Make Inspection Data for Side A and press Next.
Figure 3-8 Wizard 1
IV-24
Programming Manual
Part IV Option Setting
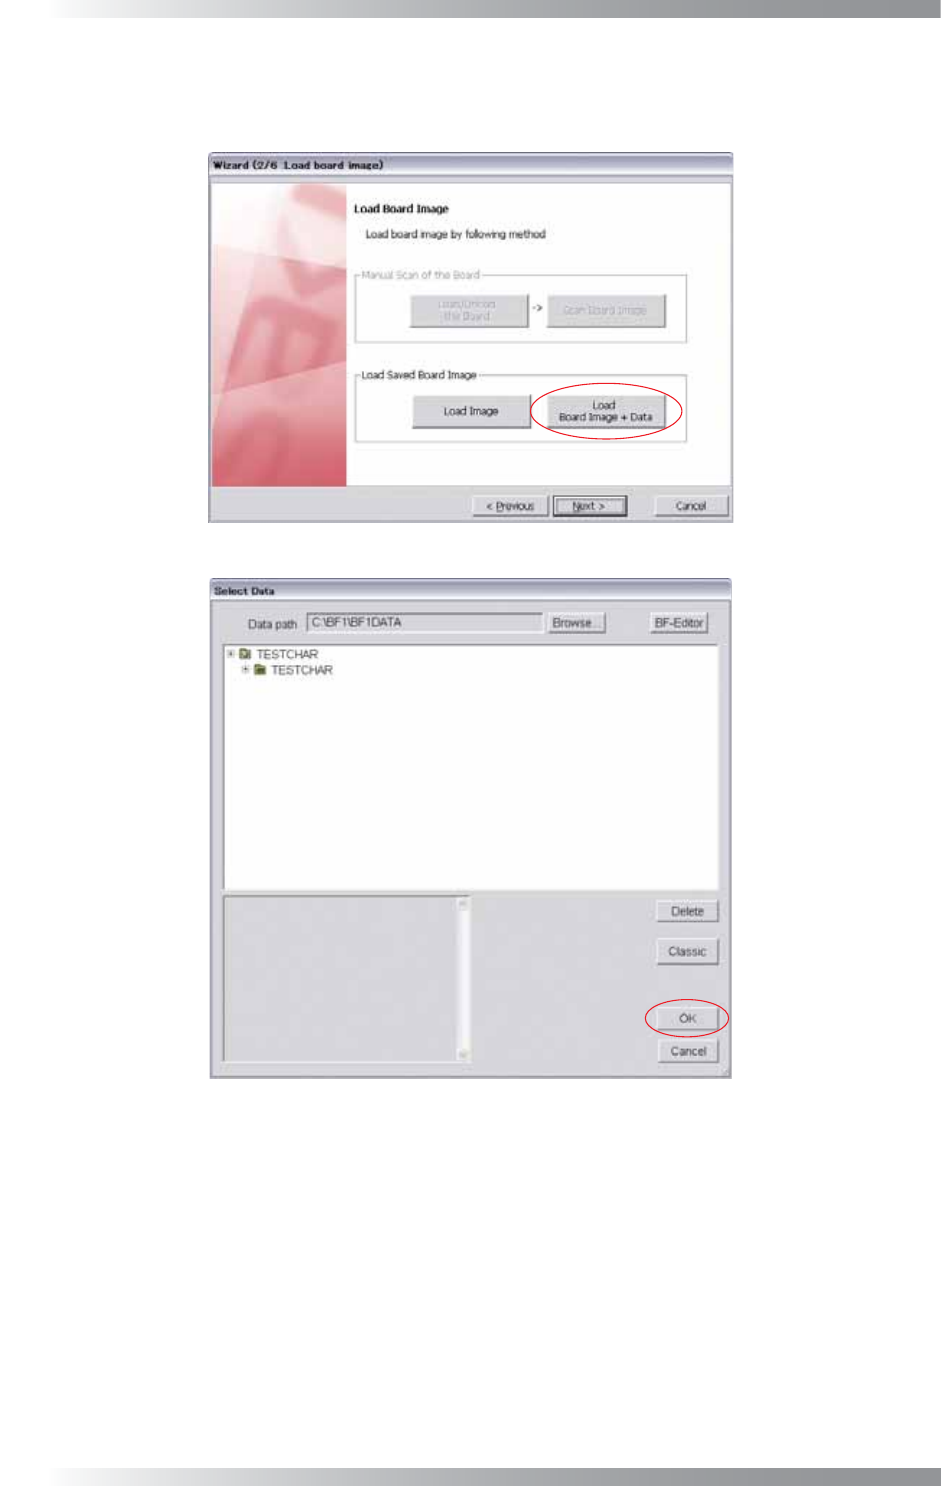
Step3: Press Load Board Image + Data and select the transferred data from the AOI machine. Transferred
data will be saved in the TRANSDATA folder. Select the data and press OK. Make sure that the
image is appeared and press Next.
Figure 3-9 Wizard 2
Figure 3-10 Select Data
Step4: Make an inspection data with referring to Step3 and following steps in Part II 1.1 Make Inspection
Data on AOI Machine.