Programming_mail.pdf - 第216页
V- 26 Programming Manual Part V Other Function Step13: Press Auto button on the tool-bar or select Auto from the menu-bar. Figure 2-16 Auto Step14: Check Conveyor , Inspect , and Monitor Mode . Press OK . Sampling will b…
V-25
Programming Manual
Part V Other Function
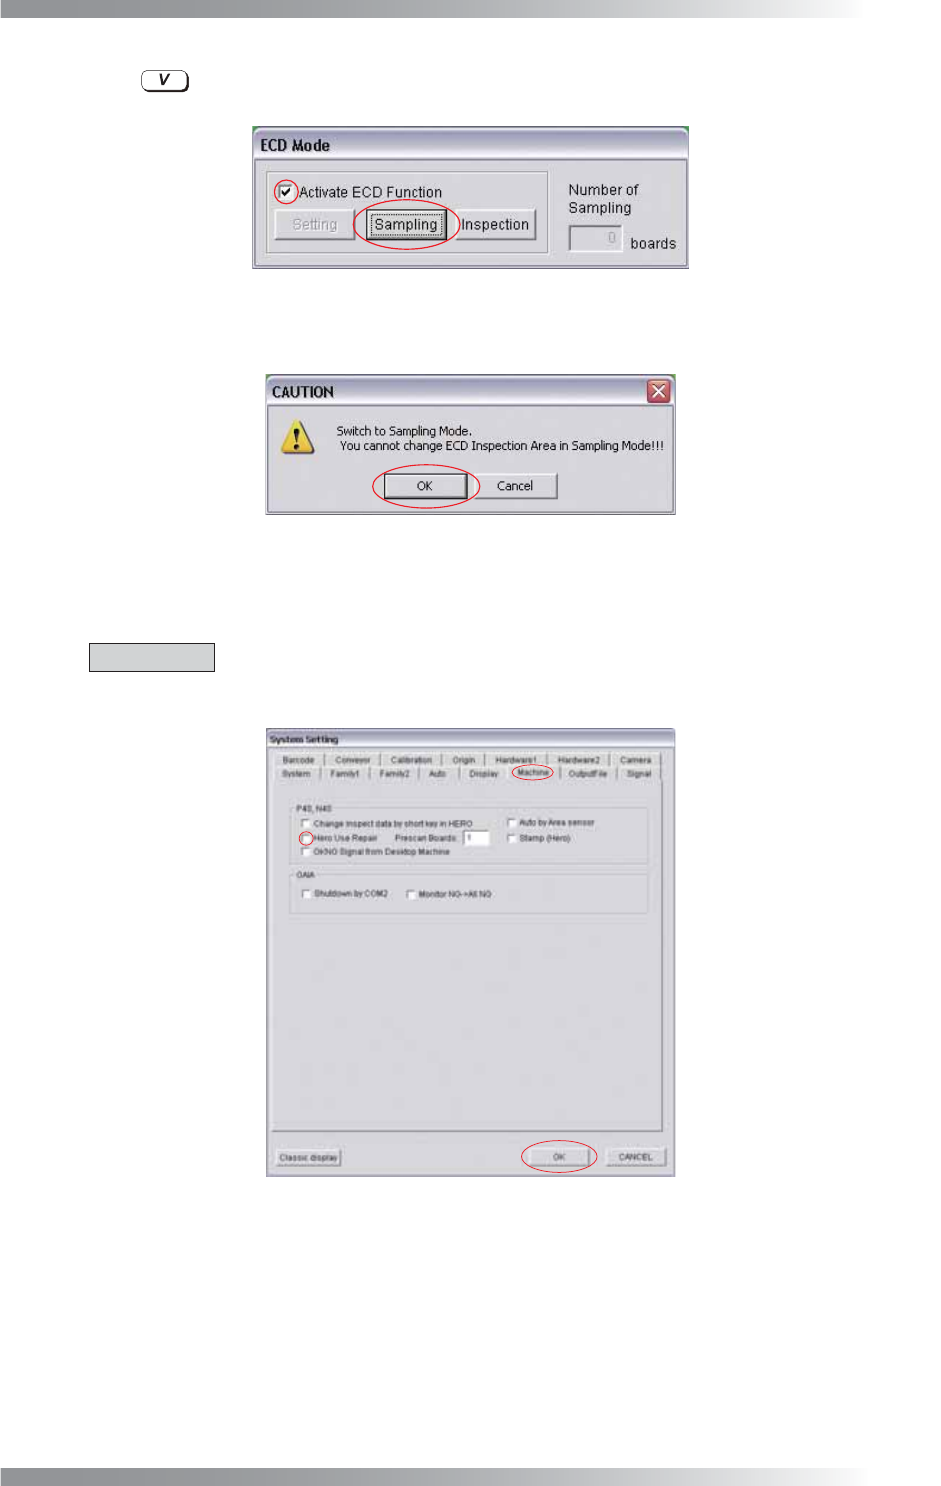
Step10: Press and the dialog shown in Figure 2-13 appears. Check Activate ECD Function and
press Sampling.
Figure 2-13 Sampling Mode
Step11: The dialog shown in Figure 2-14 appears. Press OK.
Figure 2-14 Switch to Sampling Mode
Step12: Select Edit > System Setup > System > Machine tab from the menu-bar. If Hero Use Repair is
checked, uncheck Hero Use Repair. After all the settings are completed, press OK.
CAUTION
If Hero Use Repair is checked before setting, check Hero Use Repair after ECD inspection
is completed.
Figure 2-15 Hero Use Repair

V-26
Programming Manual
Part V Other Function
Step13: Press Auto button on the tool-bar or select Auto from the menu-bar.
Figure 2-16 Auto
Step14: Check Conveyor, Inspect, and Monitor Mode. Press OK. Sampling will be executed in Monitor
Mode.
CAUTION
No Conveyor box in benchtop machine.
NOTE
In case of sampling in Debug mode, uncheck Monitor Mode. Check Edit NG Components
and Local Edit.
Figure 2-17 Auto Mode Setting
Step15: The dialog shown in Figure 2-18 appears. Press OK.
Figure 2-18 Start Auto Inspection
V-27
Programming Manual
Part V Other Function
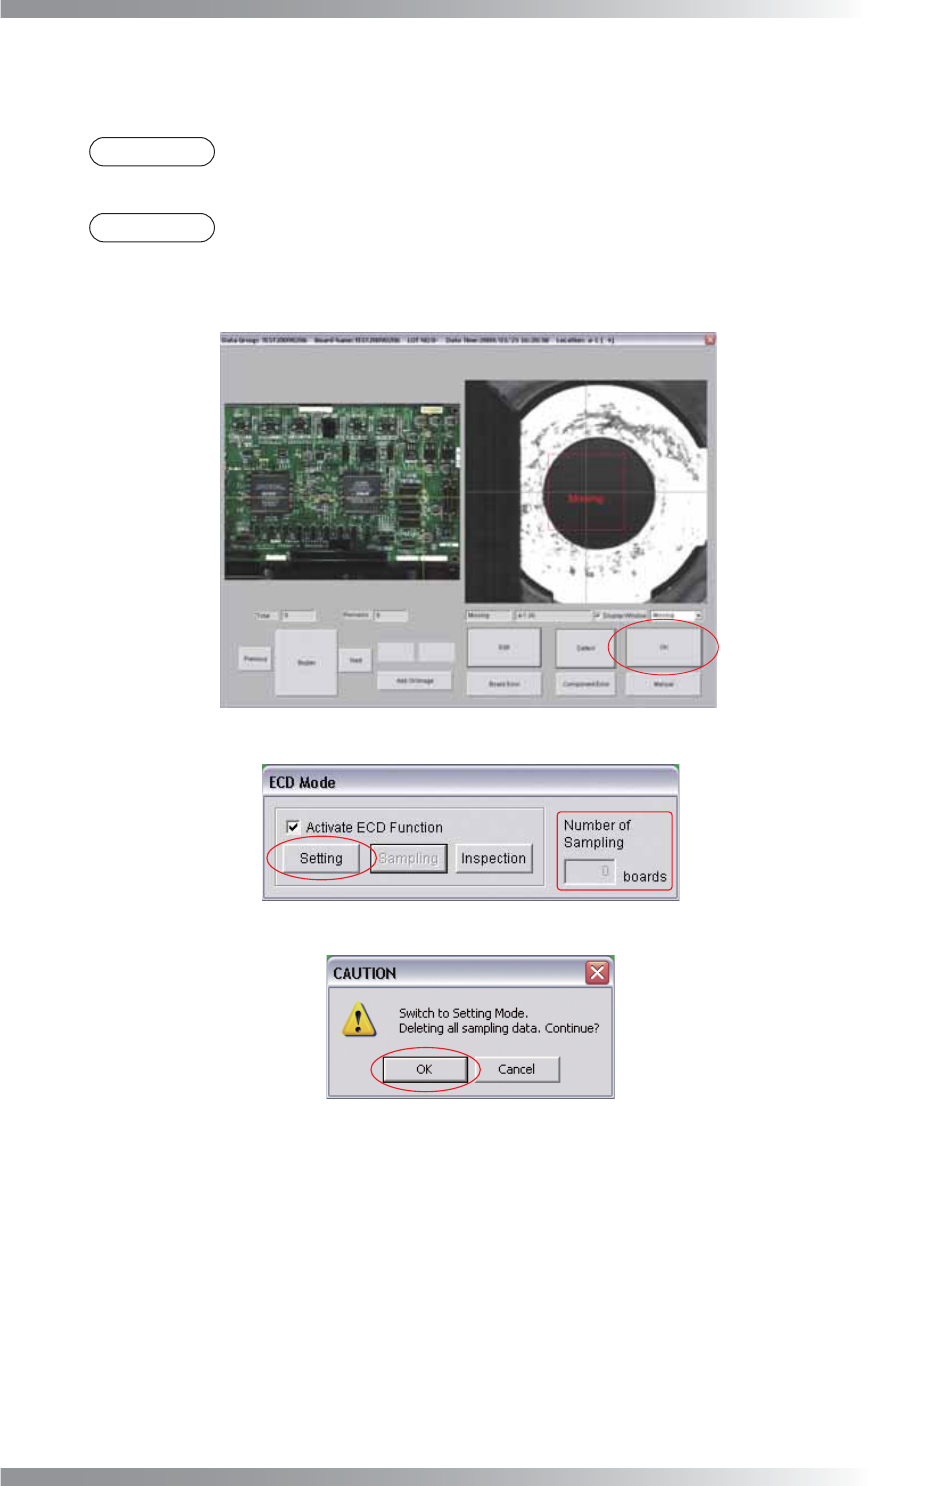
Step16: Start sampling. Scan 10 OK PCBs. The dialog shown in Figure 2-19 appears. Press OK.
The number of sampled PCB is displayed in Figure 2-20.
NOTE
The number of sampled PCB can be set in Shift Inspection Mode Automatically of
Parameter Setting shown in Figure 2-3.
NOTE
To initialize sampling data, press Setting in Figure 2-20. The dialog shown in Figure 2-21
appears. Press OK. The dialog shown in Figure 2-20 appears. Press Sampling. Proceed
from Step10.
Figure 2-19 Monitor Mode
Figure 2-20 Setting Mode
Figure 2-21 Switch to Setting Mode