SM482PLUS_Admin(Eng_Ver2.8).pdf - 第484页
15-30 Multi-Functional Placer SM482( L) PLUS Administrator’s Guide 6. If the dialog box saying that the light mapp ing test has been completed is displayed, click the <OK> button. Then click the <Close> butto…
15-29
System Setup
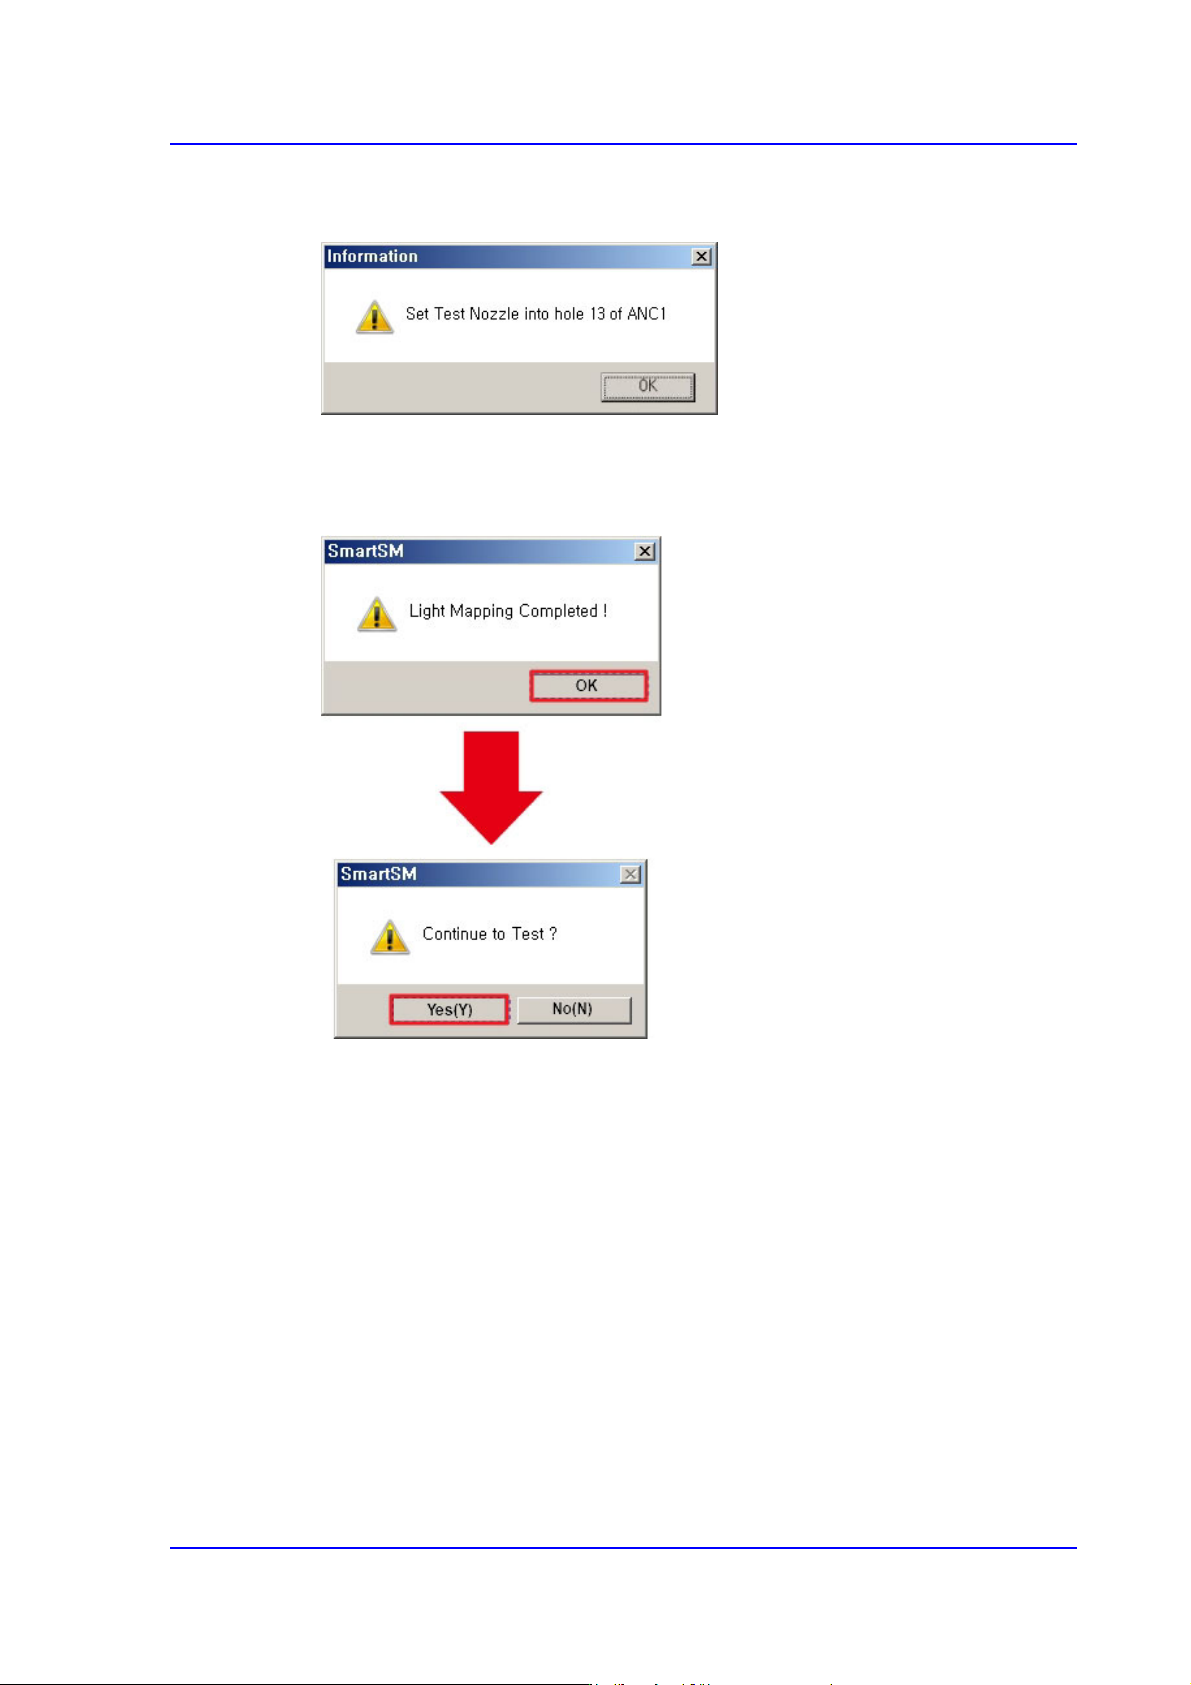
3. After inserting the Fly Camera Test nozzle into the ANC 13 hole, press the <OK>
button.
4. After clicking the <Start> button in the <<Mapping>> area, when the Light Mapping
is finished, the following dialog box appears. Pressing the <OK> button will display
the dialog box for the test.
5. Click the <(Y)> button to perform the test automatically.
15-30
Multi-Functional Placer SM482(L) PLUS Administrator’s Guide
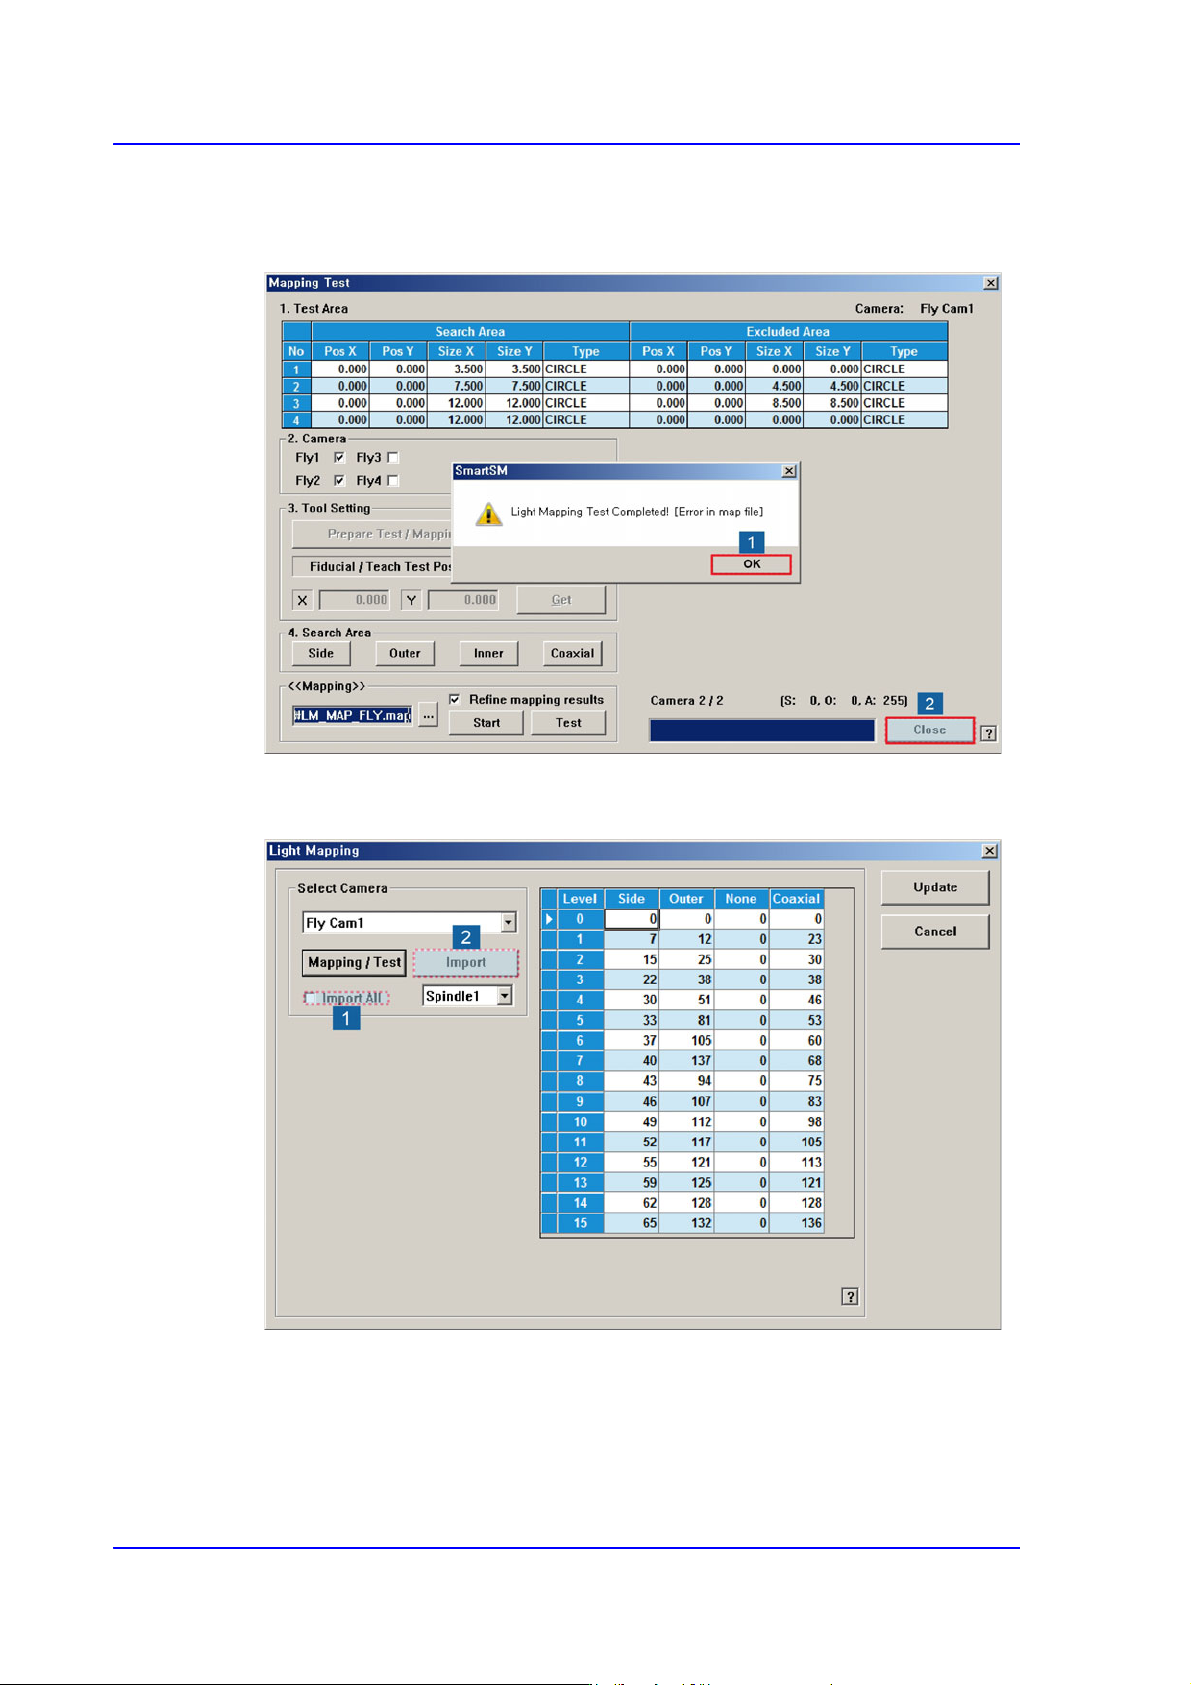
6. If the dialog box saying that the light mapping test has been completed is displayed,
click the <OK> button. Then click the <Close> button to close the mapping test dialog
box.
7. Check the <Import All> check box in the <Select Camera> group and click the
<Import> button.
15-31
System Setup
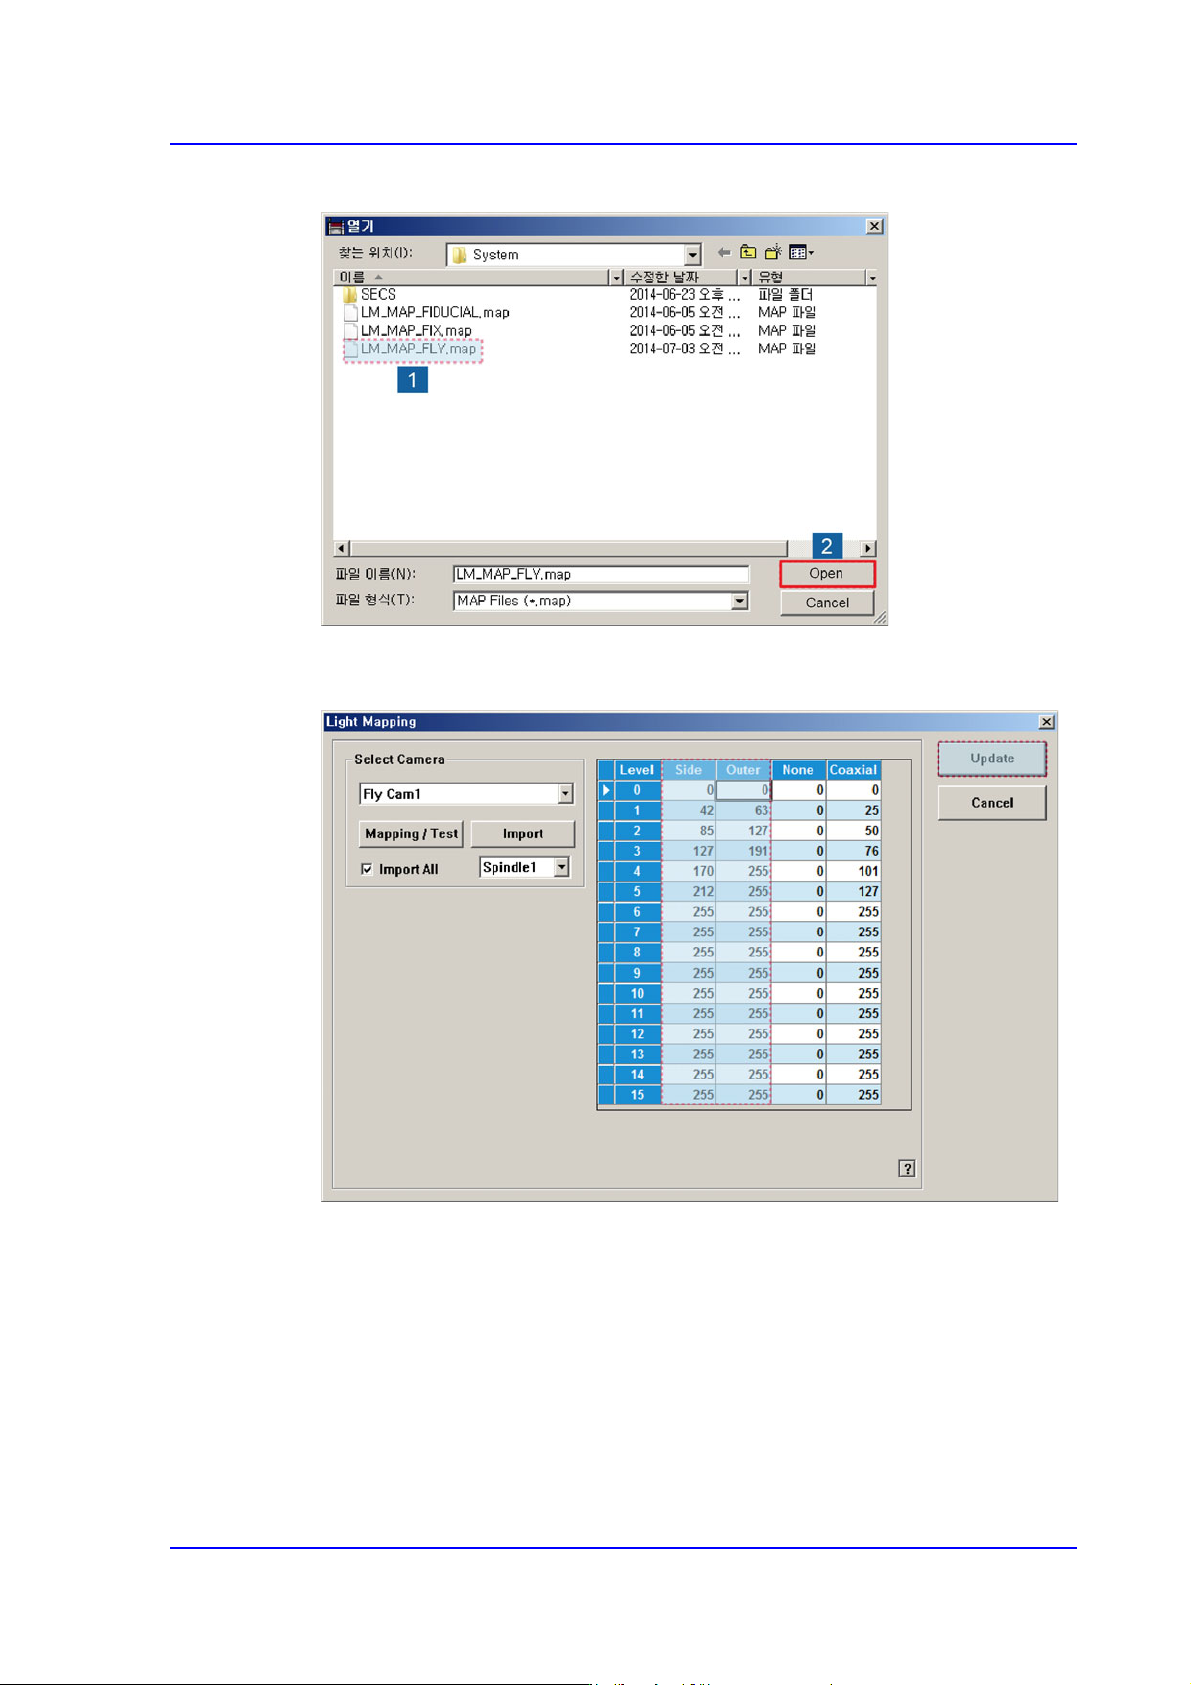
8. Select the LM_MAP_FLY in the <Open> dialog box and click the <Open> button.
9. Once the file import is completed, check whether light mapping data values increase
gradually from Level 0 to Level 15. Then click the <Update> button.