Administrator’s Guide(CP45FV) Eng.pdf - 第300页
Samsung Component Placer CP45FV Administrator ’ Guide Edge Fixture Backward: Checks the down motion of the edge fixture t hat arranges PCBs. Conveyor flow: Checks the operation of conveyor. <Elapse T ime> column …
Diagnosis
17-3
<Work zone Run> button
Clicking the <Work Zone Run> button once stops the work area of the conveyor. If
clicked once more, it executes the work area.
<Close> button
Closes the dialog box.
17.2. Conveyor [F3]
Checks the status of various devices in the conveyor group.
When this button is clicked on, the following dialog box is displayed.
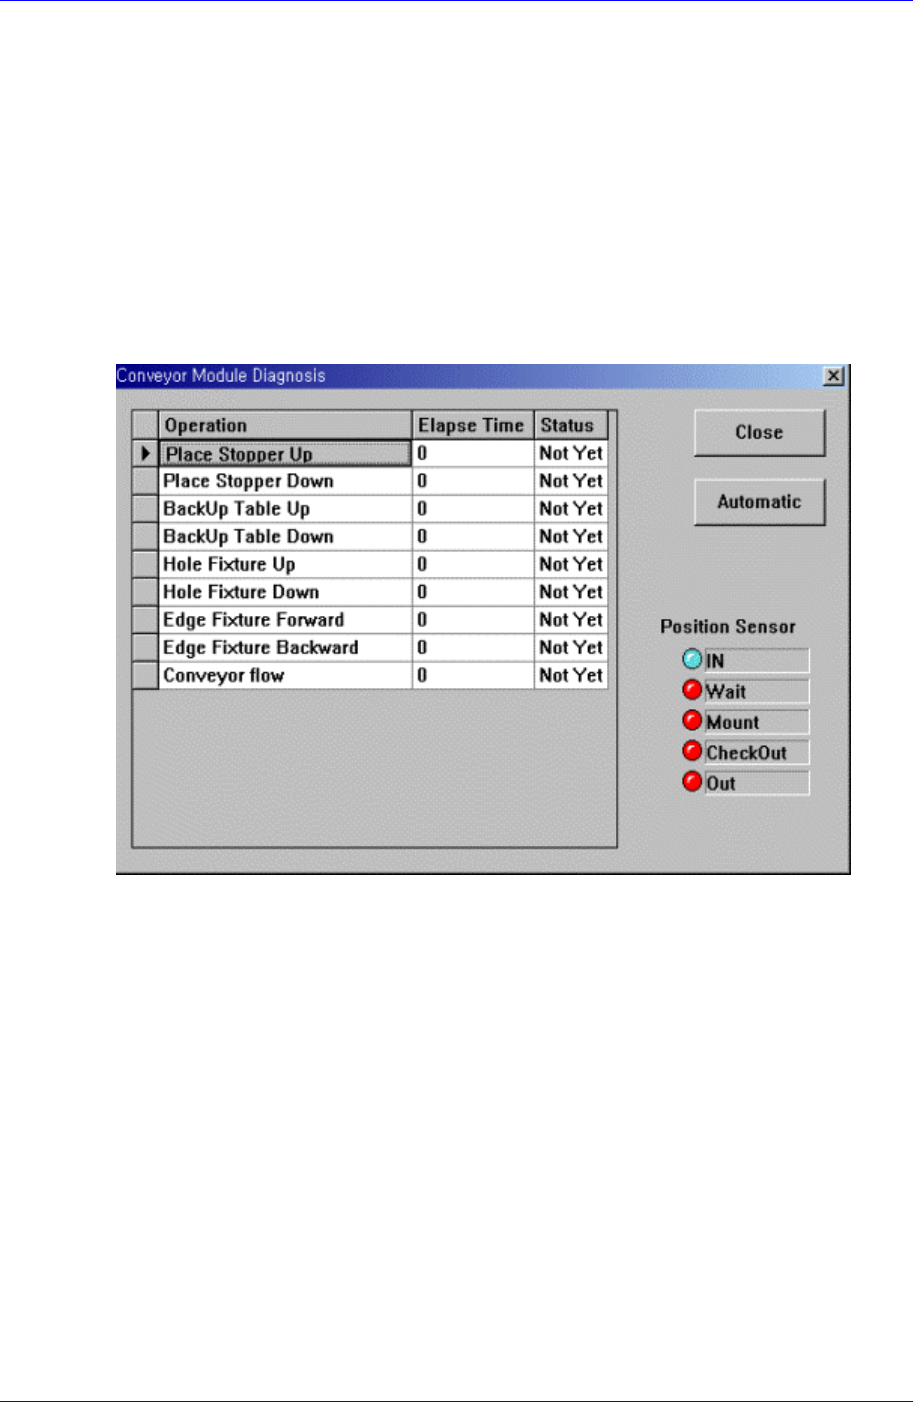
Figure 17-4. “Diagnosis : Conveyor “dialog box
<Grid> group
<Operation> column
Displays the operation list of devices to check.
Place Stopper Up: Checks the up motion of the stopper in the operation area..
Place Stopper Down: Checks the down motion of the stopper in the operation
area..
BackUp Table Up: Checks the up motion of the backup table that supports the
bottom of the PCB.
BackUp Table Down: Checks the down motion of the backup table that supports
the bottom of the PCB.
Hole Fixture Up: Checks the up motion of the hole fixture that arranges PCBs.
Hole Fixture Down: Checks the down motion of the hole fixture that arranges
PCBs.
Edge Fixture Forward: Checks the up motion of the edge fixture that arranges
PCBs.
Samsung Component Placer CP45FV Administrator’ Guide
Edge Fixture Backward: Checks the down motion of the edge fixture that
arranges PCBs.
Conveyor flow: Checks the operation of conveyor.
<Elapse Time> column
Displays the elapse time taken to check the operation of the corresponding device.
<Status> column
Displays the result of the operation check of the corresponding device.
OK: Indicates the result is normal.
NG: Indicates the result is abnormal.
<Automatic> button
Automatically checks the devices in the list in sequence.
<Close> button
Closes the dialog box.
17.3. Light [F4]
Checks the lighting devices installed on the move camera, fly camera, and fix camera.
When this button is clicked on, the following dialog box is displayed.
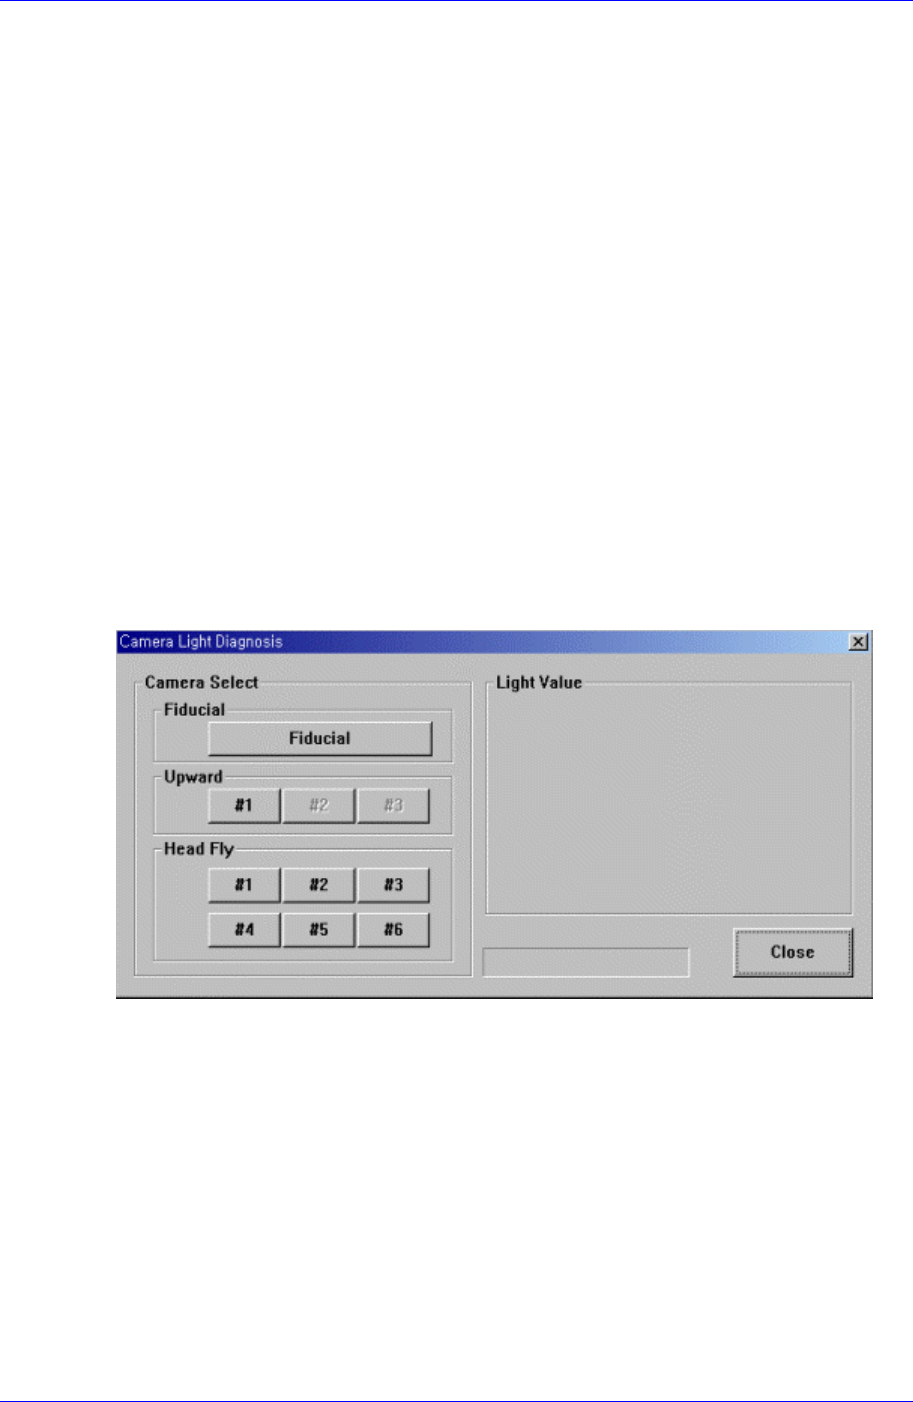
Figure 17-5. “Diagnosis : Camera Light Diagnosis “Initial Screen
<Camera Select> group
Select the camera on which the lighting device to be checked is installed.
<Fiducial> Camera
Select the move camera in the head block. The move camera is also called teach
camera, or fiducial camera.
<Upward> Camera
Select the fix camera. The fix camera is also called upward camera. Up to 3 fix
cameras can be installed.
<Head Fly> Camera
Select the fly camera. The CP45FV model has 6 fly cameras.
17-4
Diagnosis
17-5
<Light Value> group
Set the light value.
When the fiducial camera is selected, the following screen is displayed.
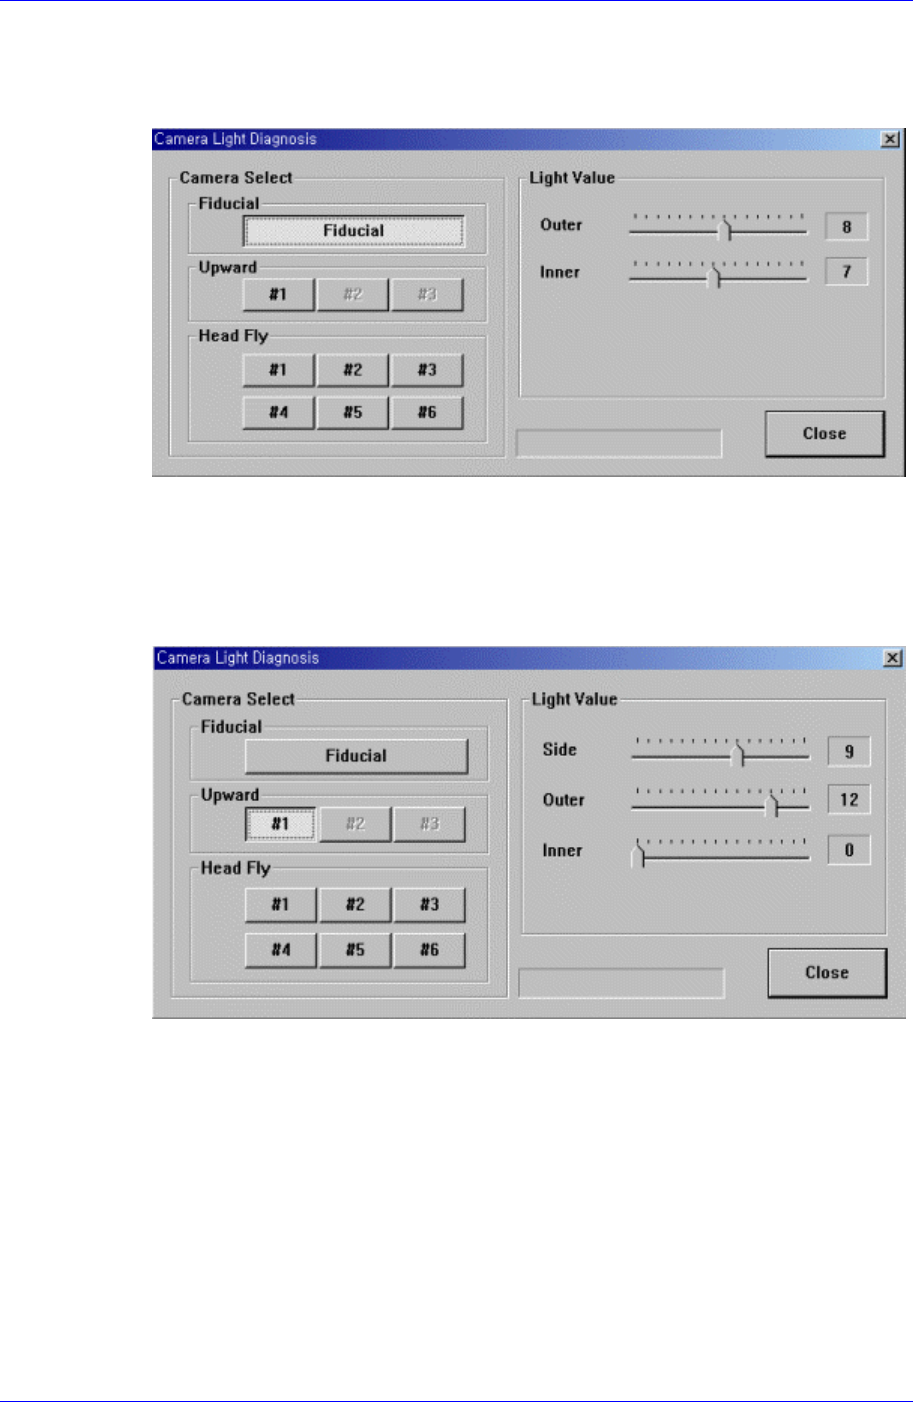
Figure 17-6. When the fiducial camera is selected in “Diagnosis : Camera Light
Diagnosis”
The range of possible light values is 0 – 15.
When the upward camera is selected, the following screen is displayed.
Figure 17-7. When the Upward Camera is selected in “Diagnosis : Camera Light Diagnosis”
<Side>: Set the light value for the side light. The range of possible light values is 0 –
15.
<Outer>: Set the light value for the outer light. The range of possible light values is 0
– 15.
<Inner>: Set the light value for the inner light. The range of possible light values is 0
– 15.
When the head fly camera is selected, the following screen is displayed.