3OM-1075-002.pdf - 第145页
AHB01EDTP 2.3.5 Creating the Link ID (1) Select the component ID as an original component ID before link- ing. The selected component ID turns blue, indicating that it is se- lected. (2) Press the [Create Link ID] button…
AHB01EDTP
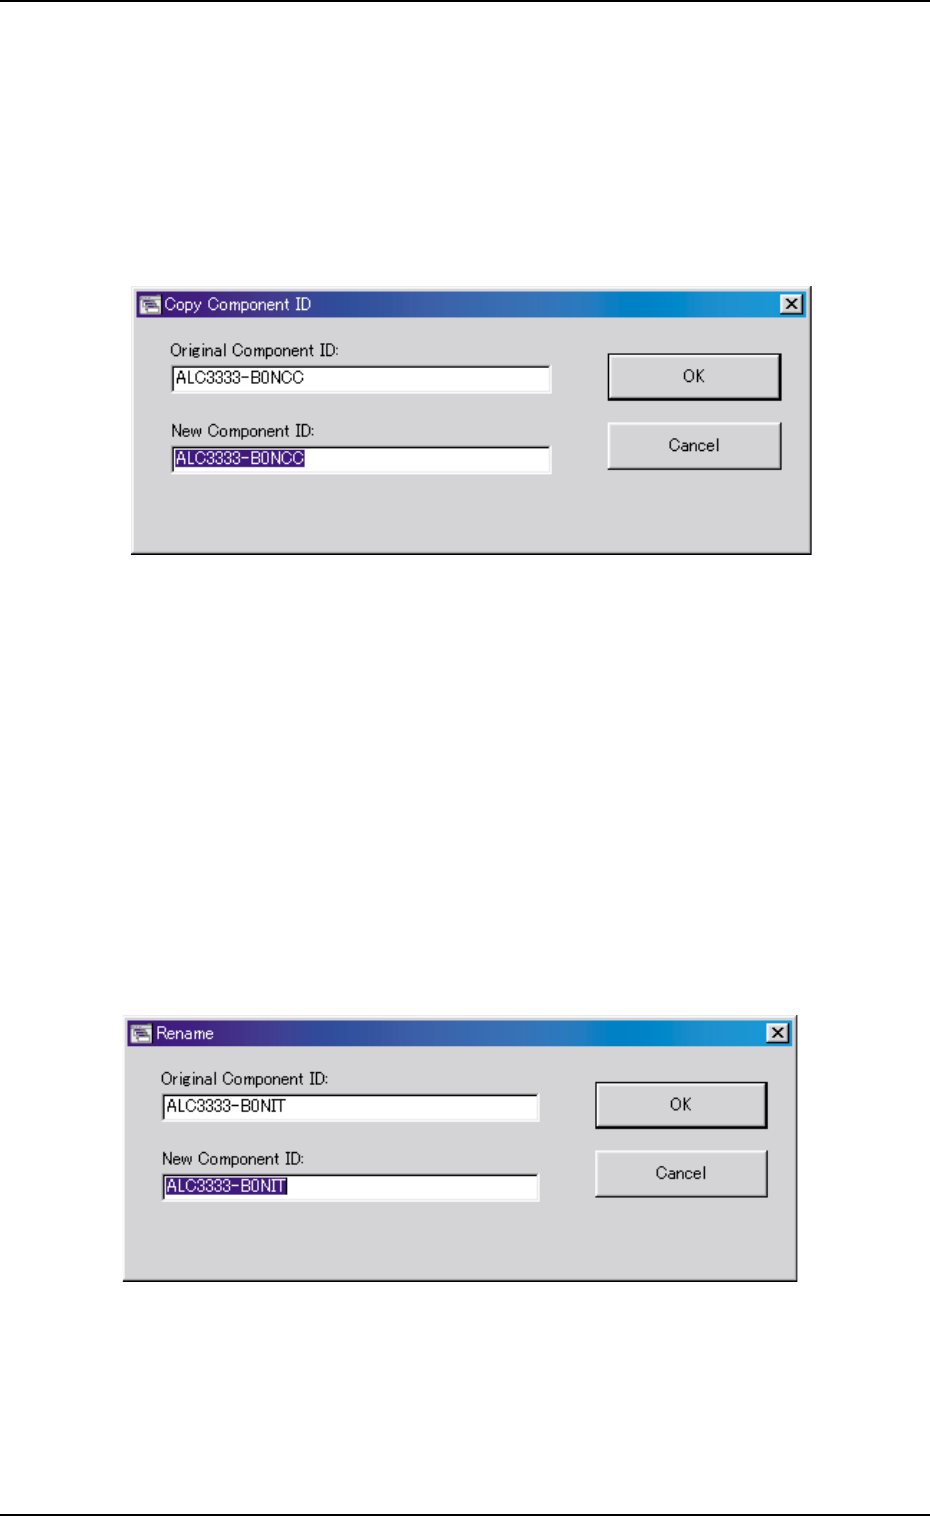
2.3.3 Copying the Component ID
(1) Select the component ID to be copied.
The selected component ID turns blue, indicating that it is se-
lected.
(2) Press the [Copy...] button.
The "Copy Component ID" dialog box opens.
Fig. 3C7
(3) Enter the new component ID name in the "New Component ID:"
text box and press the [OK] button.
A new component ID is created.
2.3.4 Renaming the Component ID
(1) Select the component ID to be renamed.
The selected component ID turns blue, indicating that it is se-
lected.
(2) Press the [Rename...] button.
The "Rename" dialog box opens.
Fig. 3C8
(3) Enter a new component ID in the "New Component ID:" text box
and press the [OK] button.
The name of the original component ID is changed to the new
one.
0206-003 3-9
2.3 Basic Usage of "Selection of component ID" Window
AHB01EDTP
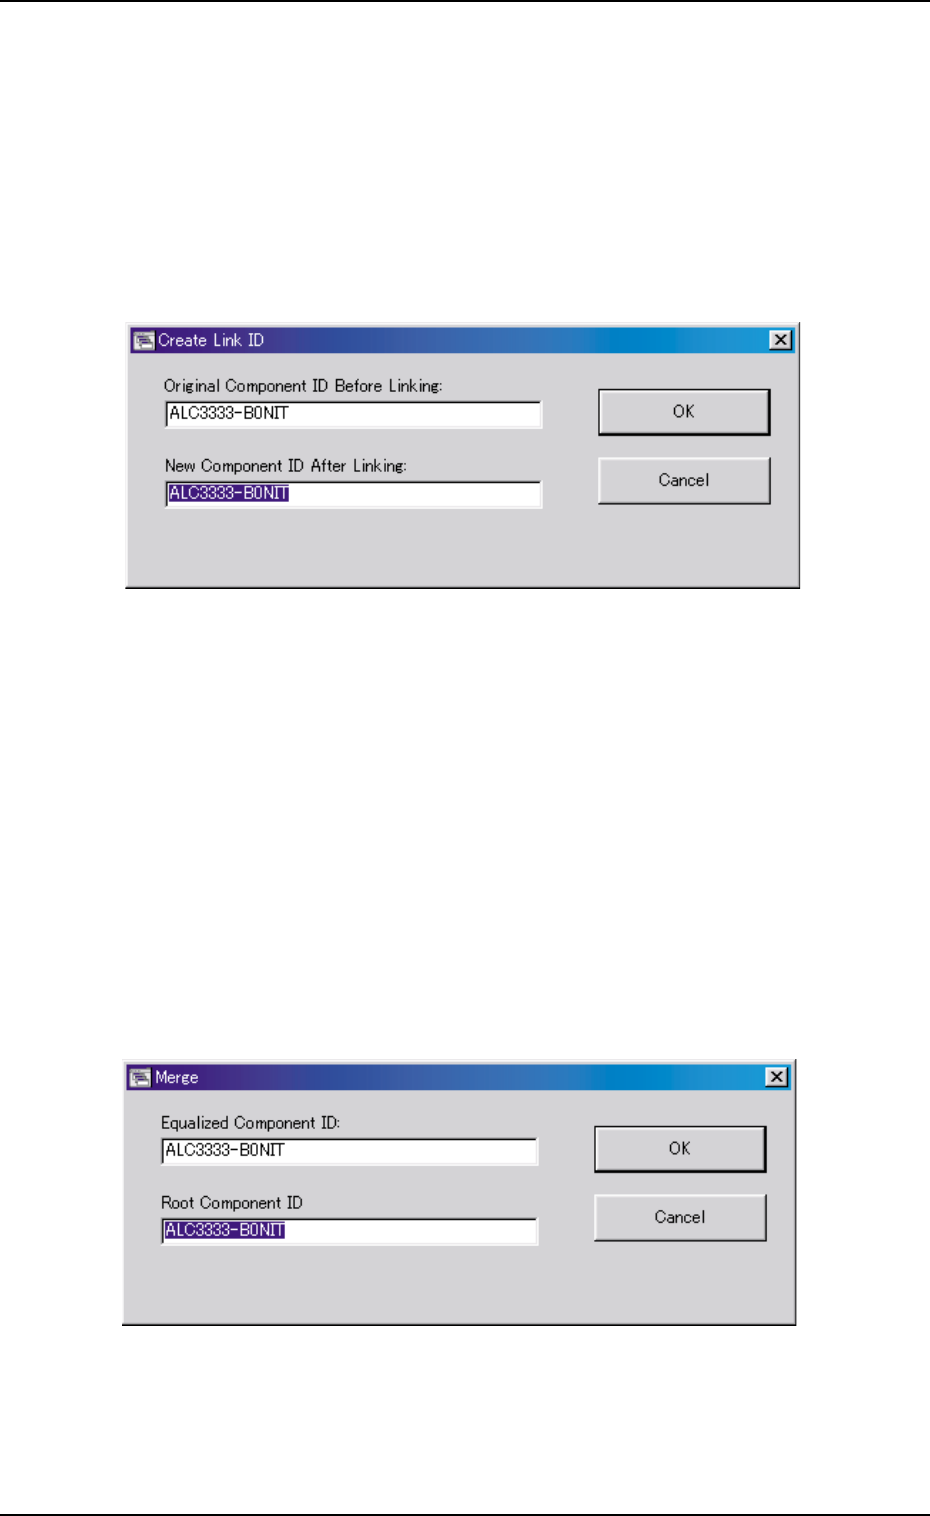
2.3.5 Creating the Link ID
(1) Select the component ID as an original component ID before link-
ing.
The selected component ID turns blue, indicating that it is se-
lected.
(2) Press the [Create Link ID] button.
The "Create Link ID" dialog box opens.
Fig. 3C9
(3) Enter the new link ID name in the "New Component ID After Link-
ing:" text box and press the [OK] button.
A new link ID is created.
2.3.6 Merging the Component ID
(1) Select the component ID to be merged.
The selected component ID turns blue, indicating that it is se-
lected.
(2) Press the [Merge...] button.
The "Merge" dialog box opens.
Fig. 3C10
(3) Enter a component ID to be linked in the "Root Component ID"
text box and press the [OK] button.
The component ID is merged.
0206-003 3-10
2.3 Basic Usage of "Selection of component ID" Window
AHB01EDTP
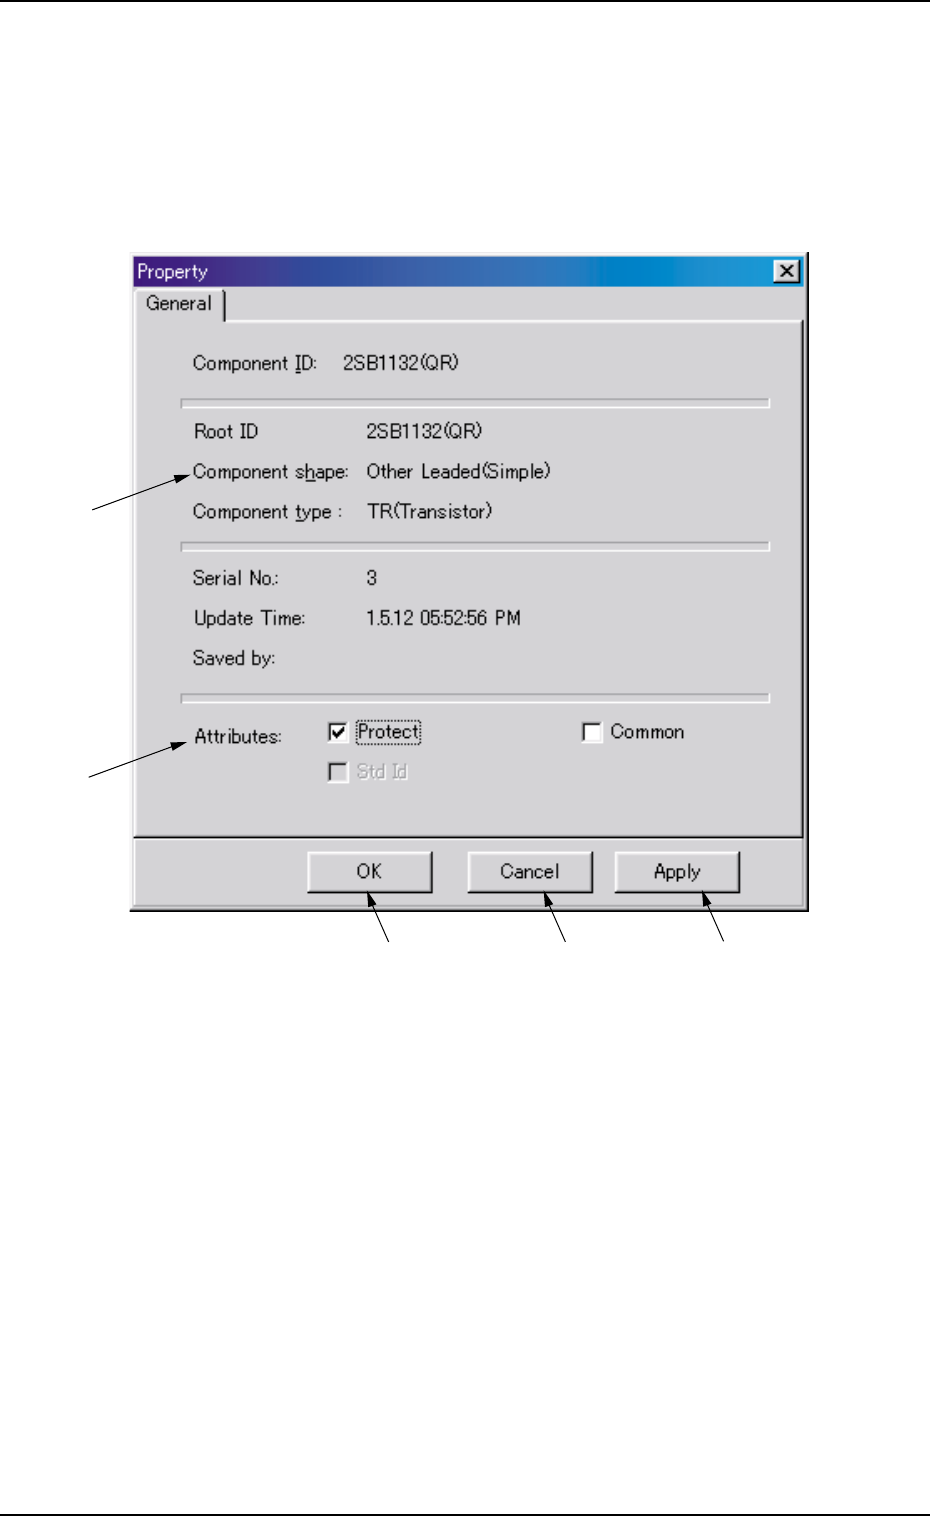
2.3.7 Property of Component ID
(1) Select the component ID to view its property.
The selected component ID turns blue, indicating that it is selected.
(2) Press the [Property...] button.
The "Property" dialog box appears.
Fig. 3C11 "Property" Dialog Box
••
••
• Composition of "Property" Dialog Box
*1 Component ID, Root ID, Component shape, Component type,
Serial No., Update Time, Saved by
The property of the component ID is displayed.
*2 Protect, Common, Std Id
The attributes of the component ID are displayed. The check boxes
enable the operator to change the corresponding attributes.
*1
*2
*3
*4
*5
0206-003 3-11
2.3 Basic Usage of "Selection of component ID" Window