CM602all_EJM8AESM_Service Manual.pdf - 第170页
Do not tighten excessively; it is all right just to lock the bracket. Tighten the adjusting bolt Maintenance Adjustment Main Body Beam 9 Wrench 7 mm Nut 7 mm holding nut. Remarks Tools and Specifications 12 Once the adju…
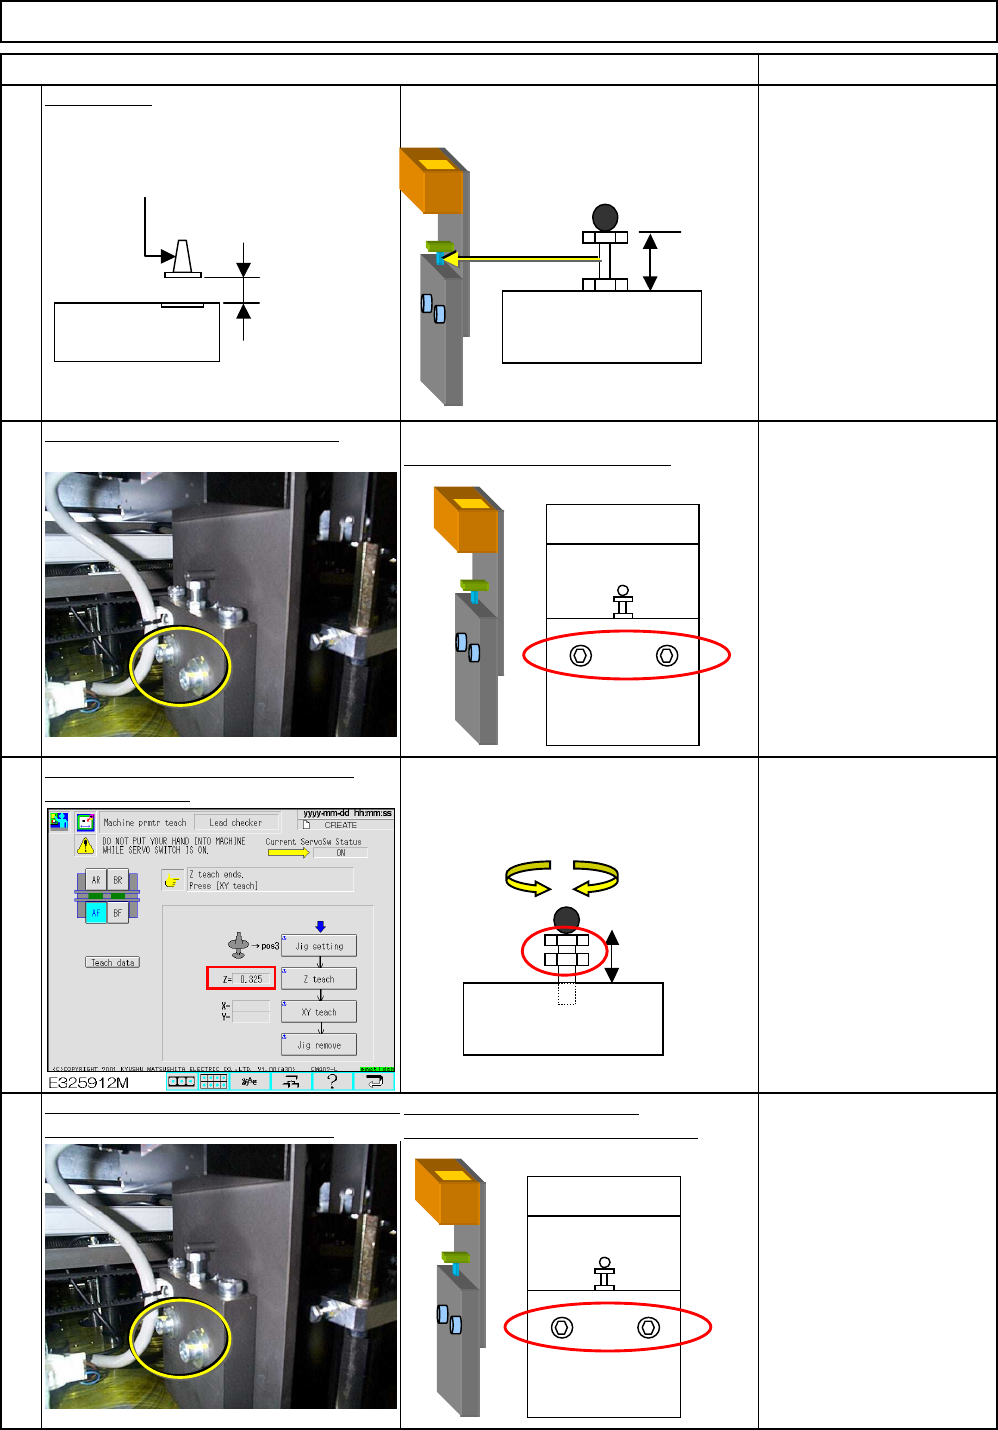
Adjust the height so that the value in [Z]
becomes 0 as nearly as possible.
When tightening the screws,
be careful that the Z value remains
within the range.
Loosen the adjusting bolt holding nut.
5
Main Body Beam
Item
Allen key 4 mm
Screw M5 2 pcs.
Loosen the bracket holding screws.
6
Maintenance Adjustment
Tools and Specifications
Do not remove them; just loose.
Tools and Specifications
Tools and Specifications
Remarks
8
7
Basic height:
Adjust the height.
Once the adjustment has been completed
tighten the bracket holding screws.
Tools and Specifications
Wrench 7 mm
Nut 7 mm
Allen key 4 mm
Screw M5 2 pcs.
Laser Emitting
section
8.0mm+/-0.5mm
Laser Recognition Jig
Holding bracket
≒13.5mm
Holding bracket
EJM8A-E-SMA040109-A01-00
Page 4-1-9-3
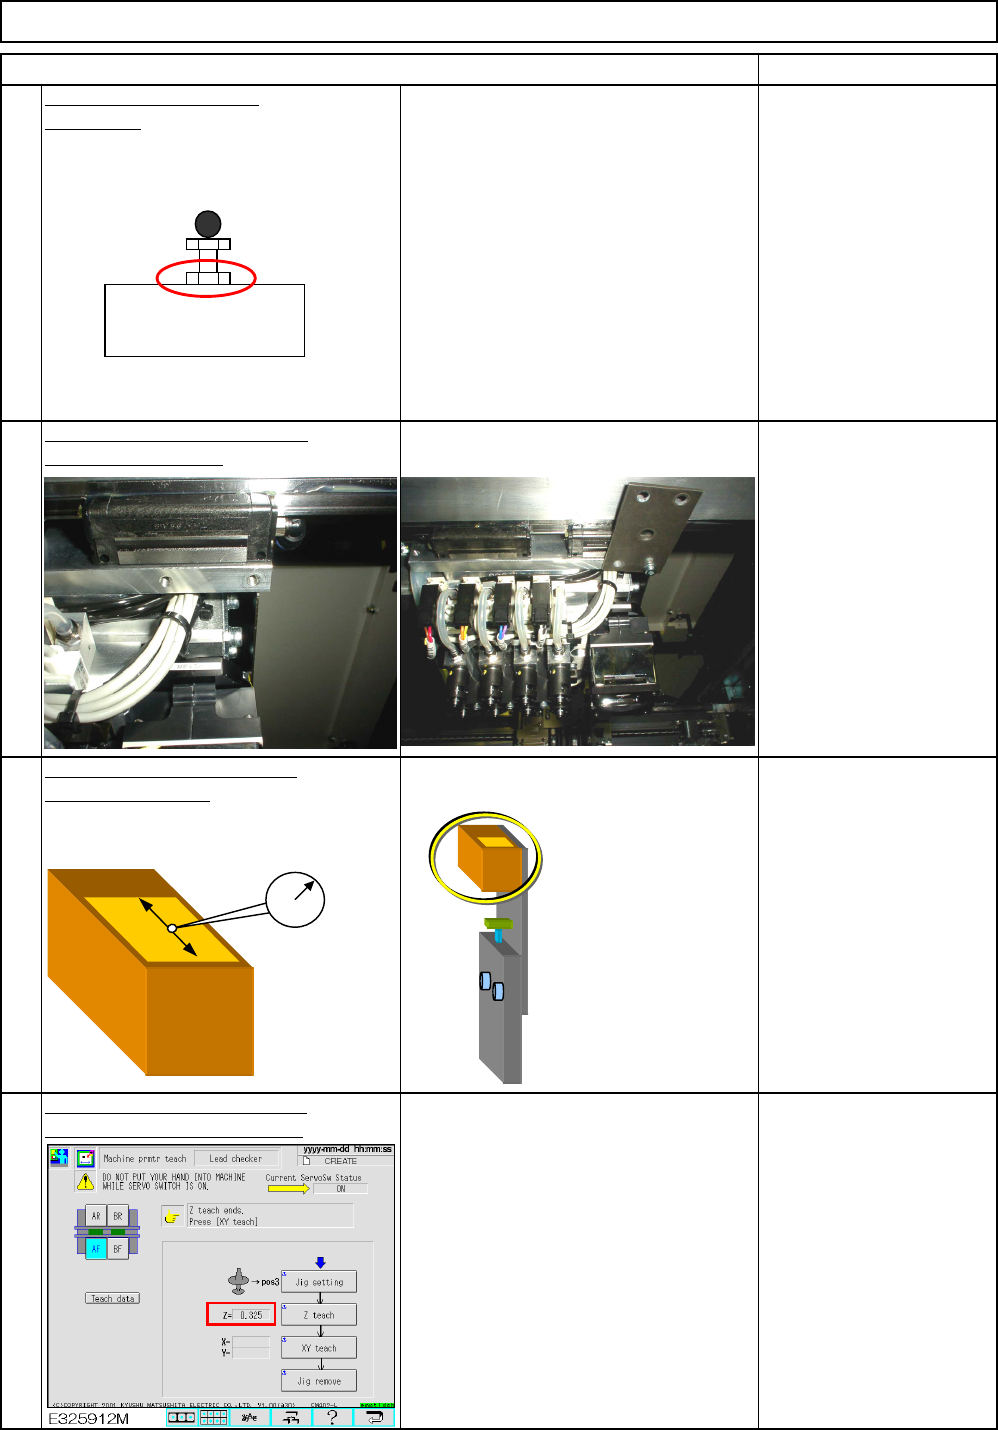
Do not tighten excessively;
it is all right just to lock the
bracket.
Tighten the adjusting bolt
Maintenance Adjustment Main Body Beam
9
Wrench 7 mm
Nut 7 mm
holding nut.
Remarks
Tools and Specifications
12
Once the adjustment has been
completed, carry out "Z teach."
Tools and Specifications
Tools and Specifications
Iron plate
Magnetic stand
Dial gauge
Allen key 3 mm
Screw M4-15 1 pc.
Magnetic stand
Dial gauge
For details, refer to
"Section 4-3-11 Lead
Checker"
11
Check the levelness of the top
Tools and Specifications
of the lead checker.
Place an iron plate and the dial
Item
10
gauge onto the head.
Holding bracket
EJM8A-E-SMA040109-A01-00
Page 4-1-9-4
13
Put back the feeder cover.
Tools and Specifications
Phillips screwdriver #2
Screw M4 2 pcs.
12
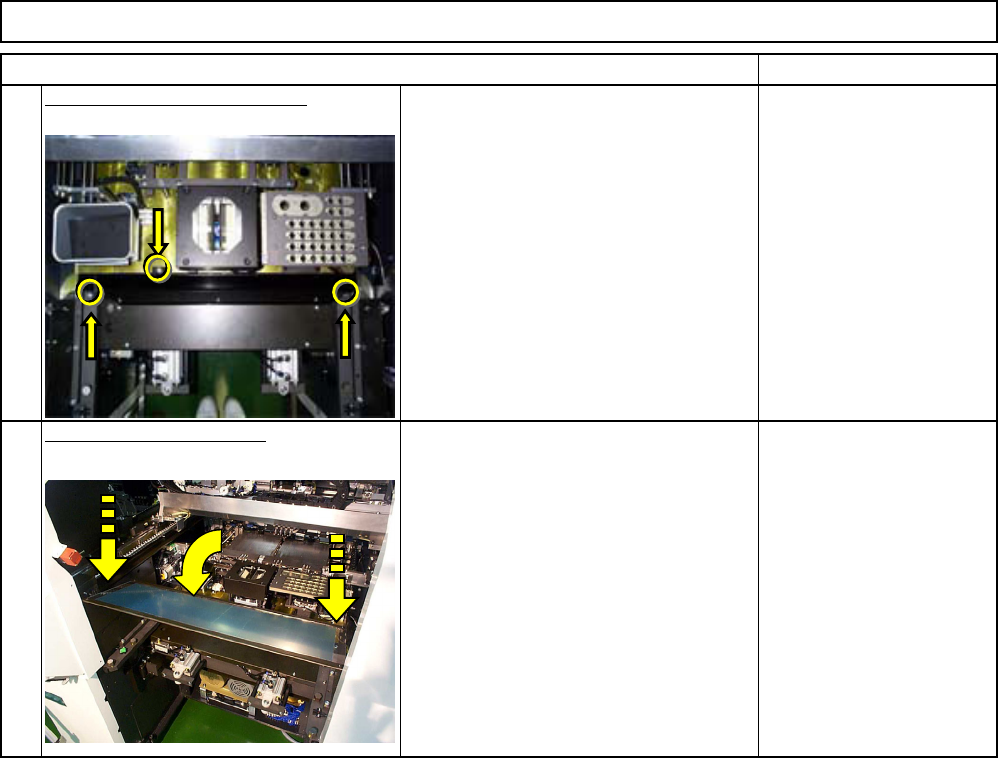
Remove the cutter chute cover.
Item
Maintenance Adjustment Main Body Beam
Allen key 3 mm
Screw M4 3 pcs.
Tools and Specifications
Remarks
EJM8A-E-SMA040109-A01-00
Page 4-1-9-5