CM602all_EJM8AESM_Service Manual.pdf - 第773页
• Tools Phillips screwdriver #1 Phillips screwdriver #2 Allen key 5 mm Pipe Nippers Non-magnetic Allen key • Jigs Covers (large) (Small) Component-height- detection-sensor- adjusitng power source <FM-1853(1)> Prepa…
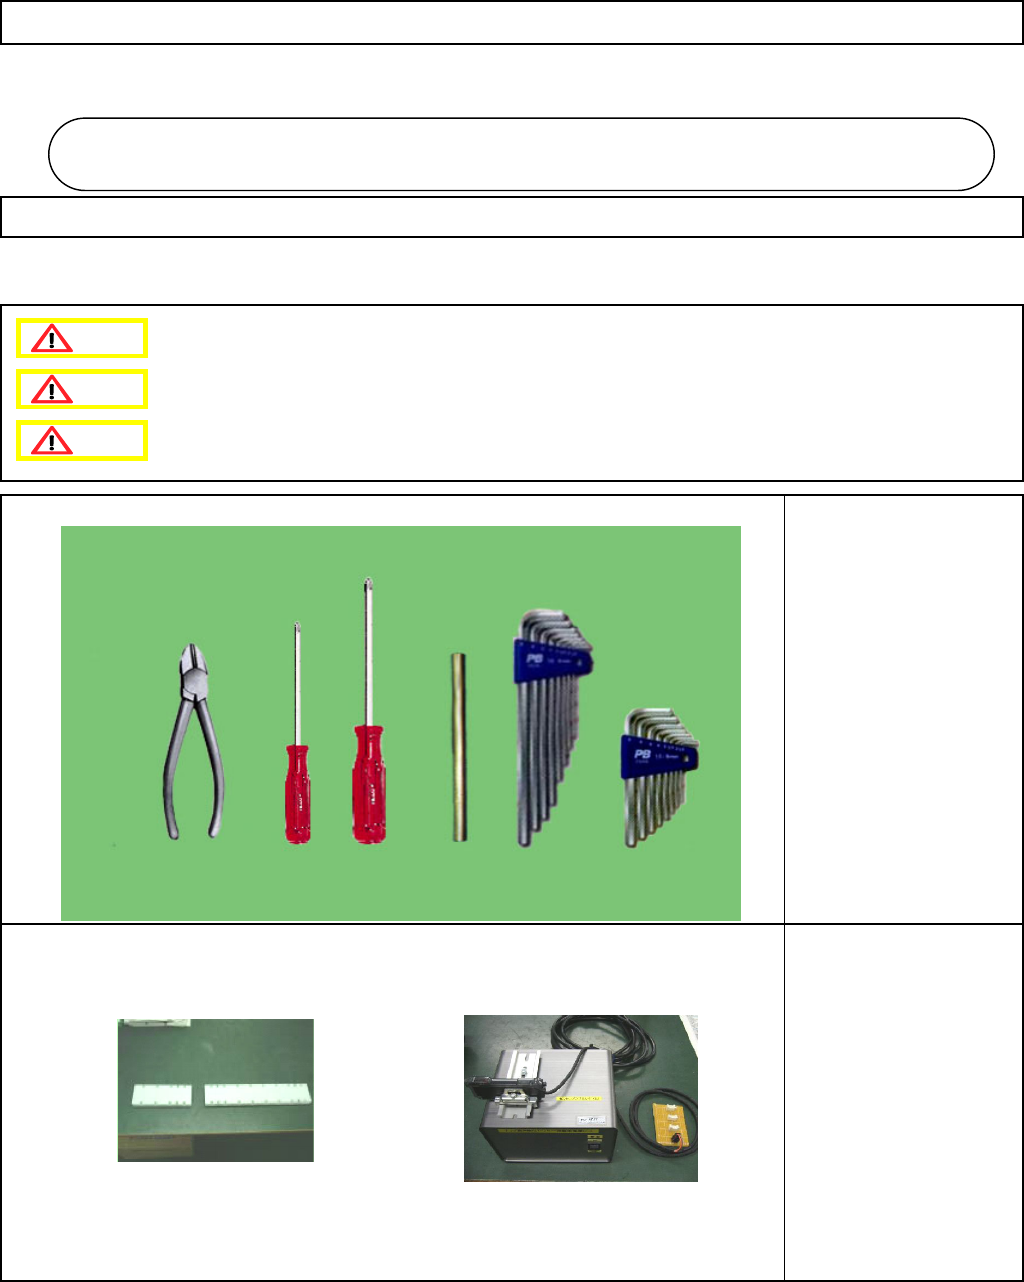
• Tools
Phillips screwdriver #1
Phillips screwdriver #2
Allen key 5 mm
Pipe
Nippers
Non-magnetic Allen key
• Jigs
Covers (large) (Small)
Component-height-
detection-sensor-
adjusitng power source
<FM-1853(1)>
Preparation: Remove all the nozzles and nozzle holders from the head.
[Caution before replacement] * Since there are magnets, great care must be taken
to ensure safety when working on the machine.
Component-Thickness-Measuring Unit
6-4-1 Component-Thickness-Sensor-Amplifier Replacement (12-Nozzle-Head Spec.)
Option Part and Accessory Replacement
This section describes the procedures for replacing the component-thickness-sensor amplifier
(12-nozzle-head specifications).
Component-Thickness-Measuring Unit
6-4
Dange
r
Warning
Caution
EJM8A-E-SMA060401-A01-01
Page 6-4-1-1
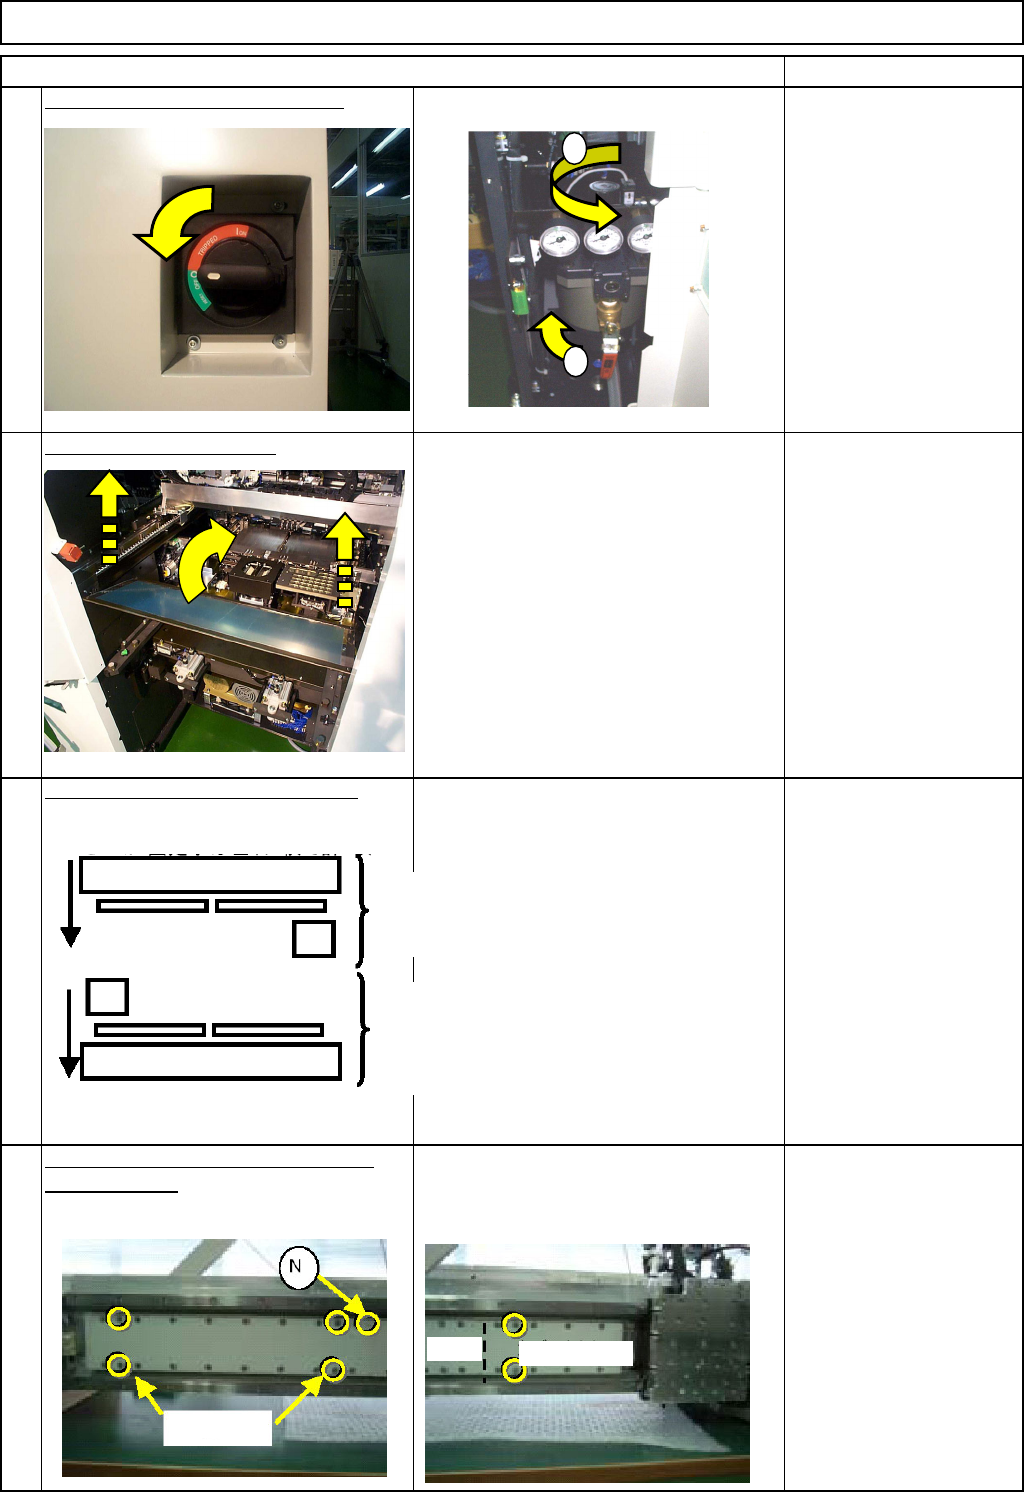
Remark
Turn off the air and power supply.
Remove the feeder cover.
2
Allen key 3 mm
Screw M4 4 pcs.
Move the beam whose head will be
re
p
laced towards
y
ou.
Put the covers
(
Lar
g
e
)
(
Small
)
on the
4
secondary part
. * There are magnets. To ensure safety,
use the covers when working on the
machine.
Bolts that come with the
cover (Large): 4 pcs.
Bolts that come with the
cover (Small): 2 pcs.
* Non-magnetic Allen key
3
Item
1
Component-Thickness-Measuring Unit
Option Part and Accessory Replacement
1
2
Rear
Front
Bolts
Cover (Small)
(Large)
EJM8A-E-SMA060401-A01-01
Page 6-4-1-2