CM602all_EJM8AESM_Service Manual.pdf - 第838页
Remark Component-Thickness-Measuring Unit Item Option Part and Accessory Replacement Connect the amplifier connector. Put the feeder cover back on. Allen key 3 mm Screw M4 4 pcs. Turn on the power and air supply. 27 26 2…
Remark
Component-Thickness-Measuring Unit
Item
Option Part and Accessory Replacement
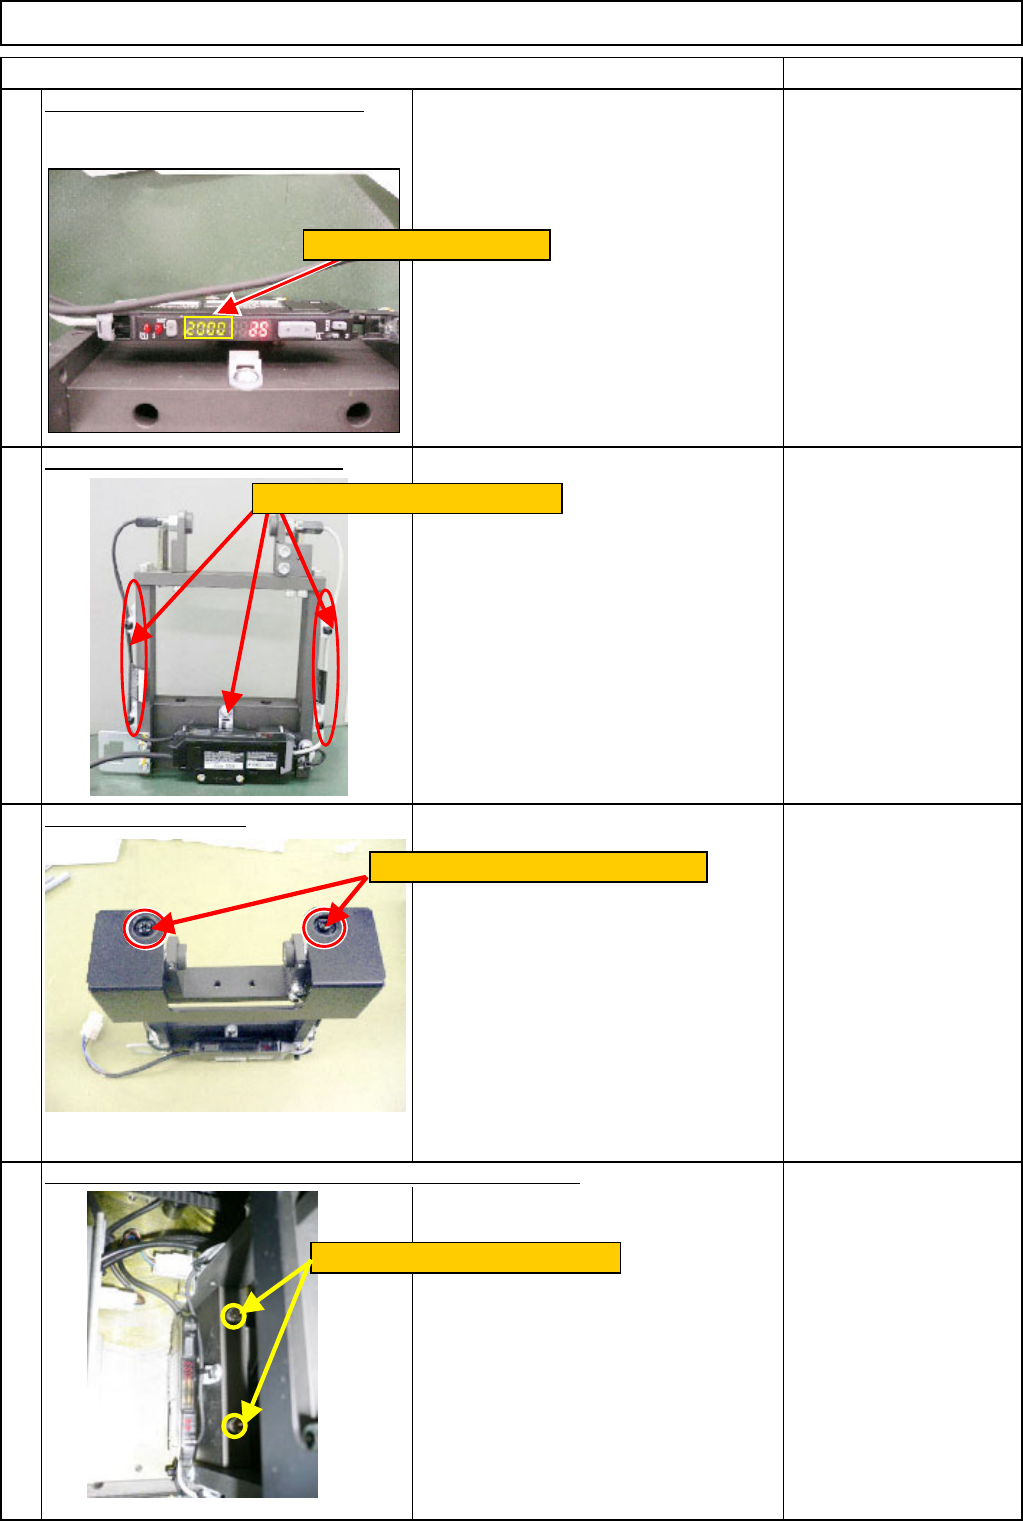
When the amplifier value is 2000 or
* If the amplifier value does not exceed
2000 in Steps 20 and 21, adjust the
light-sensing-light-axis in the horizontal
direction.
Adjustment method:
See Step 19.
Secure the cables with cable ties.
Nipper
Put the cover back on.
Phillips screwdriver
Allen key M6
M6 x 60L (2 pcs.)
24
21
22
23
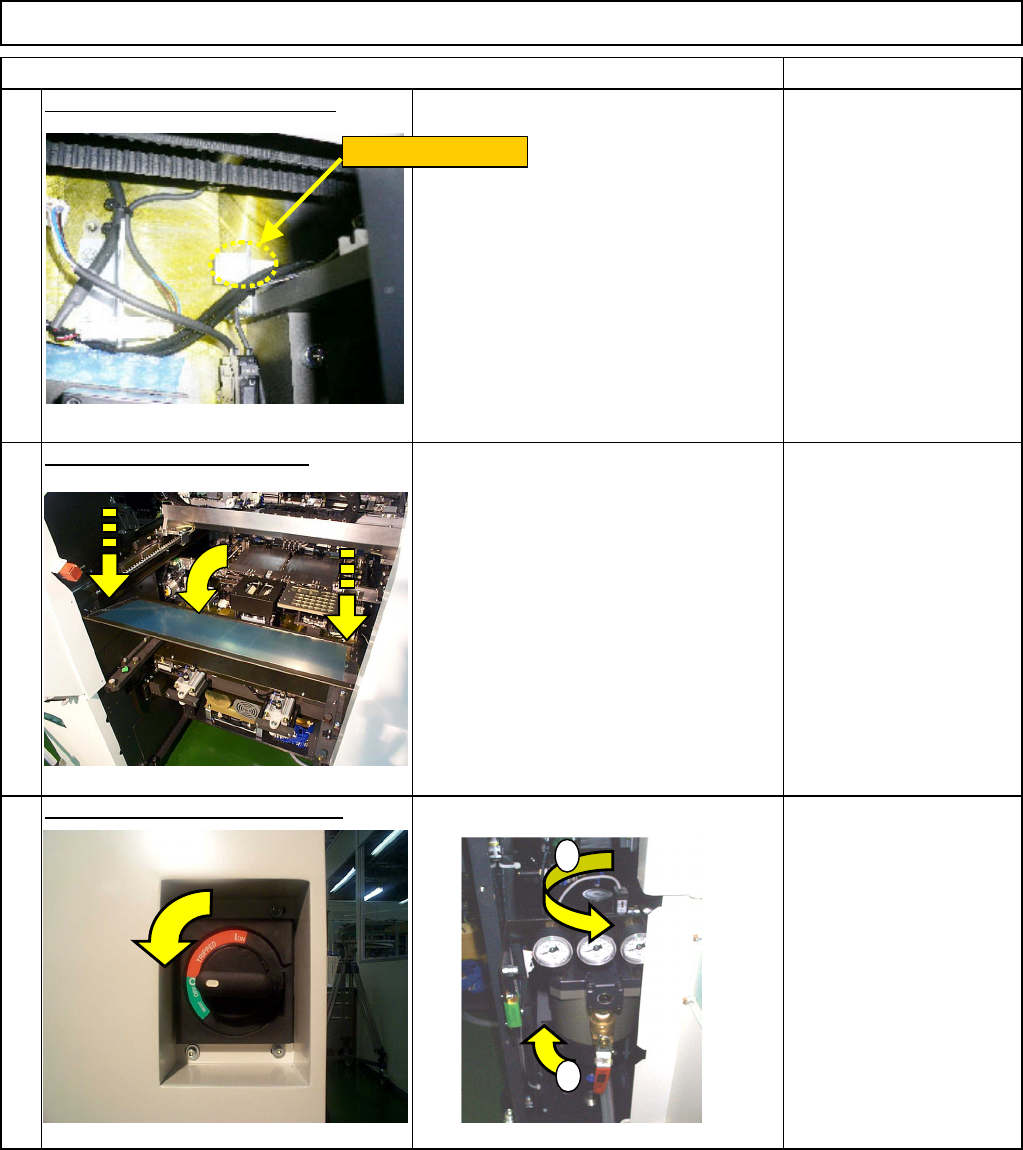
Install the component-thickness-sensor unit on the machine.
Install the cover with two M4 screws.
Tighten the two M6 x 60L screws.
In the case of 2000 or less
Secure the cables with cable ties.
EJM8A-E-SMA060405-A01-00
Page 6-4-5-8
Remark
Component-Thickness-Measuring Unit
Item
Option Part and Accessory Replacement
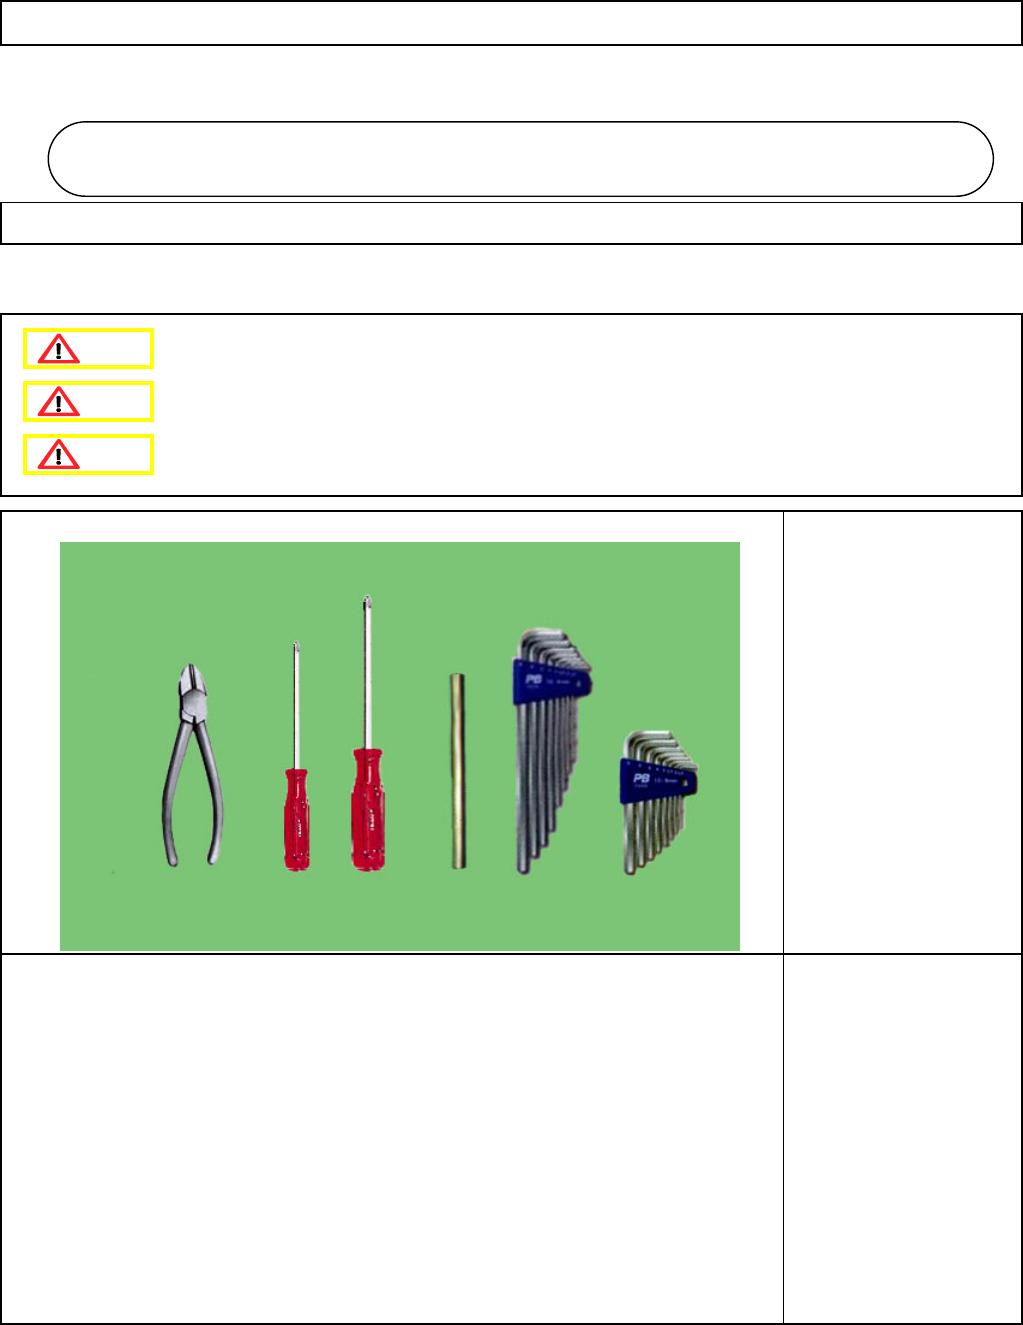
Connect the amplifier connector.
Put the feeder cover back on.
Allen key 3 mm
Screw M4 4 pcs.
Turn on the power and air supply.
27
26
25
Amplifier connector
1
2
EJM8A-E-SMA060405-A01-00
Page 6-4-5-9
This section describes the procedures for replacing the PCB-warp-sensor amplifier (8-nozzle head spec.)
• Tools
Phillips screwdriver #1
Phillips screwdriver #2
Allen key Long/short
Pipe
Nipper
• Jigs
PCB-Warp-Sensor Unit
6-5-1 PCB-Warp-Sensor-Amplifier Replacement (8-Nozzle-Head Spec.)
Option Part and Accessory Replacement
PCB-Warp-Sensor Unit
6-5
Danger
Warning
Caution
EJM8A-E-SMA060501-A01-01 Page 6-5-1-1