CM602all_EJM8AESM_Service Manual.pdf - 第759页
Item Remarks 6 5 Supply power and air. Connect the air tubes and the connectors. Optional Accessory Parts Replacement 3-Head Support Unit 1 2 EJM8A-E-SMA060205-A01-00 Page6-2-5-3
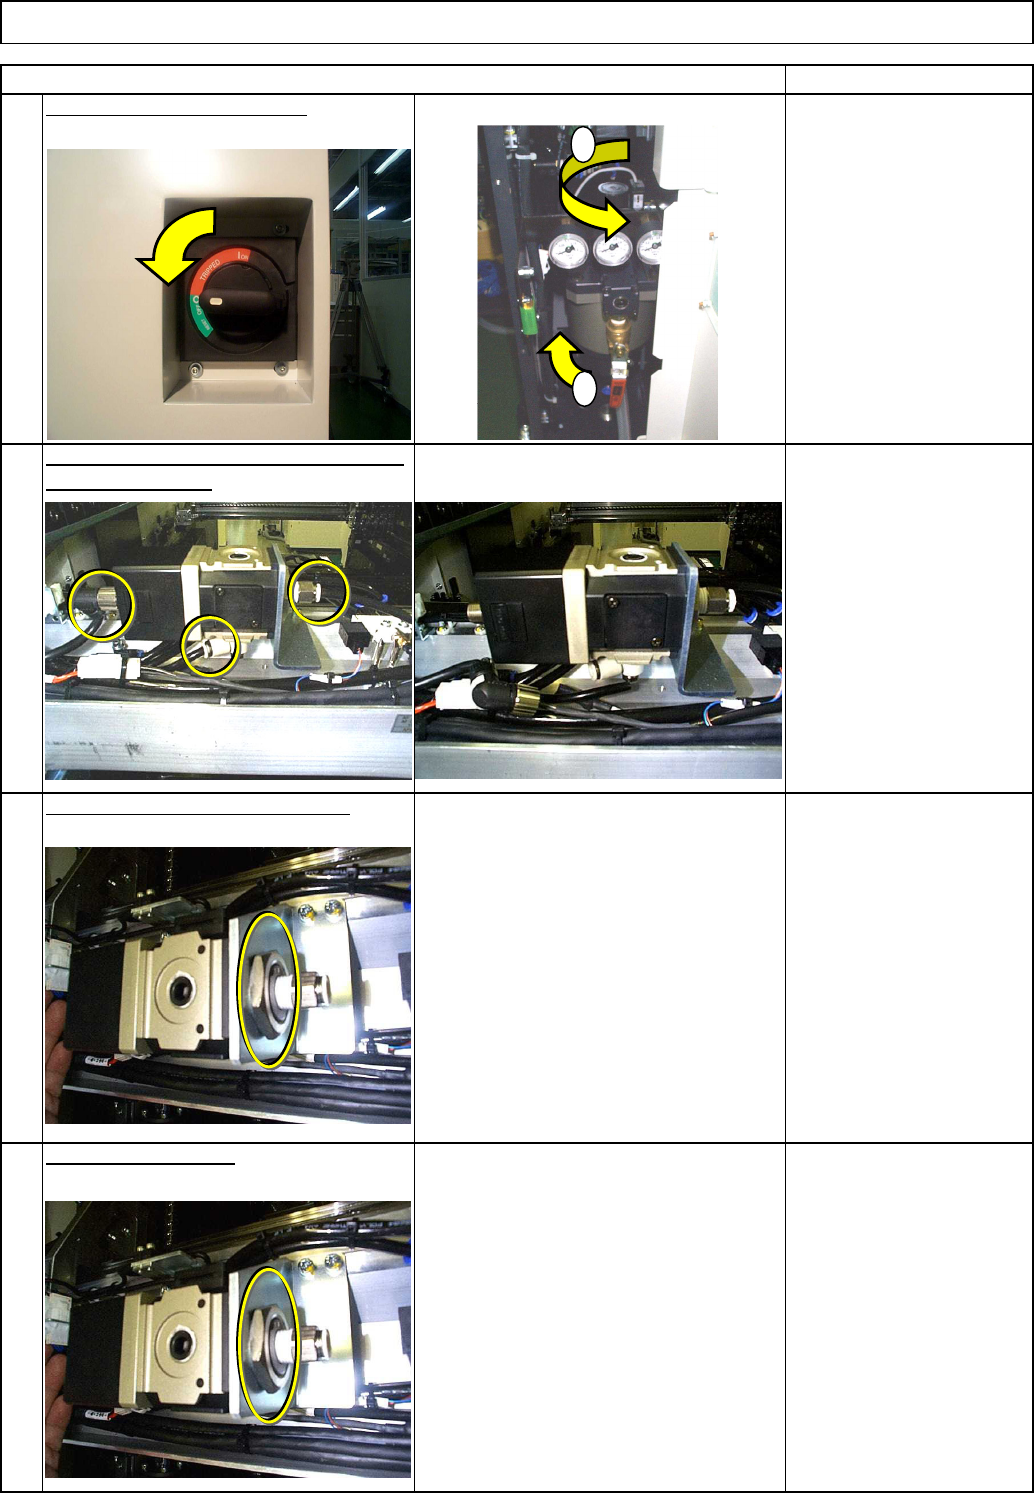
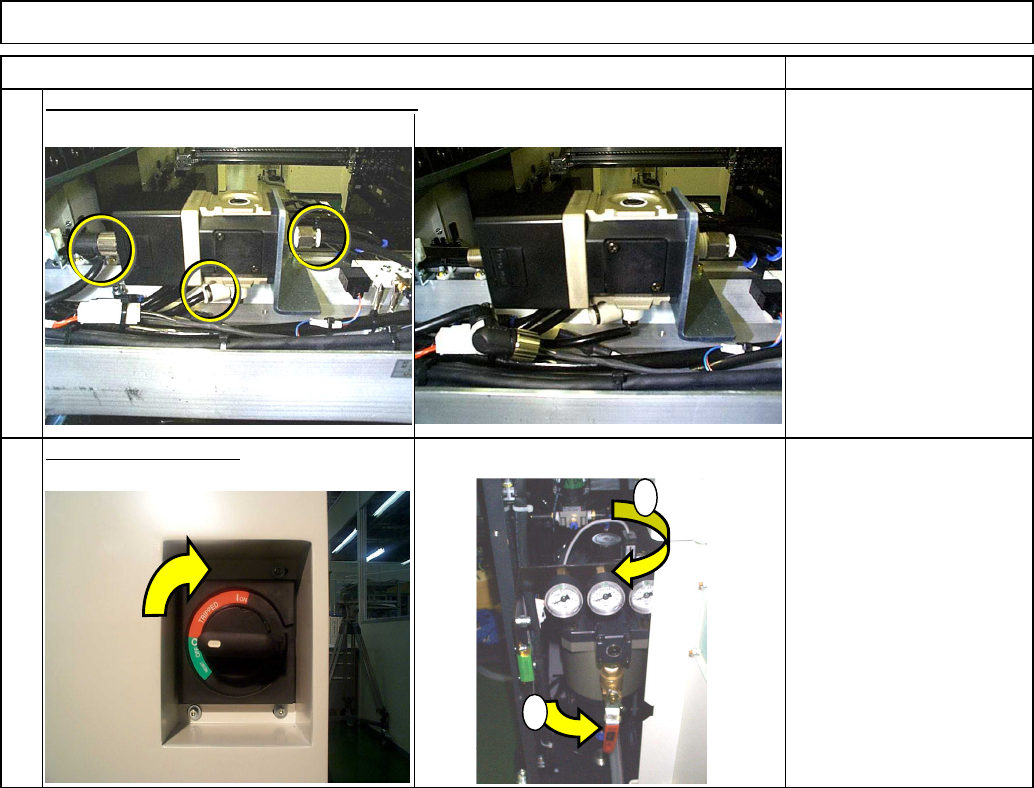
Fit the new regulator.
Remove the air tube and the connectors
Remove the regulator holding nut.
Remarks
Adjustable wrench 24 mm
Nut 24 mm
Cut the power and air supply.
3
4
from the regulator.
Item
Optional Accessory Parts Replacement 3-Head Support Unit
Adjustable wrench 24 mm
Nut 24 mm
2
1
1
2
EJM8A-E-SMA060205-A01-00
Page6-2-5-2
Item Remarks
6
5
Supply power and air.
Connect the air tubes and the connectors.
Optional Accessory Parts Replacement 3-Head Support Unit
1
2
EJM8A-E-SMA060205-A01-00
Page6-2-5-3
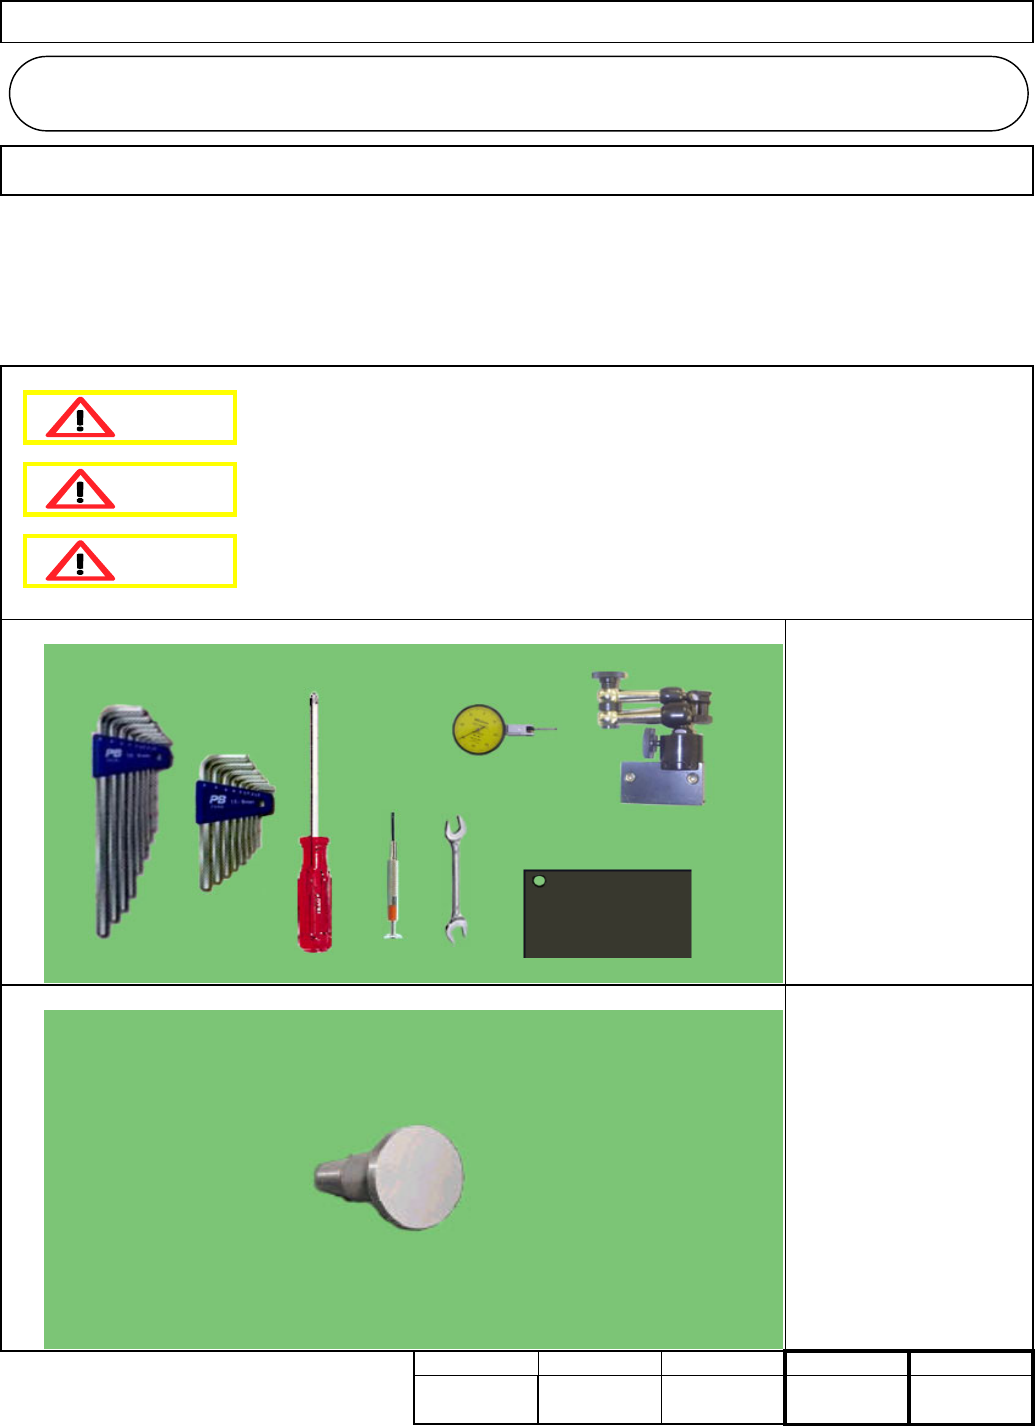
・Tools
・Jigs
Min.
Installing the Lead Checker
30 Min. 120 Min. 20
Phillips screwdriver #2
Philips precision
screwdriver
Allen key 4 mm
Wrench 7 mm
Magnetic stand
Iron plate for holding the
magnetic stand
Dial gauge
kgs.170
Lead CheckerOptional Accessory Parts Replacement
Part Weight
Assembly/AdjustmentRemoval/Disassembly
Teaching Total Time
6-3-1
FM-1137
Laser recognition jig
Min.
・This section describes the procedures for installing the lead checker
Dange
r
Warning
Caution
Lead Checker
6-3
EJM8A-E-SMA060301-A01-00
Page 6-3-1-1