CM602all_EJM8AESM_Service Manual.pdf - 第679页
Machinery Part Replacement Remarks Item 12-Nozzle Head Teaching Press [Jig remove]. • Once teaching is finished, remove the jig and the 5-hole jig from the holder. • Fit the numbers 1 to 8 nozzles and nozzle holders. Pre…
Machinery Part Replacement
Remarks
Item
12-Nozzle Head Teaching
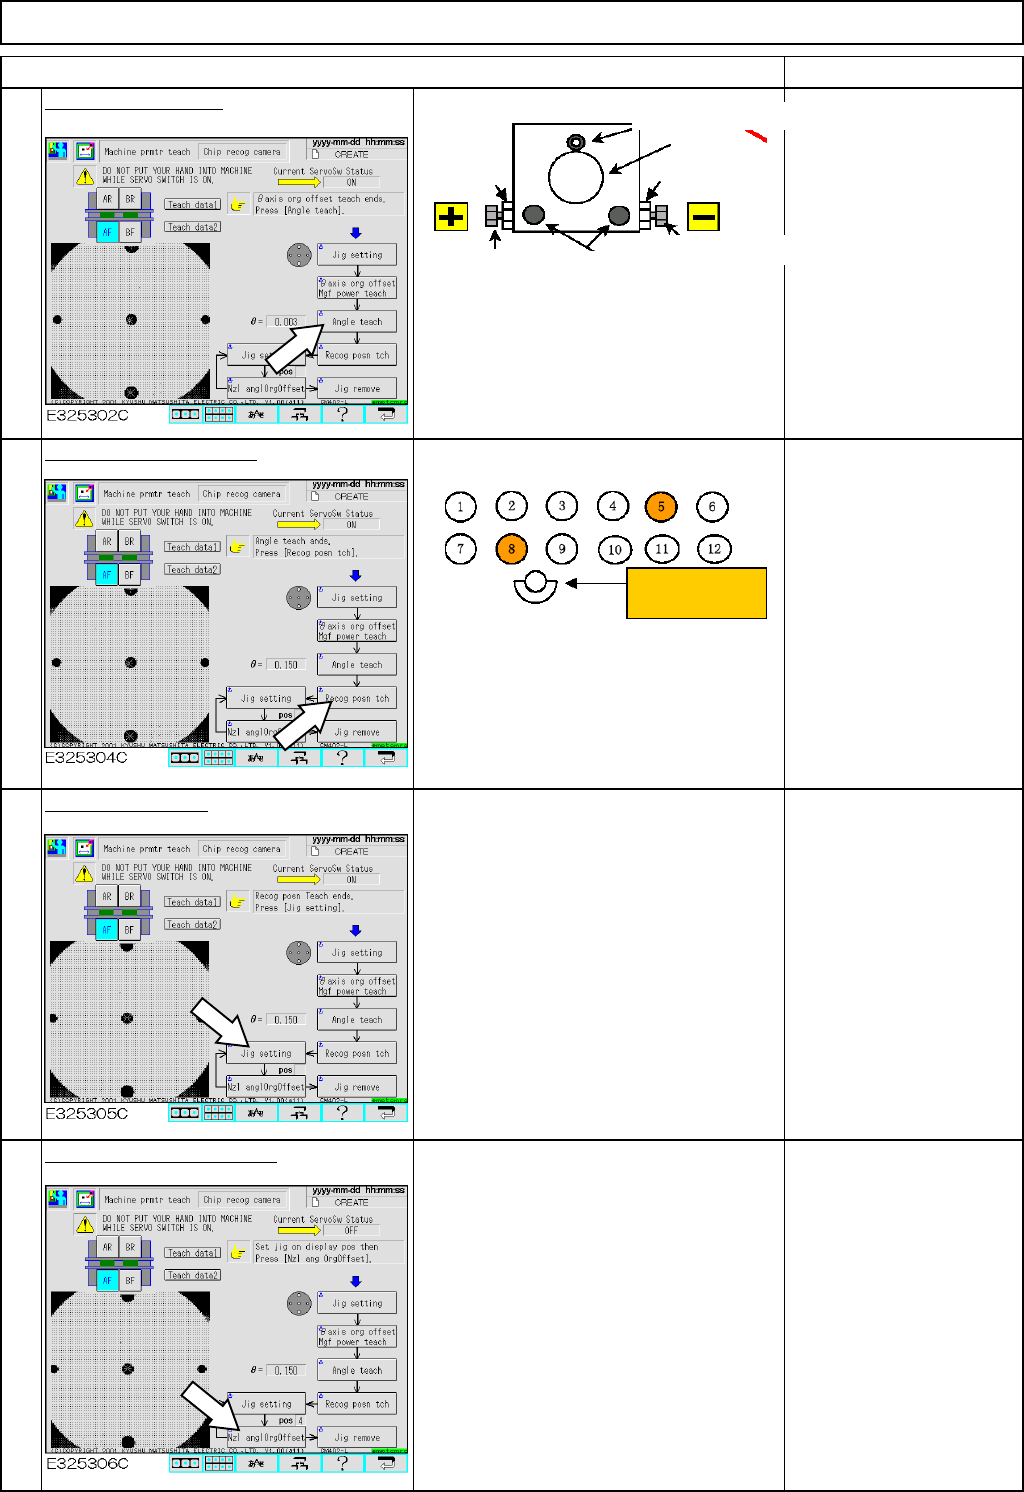
Press [Angle teach].
• To adjust the angle of the
chip camera with [Angle
teach]:
When the θ value on the
screen is positive, use the
negative angle adjusting
bolt.
When the value is negative,
use the positive one.
• Once the angle has been
adjusted, tighten the M4 and
M5 bolts, press [Angle
teach] and check the θ value
satisfies the specifications.
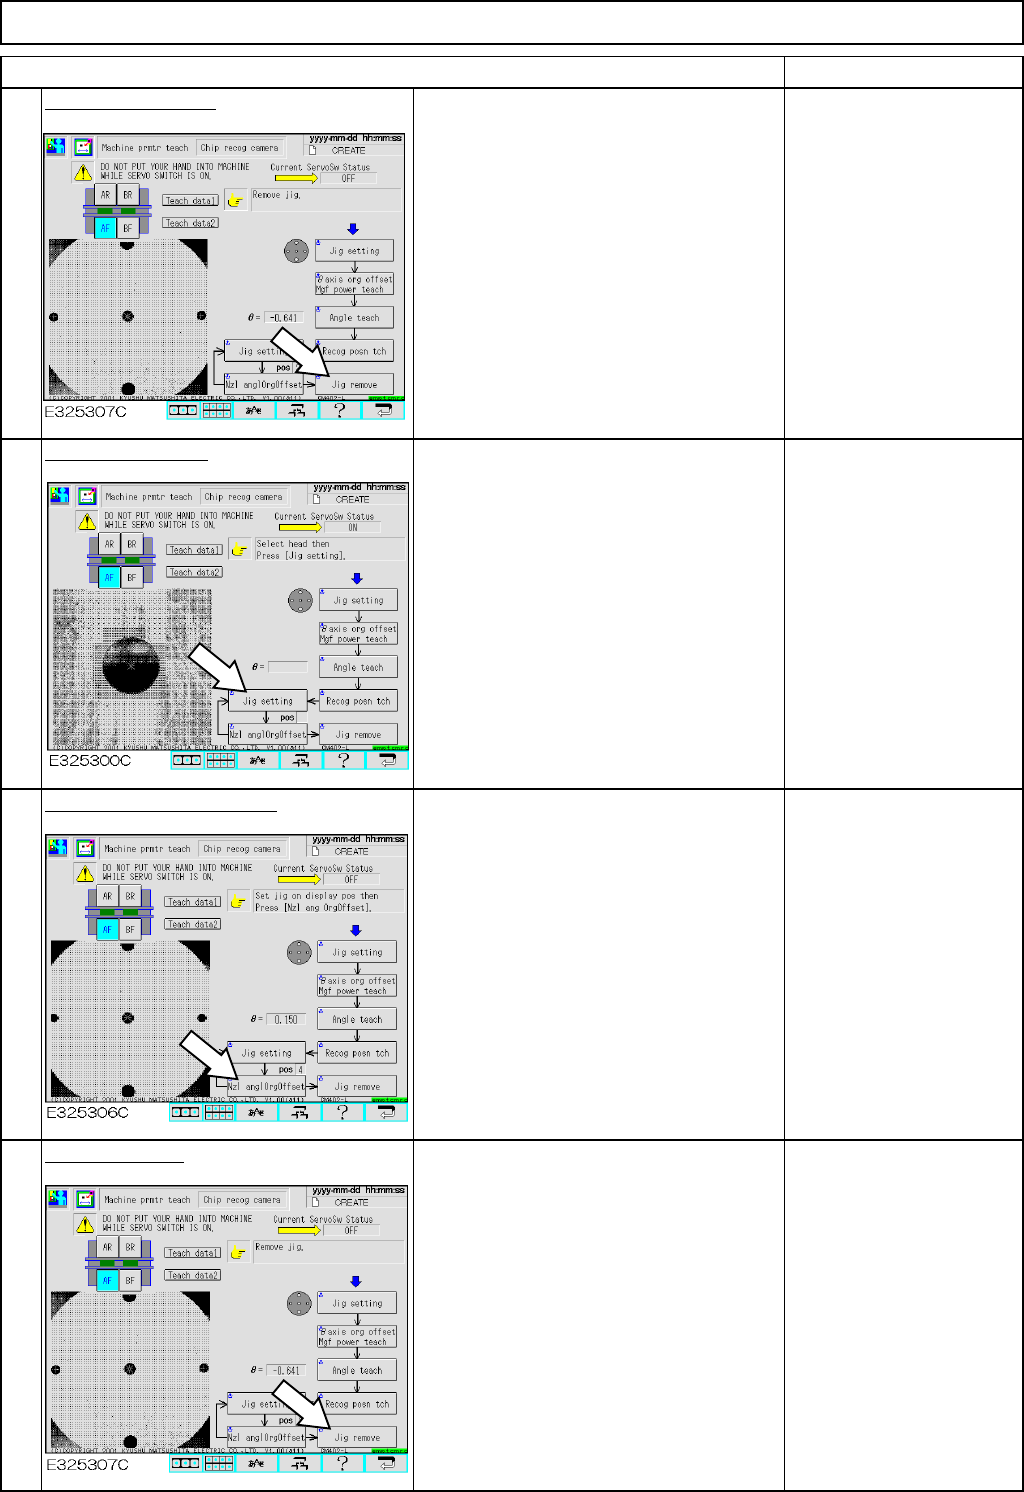
Press [Recog posn tch].
Press [Jig setting].
• The POS box below [Jig setting]
indicates 5. Put the 5-hole jig on the
number 5 holder.
* Each time [Jig setting] is pressed, the
POS indication changes from 6, 5 to 4.
Press [Nzl anglOrgOffset].
• To teach the nozzle, press [Nzl angl
Org Offset].
* Once the nozzle angle origin offset is
finished, press [Jig setting] above POS
again and repeat the procedures until
POS 4 teaching is finished.
• When No.5 recognition
teaching is finished, the
window tells you to set the
jig on the No. 8 nozzle
position. Put the 5-hole 12-
nozzle jig on the No. 8
position. Press the
confirmation key on the
window. Carry out No.8
recognition position
teaching.
* When moving the jig from
No. 5 to No. 8, make the jig
face in the same direction.
5
6
7
8
* Specifications: ⇒
θ
= within +/-0.05
Tightening bolt M4
Lens
Nut
Tightening bolt M5
Angle adjusting bolt
Angle adjusting
Nut
Nozzle positions
Operator's side
EJM8A-E-SMA051104-A01-00
Page 5-11-4-3
Machinery Part Replacement
Remarks
Item
12-Nozzle Head Teaching
Press [Jig remove].
• Once teaching is finished, remove the
jig and the 5-hole jig from the holder.
• Fit the numbers 1 to 8 nozzles and
nozzle holders.
Press [Jig setting].
• '6' is displayed in the POS box below
the [Jig setting]. Put the 5-hole 12-nozzle
jig on the number 6 holder.
* Each time [Jig setting] is pressed, the
POS indication changes from 6, 5 to 4.
Press [Nzl anglOrgOffset].
• To teach the nozzle, press [Nzl angle
Org Offset].
* Once nozzle angle origin offset is
finished, press [Jig setting] above "POS"
and repeat the procedures until POS5
teaching is finished.
The angle offset for each nozzle
should be within +/-5.0°
Remove the jig.
• Once all teaching is finished, remove
the jig and the 5-hole jig from the holder.
• Fit the numbers 1 to 12 nozzles and
nozzle holders.
11
12
9
10
* If the value is outside the range,
carry out adjustment again.
EJM8A-E-SMA051104-A01-00
Page 5-11-4-4
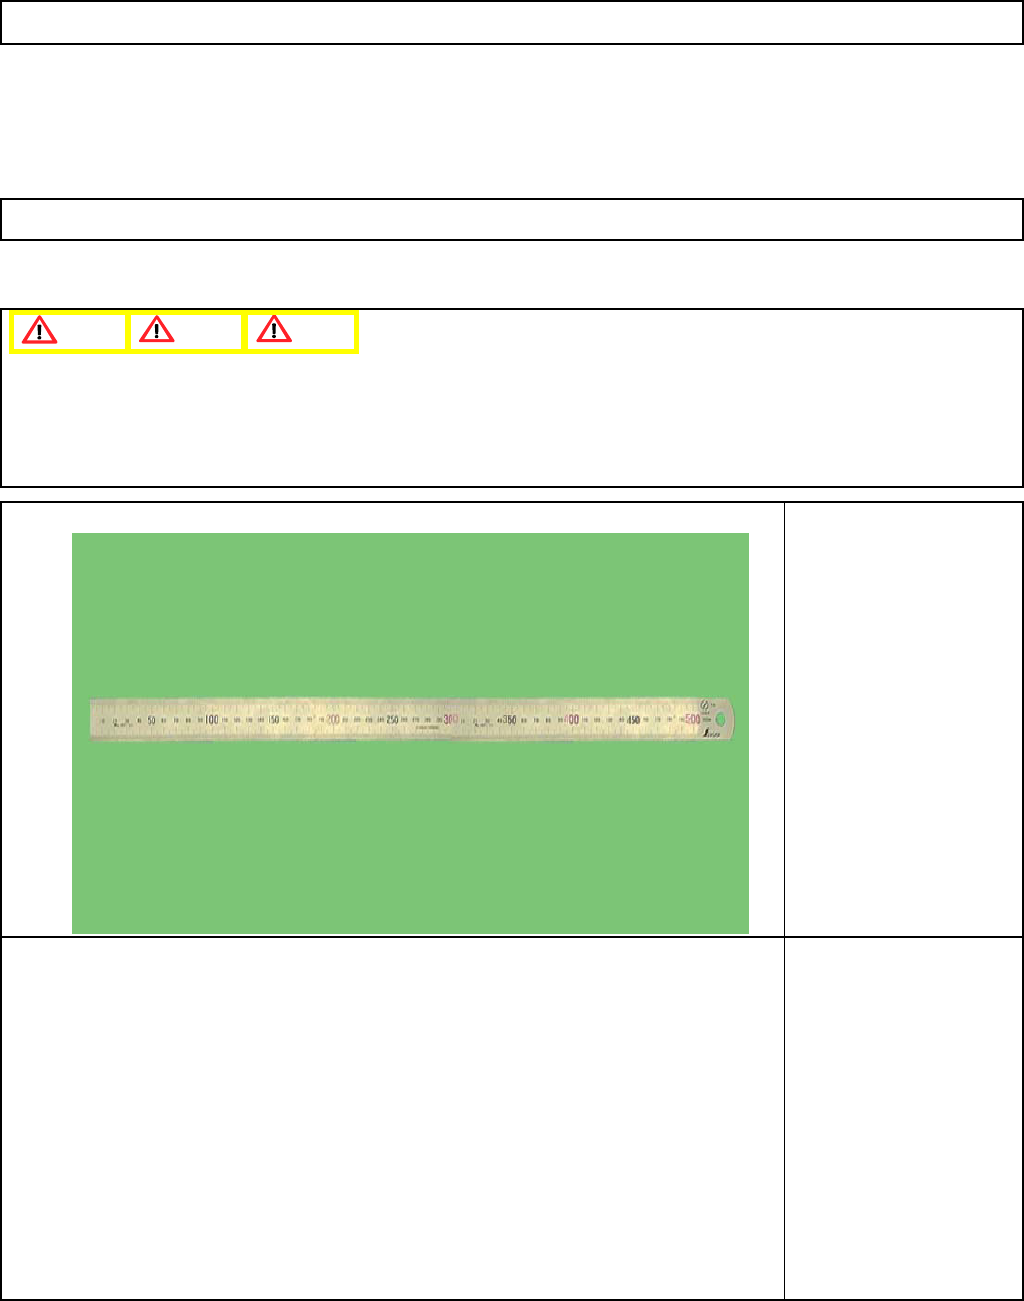
Maintenance Part Replacement 12-Nozzle Head Teaching
Tools
Ruler 500 mm
Jig
None
5-11-5 Conveyor-Width-Adjusting Axis Origin Offset
Remove the support pins beforehand.
This section describes the procedures for determining the offset for the origin of the conveyor-width adjusting axis.
Caution Dange
r
Warning
EJM8A-E-SMA051105-A01-00
Page 5-11-5-1