YV180X_Ope_E.pdf - 第229页
5 -153 EPD8013110 Operation Chapter 5 5 Creating the PCB data 13.2 Data replace The setting data in mount information and component information can be replaced at one time. 13.2.1 Data replace in mount infor mation 1 Ope…
5
-152
EPD8013110
Operation
Chapter 5
5
Creating the PCB data
13.1.4 Deleting one line
By executing the <2/1/C3 or 2/3/C3 DELETE 1 LINE> command, you can
delete a data line on the database or an editing screen except the PCB
information screen.
1 Use the arrow keys to move the cursor to the line you want
to delete.
2 Press the [ESC] key, then select <2/1/C3 DELETE 1 LINE>
(or <2/3/C3 > in DATABASE mode) and press the [ENTER]
key.
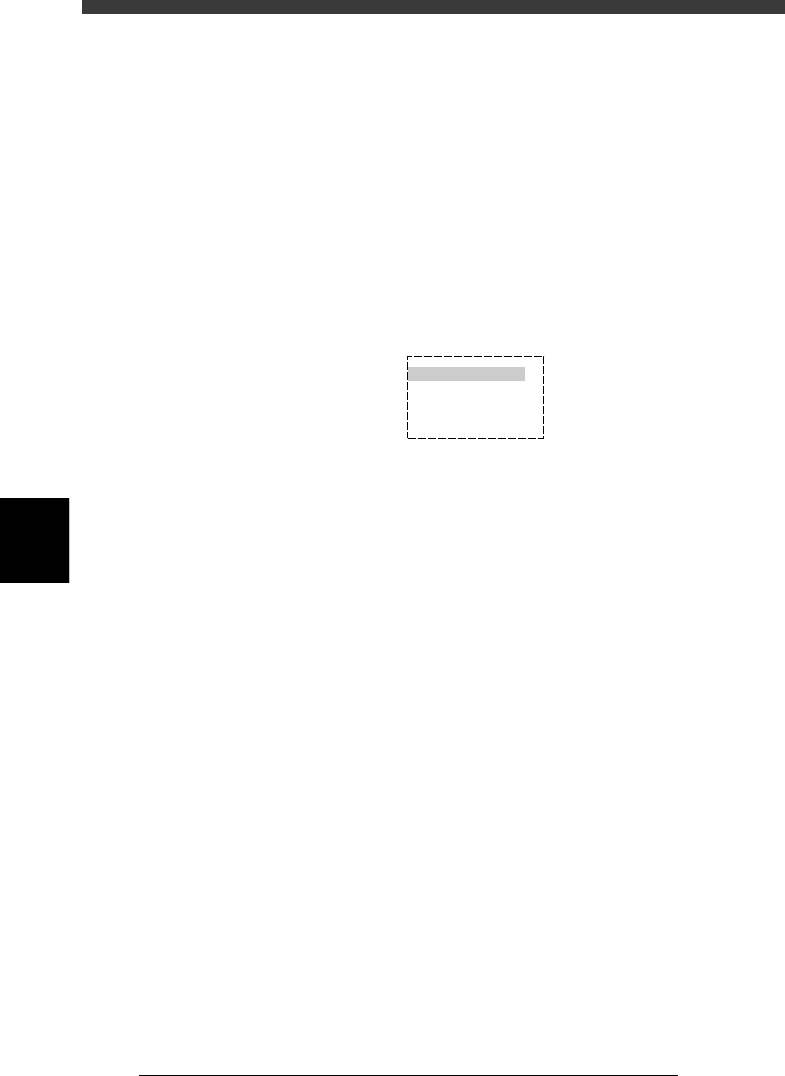
A dialogue box then appears asking you how to delete.
Deleting one line
27570-C0-00
HOW TO DELETE?
DEL EMPTY LINES
CLEAR
CANCEL
3 Select “DEL EMPTY LINE” or “CLEAR” and press the
[ENTER] key.
“DEL EMPTY LINE” : Note that selecting “DEL EMPTY LINE” causes
the data numbers after the deleted
line to move up. This may affect the PCB data
in the static components and database.
Likewise, the data numbers will be shifted
when component or fiducial mark data is
deleted.
“CLEAR” : The deleted line remains as an empty line.
The data numbers will not be shifted by data
deletion.
5
-153
EPD8013110
Operation
Chapter 5
5
Creating the PCB data
13.2 Data replace
The setting data in mount information and component information can be
replaced at one time.
13.2.1 Data replace in mount information
1 Open the Mount Info. screen.
2 Run <2/1/C1 EDITOR_ASSISTANT> - ”REPLACE” com-
mand.
1. Press the [ESC] key , select <2/1/C1 EDITOR ASSISTANT> and press the
[ENTER] key.
The EDITOR ASSISTANT submenu box appears.
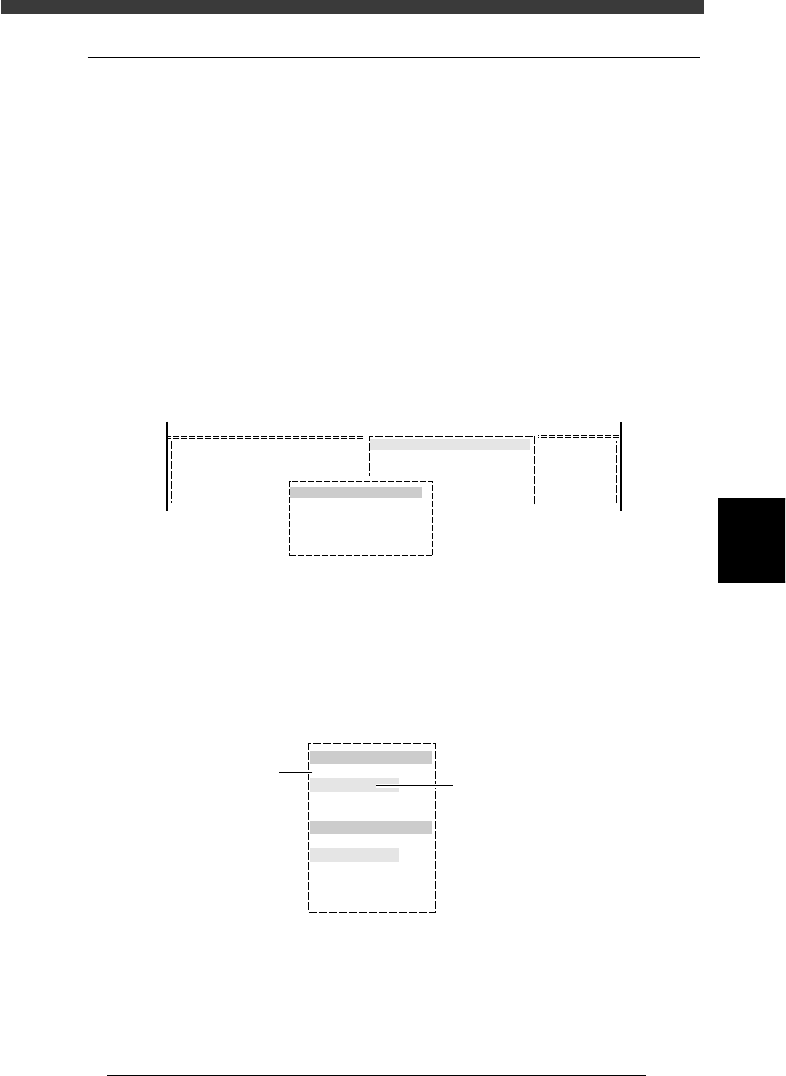
2. Select “REPLACE” and press the [ENTER] key.
A box for data replace appears.
REPLACE command
27571-C0-00
<COMMAND_LIST>
R1608
R2125
R3216
1
2
3
C/EDIT_TOOL
C1 EDITOR ASSISTANT
EDITOR ASSISTANT
REPLACE
3
3
3
3
0
0
0
0
Exec
Exec
Exec
Exec
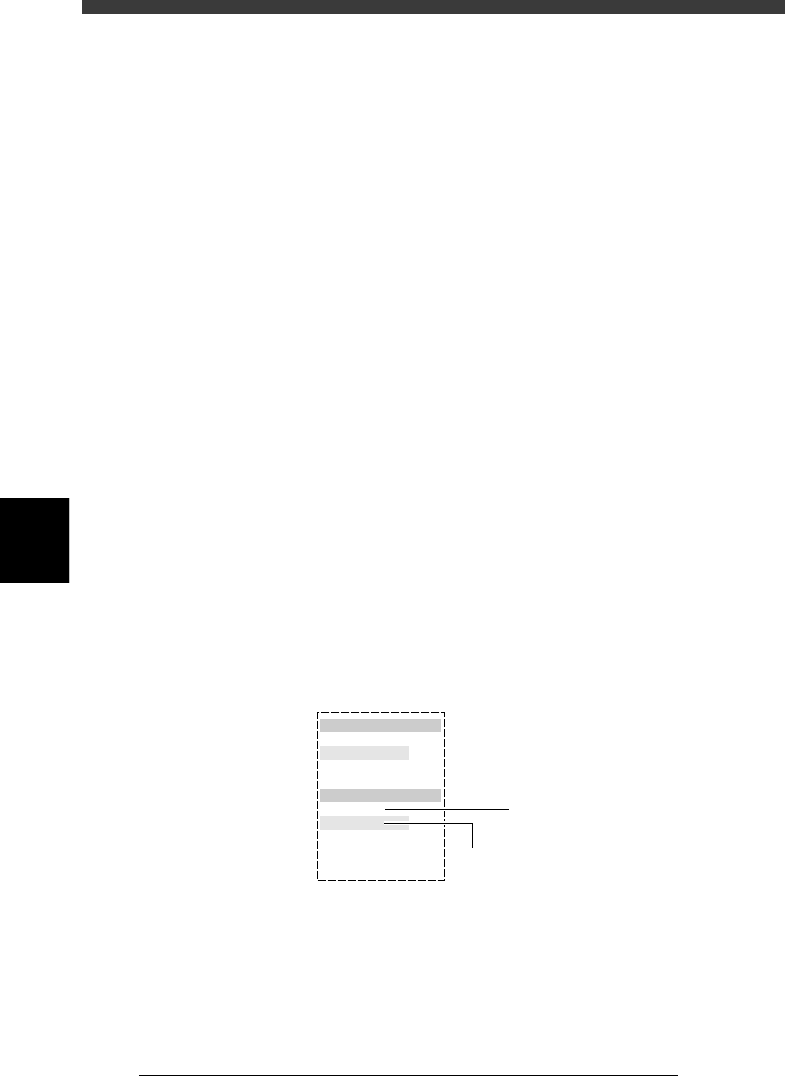
3 Set “Select condition item”.
1. Use the up/down arrow keys to select the parameter item (shown in
red) and then the setting you want to replace in the blue column just
under the parameter item.
Setting for “Select condition item” (Mount Info.)
27572-C0-00
Select condition item
Comp
3
Select change item
Skip?
Skip
Use number keys, [INS] or
[DEL] key to make setting
Use arrow keys to
make selection
5
-154
EPD8013110
Operation
Chapter 5
5
Creating the PCB data
Comp : Select the Comp column setting in the mount
information with the number keys.
X : Select the X column setting in the mount
information with the number keys.
Y : Select the Y column setting in the mount
information with the number keys.
R : Select the R column setting in the mount
information with the number keys.
Head : Select the Head column setting in the mount
information with the number keys.
Fid Mk : Select the FidMk column setting in the mount
information with the number keys.
Bad Mk : Select the BadMk column setting in the mount
information with the number keys.
Skip? : Select the Skip? column setting in the mount
information with the [INS], [DEL] or [Space]
key.
LandPattren : Select the SignOflandPattern column setting in
the mount information with the [INS], [DEL]
or [Space] key.
ALL : Specify “ALL” if you want to replace all the
data registered in the mount informa-
tion.
2. When all the necessary settings are complete, press the [ENTER] key to
advance to the next step.
4 Set “Select change item”.
Select the parameter item you want to change and specify the new setting
that supersedes the current setting.
Setting for “Select change item” (Mount Info.)
27573-C0-00
Select condition item
Comp
3
Select change item
Skip?
Skip
Use number keys, [INS] or
[DEL] key to make setting
Use arrow keys to
make selection
1. Use the up/down arrow keys to select the parameter (shown in red) you
want to change. Then, enter or select the new setting for the selected
parameter with the number keys, or [INS], [DEL] or [Space] key.
Comp : Specify the Comp column setting in the mount
information with the number keys.
X : Specify the X column setting in the mount
information with the number keys.