YV180X_Ope_E.pdf - 第250页
6 -15 EPD8013110 Operation Chapter 6 6 Using various functions 3.1 Copying from the component or mark information Y ou can copy the data r egistered in the component or mark information into the user database when you ar…

6
-14
EPD8013110
Operation
Chapter 6
6
Using various functions
3. Creating the user database
Registering components (or marks) in the user database will prove conve-
nient if they are not included in the YAMAHA database or used frequently.
The user database should be registered in the user area of the database in
the <2/3/DATABASE> mode. The user database area can be from Nos. 1 to
499 for the component database and from Nos. 1 to 149 for the mark
database. The registered data in this area will be retained even if the
software version is upgraded.
There are two methods for creating the user database: one by copying the
data from the component or mark information in <2/1/EDIT_DATA> mode
and the other by copying the data from the YAMAHA database.
n
NOTE
The database is a collection of sample settings for component data or mark data. The
software program installed in each machine contains the YAMAHA database which
includes sample settings for major standard components or marks, such as shapes and
recognition data. This is a powerful tool for creating your own database or actual mount
data. From the YAMAHA database, you can easily make a copy of component data or mark
data which is identical or similar to the components or marks you want to use. This
greatly saves the time and effort required for creating data. Normally, the YAMAHA
database is numbered from 500 to 1000 for components, and from 150 to 300 for marks.
6
-15
EPD8013110
Operation
Chapter 6
6
Using various functions
3.1 Copying from the component or
mark information
You can copy the data registered in the component or mark information
into the user database when you are still in <2/1/EDIT_DATA> mode.
Since this is the reverse of the usual way (called “reverse set”) you have to
use the password of LEVEL D.
c
CAUTION
Reverse set (copying the data registered in the component or mark information into the
user database) is allowed only when the password of LEVEL D is used. See “4. Setting
the password” in Chapter 3) to carry out this operation.
1 Enter the <2/1/EDIT_DATA> mode and select the PCB
name.
2 Open the component or mark information screen.
3 Move the cursor to the copy source.
On the component or mark information screen, move the cursor to the
data line you want to copy from.
4 Specify the copy destination.
1. Press the [TAB] key to move the cursor into the BASIC INFO. sub-
window (for component) or Mark Type Info. sub-window (for mark),
then enter the database number you want to copy to. (See Reference 1
below.)
2. When you want to make copy for multiple items of component data or
mark data, enter the same database number for each item of data. (See
Reference 2 below.)
Reference
1. To check the database number that you want copy to, execute the <2/1/A3 VIEW DATA
BASE NO.> command. A list of registered database numbers then appears.
Data numbers which are not displayed are empty data lines. To return to previous
screen, press the [ESC] key.
2. With the cursor placed in the sub-window, pressing the [SHIFT]+[UP/DOWN] arrow
keys simultaneously allows the selected data line in the main window to move while
the cursor position in the sub-window is kept unchanged.
6
-16
EPD8013110
Operation
Chapter 6
6
Using various functions
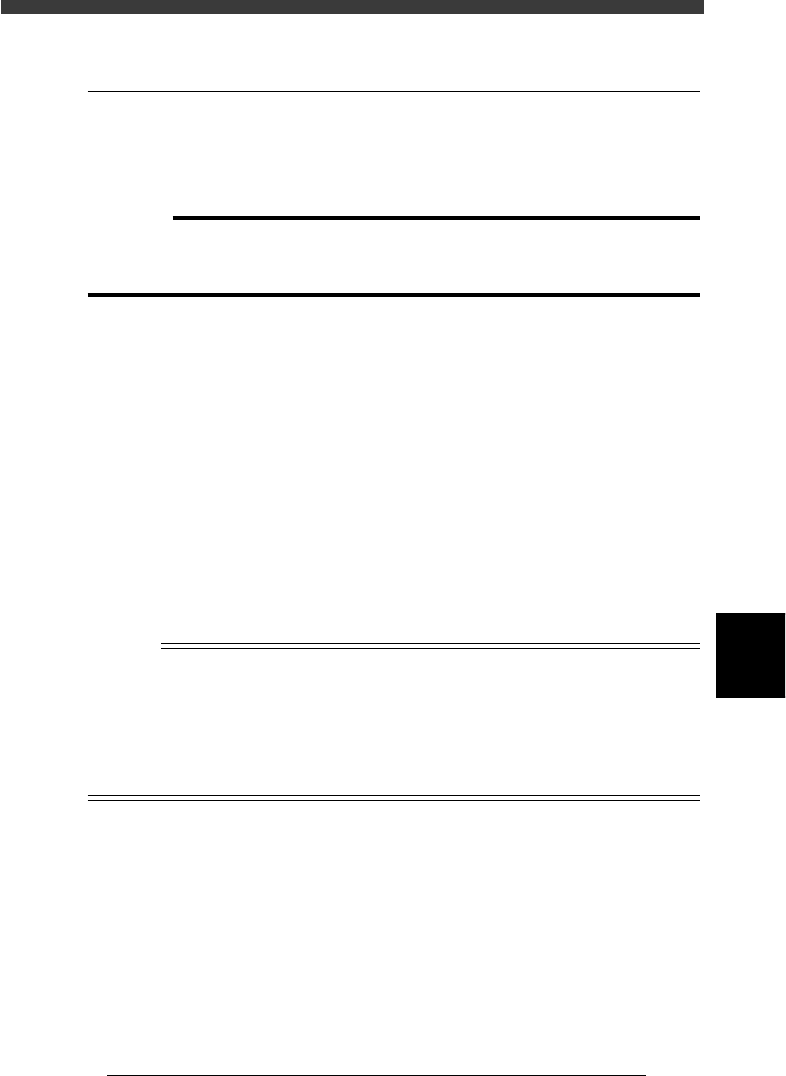
Changing the selected data line with [SHIFT]+[UP/DOWN] arrow keys
27609-C0-00
PCB :
1. BASIC INFO.
Database No.
COMPONENT NAME
R1005
R2125
COMMENT
10
OBJ :Component Info.
No.
1
2
The cursor in the main window
moves down or up.
The cursor in the sub-window
stays when [SHIFT]+ [UP/DOWN]
arrow keys are pressed simultaneously.
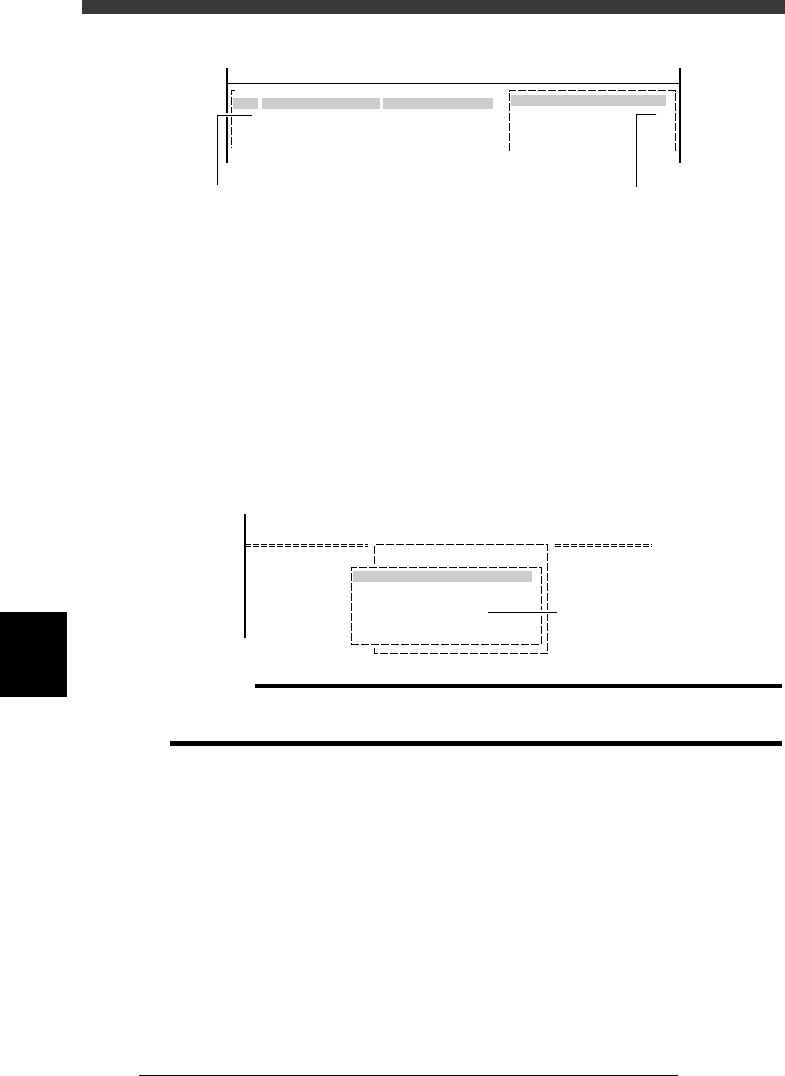
5 Perform copy.
1. Press the [ESC] key, then select <2/1/B2 DATABASE UTILITY> and press
the [ENTER] key.
The DATABASE UTILITY box then appears.
2. Select “WRITE DATA INTO DATABASE” and press the [ENTER] key.
An alert message then appears.
3. Press the [Space] bar to perform “reverse set”.
The message “SET FROM/TO DATABASE has been completed” appears,
then press the [ENTER] key to return to the previous screen.
Database “Reverse Set”
27610-C0-00
<<MODE>> 1/EDIT_DATA
<COMMAND LIST>
B/UTILITY
B2 DATABASE UTILITY
DATABASE UTILITY
WRITE INTO DATABASE
Execute this command.
c
CAUTION
When you execute “WRITE DATA INTO DATABASE ALL” from the DATABASE
UTILITY box, all the data in the selected PCB is copied into the database.
6 Check the data you have just copied into the database.
Press the [ESC] key and execute the <2/1/A3 VIEW DATABASE NO.>
command, then check that the database No. specified as copy destination
is included in the list.