YV180X_Ope_E.pdf - 第254页
6 -19 EPD8013110 Operation Chapter 6 6 Using various functions 6 Change the comment. Enter the desired comment in the COMMENT column as necessary . 7 Change various parameter settings. Check and change the parameter sett…

6
-18
EPD8013110
Operation
Chapter 6
6
Using various functions
1 Open the DATABASE screen.
Select <2/3/A1 COMPONENT/MARK D.B.> - ”COMPONENT DATABASE”
or “MARK DATABASE” and press the [ENTER] key.
2 Specify the data to be copied.
1. Press the [F5] key to execute the <A3 INDEX JUMP> command.
The COMPONENT TYPE or MARK TYPE menu box appears as shown
below.
COMPONENT TYPE and MARK TYPE menu box
27611-C0-00
COMPONENT TYPE
001
500
510
520
530
550
570
580
Defined by User
Chip Resistor
Chip Capacitor
MELF Resistor
Al Capacitor
Ta Capacitor
Chip Inductor
Chip Coil
MARK TYPE
001 Defined by User
150 Defined by VIOS
2. Select the same component type that you want to register in the user
database.
For example, when you want to select a QFP, move the cursor to “750
QFP” and press the [ENTER] key, and the cursor will jump to No. 750
in the COMPONENT database.
For the mark database, select “150 Defined by VIOS”.
3. Press the [F4] key to switch the sub-window and check the contents to
find a component or mark with the most similar parameters and line up
the cursor with the target data (copy source).
4. Press the [ESC] key, select <C4 SELECT DATA> and press the [ENTER]
key to highlight the copy source data line. Then press the [ENTER] key
again to confirm it.
3 Specify the copy destination.
1. Press the [F5] key to directly execute the <A3 INDEX JUMP> com-
mand.
2. Select “001 Defined by User” from the COMPONENT TYPE or MARK
TYPE menu box.
The cursor jumps to the No. 1 line in the database.
3. Move the cursor to the data line you want to copy to.
4 Perform the copy.
1. Press the [ESC] key, then select <C6 COPY SELECT LINES> and press
the [ENTER] key.
2. Select “OVERWRITE” from the “HOW TO COPY?” box and press the
[ENTER] key.
5 Change the component or mark name.
Rename the copied data as necessary by typing in an appropriate new
name.

6
-19
EPD8013110
Operation
Chapter 6
6
Using various functions
6 Change the comment.
Enter the desired comment in the COMMENT column as necessary.
7 Change various parameter settings.
Check and change the parameter settings while switching the sub-window
displays with the [F4] key.
8 Confirm the parameter settings by component recognition.
Execute the <2/3/B1 ADJUST ASSISTANT> command to make sure that the
component can be recognized.
9 Save the data.
Press the [ESC] key to exit the current command, then select <2/3/C0 SAVE
& EXIT> and press the [ENTER] key. The created data will be saved.
6
-20
EPD8013110
Operation
Chapter 6
6
Using various functions
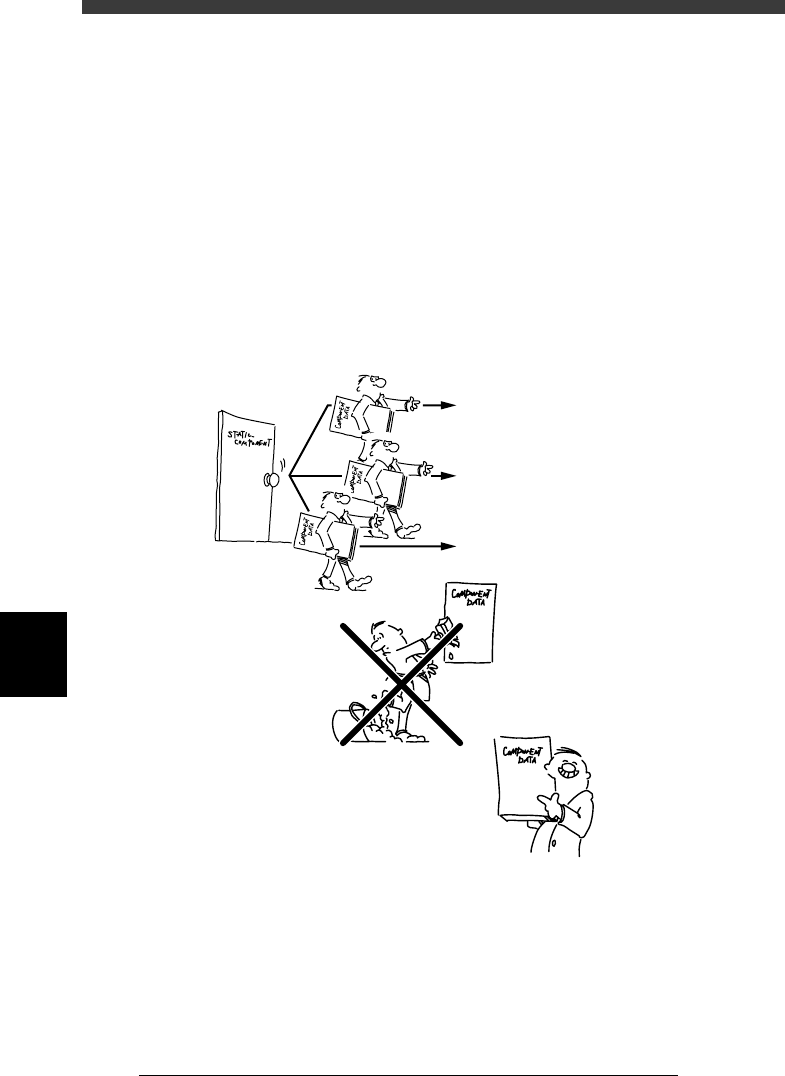
4. Static component information
The STATIC_COMPONENTS information is component data that can be
shared with multiple PCBs just like the database. When the PCB data is
switched, this usually switches the component information as well. On the
other hand, the STATIC_COMPONENTS information can be used even if
the PCB data is switched. You can also register information on the compo-
nent setups. This allows you to complete each parameter easily when you
create new component information by simply specifying the static compo-
nent number corresponding to the “FixCmpRef.” parameter in the USER
ITEMS sub-window of the component information.
Static component concept
23606-C0-00
PCB A
PCB B
PCB C
Static component
information
Copy the component information
by specifying the static
component number which can
be shared with multiple PCBs.
No need for changing the setups
and adjusting the parameters
Component information
is easily completed