YV180X_Ope_E.pdf - 第61页
4 -22 EPD8013110 Operation Chapter 4 4 Daily operation 4 6. Finishing PCB production T o finish PCB production, follo w these steps. Flow chart for finishing PCB pr oduction 23406-C0-00 Stop operation Reset operation 1 S…

4
-21
EPD8013110
Operation
Chapter 4
4
Daily operation
6. Push-in (This is not used in the YV180X.)
< : ON, No display : OFF
7. Entrance stopper
O : ON, X : OFF
8. Gate in
This is displayed when a PCB signal is input from the downstream
machine.
9. Gate out
This is displayed when calling for the next PCB from the upstream
machine.
10. PCB
Shows the position of the PCB in the machine.
4
-22
EPD8013110
Operation
Chapter 4
4
Daily operation
4
6. Finishing PCB production
To finish PCB production, follow these steps.
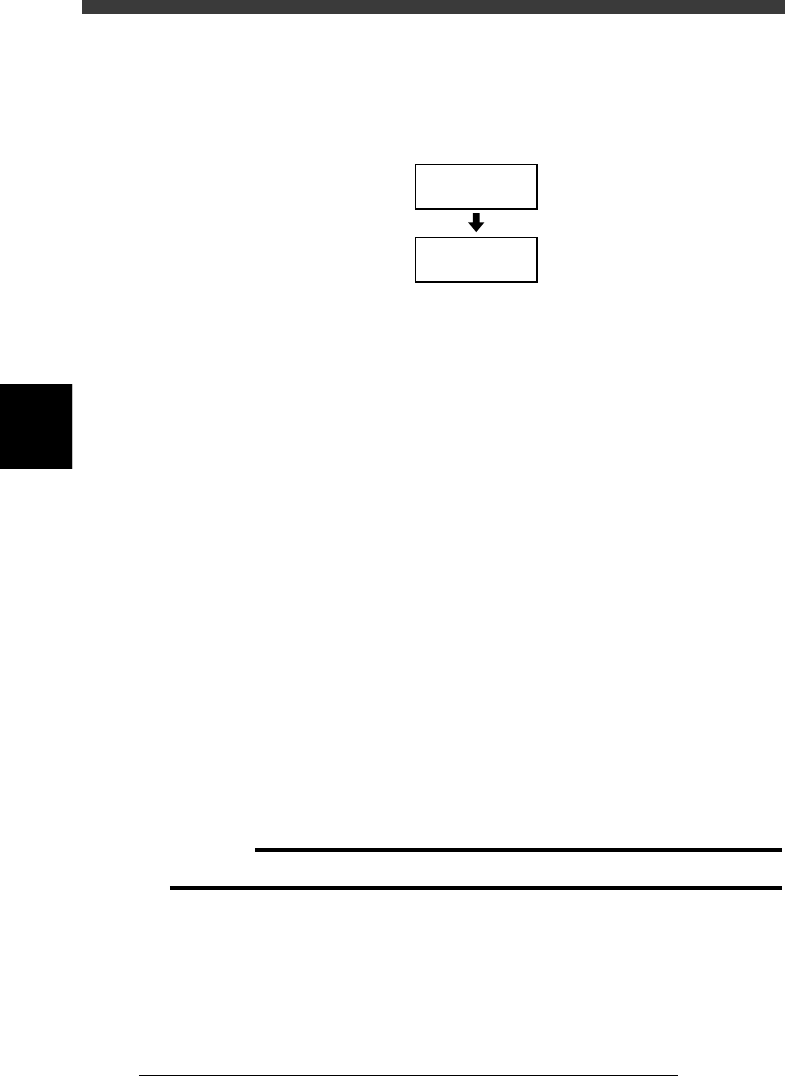
Flow chart for finishing PCB production
23406-C0-00
Stop operation
Reset operation
1
Stop machine operation.
There are five methods for stopping the machine.
1. Emergency stop button:
Press this button to trigger emergency stop. Do not use this button
during normal operation.
2. YPU or operation panel [STOP] key:
Pressing the [STOP] key on the YPU or operation panel stops the
machine immediately. To resume operation, press the [RUN] key or
execute the <1/1/A2 AUTO RUNNING> command.
3. <1/1/A1 STOP RUNNING> command:
This command stops the machine immediately just as with the YPU
[STOP] key. To resume operation, press the [RUN] key or execute the
<1/1/A2 AUTO RUNNING> command.
4. <CYCLE STOP> command:
This command is available in the <1/1/D6 RUNNING UTILITY> and
stops the machine operation just after component mounting on the
current PCB has been completed.
5. <CONVEY OUT PCB> command:
This command is also available in the <1/1/D6 RUNNING UTILITY>.
Use this command when you want to finish production just after
components have been mounted on the PCB currently on the conveyor.
When this command is executed, all PCBs on the conveyor are carried
out after component mounting, but new PCBs are not carried in from
the upstream side.
c
CAUTION
Do not press the emergency stop button during operation except in case of emergency.
4
-23
EPD8013110
Operation
Chapter 4
4
Daily operation
2
Reset the operation.
Press the [RESET] key on the YPU or execute the <1/1/E2 RESET RUN-
NING> command. The machine stops operation immediately and returns
to PCB production standby status.
n
NOTE
To resume operation after reset, use the “HALFWAY CONTINUE” command in the <1/1/
D5 STOPPING UTILITY>. For more details, see “9. HALFWAY CONTINUE command”
in this chapter.
Reference
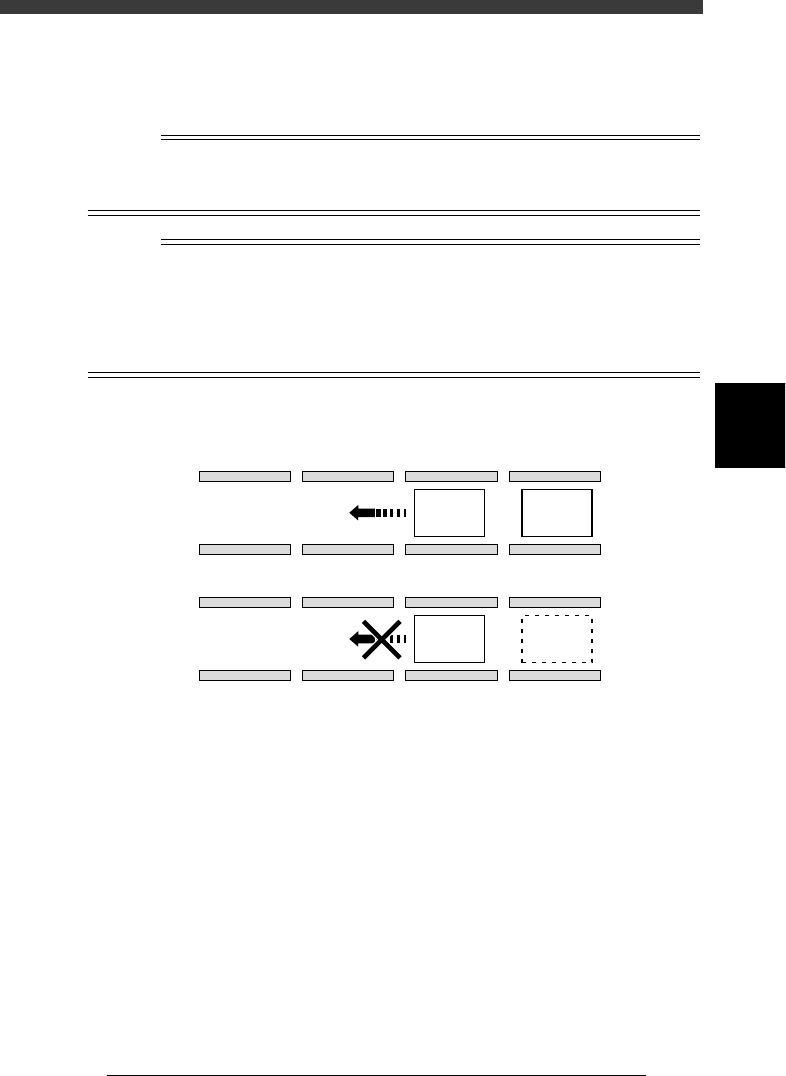
Normally, the YV180X surface mounter transfers the component-mounted PCB to the
downstream side (from B table to A table or A table to conveyor exit) only when the next
PCB is carried in at the conveyor entrance (A in the figure below). To transfer the
component-mounted PCB to the downstream side without waiting for a new PCB at the
conveyor entrance, use the <1/1/D6 RUNNING RUNNING> - “NEXT PCB RUNNING”
command.
PCB transfer during automatic operation (right-to-left flow)
23407-D8-00
B
A
A Table B Table
A Table B Table
PCB
Upstream
Downstream
PCB
PCB