YV180X_Ope_E.pdf - 第235页
5 -159 EPD8013110 Operation Chapter 5 5 Creating the PCB data 13.3 Data sor t Y ou can sort the mount data in ascending or descending order according to the selected conditions. 1 Open the Mount Information screen. 2 Sel…

5
-158
EPD8013110
Operation
Chapter 5
5
Creating the PCB data
Retry Times : Specify the Retry Times setting in the
PICK&MOUNT INFO. sub-window of the
component information. Use the [INS], [DEL]
or [Space] key to make the setting.
Mount Action : Specify the Mount Action setting in the
PICK&MOUNT INFO. sub-window of the
component information. Use the [INS], [DEL]
or [Space] key to make the setting.
Mount/Pickup Speed: Specify the Mount Speed or Pickup Speed
setting in the PICK&MOUNT INFO. sub-
window of the component information. Use
the [INS], [DEL] or [Space] key to make the
setting.
Vacuum Check : Specify the Vacuum Check setting in the
PICK&MOUNT INFO. sub-window of the
component information. Use the [INS], [DEL]
or [Space] key to make the setting.
Pick/Mount Vacuum : Specify the Pick Vacuum or Mount Vacuum
setting in the PICK&MOUNT INFO. sub-
window of the component information. Use
the number keys to make the setting.
Pick/Mount Timer offset : Enter the desired offset to add to or
subtract from the current Pick Timer or
Mount Timer data in the PICK&MOUNT
INFO. sub-window of the component
information. Use the number keys to make
the setting.
Pick/Mount Height offset : Enter the desired offset to add to or
subtract from the current Pick Height or
Mount Height data in the PICK&MOUNT
INFO. sub-window of the component
information. Use the number keys to make
the setting.
Database No. : Specify the Database No. in the BASIC INFO.
sub-window. Use the number keys to make
the setting.
Nozzle Type : Specify the Required Nozzle in the BASIC
INFO.
sub-window. Use the [INS], [DEL] or [Space]
key to make the setting.
Feeder Type : Specify the Feeder Type in the BASIC INFO.
sub-window. Use the [INS], [DEL] or [Space]
key to make the setting.
Comment : Enter a comment for the component informa-
tion,
using the alphanumeric keys.
2. When all the necessary settings are complete, press the [ENTER] key to
perform replace.
5
-159
EPD8013110
Operation
Chapter 5
5
Creating the PCB data
13.3 Data sort
You can sort the mount data in ascending or descending order according to
the selected conditions.
1 Open the Mount Information screen.
2 Select the DATA SORT command.
1. Press the [ESC] key, select <2/1/C1 EDITOR ASSISTANT> and press the
[ENTER] key.
The EDITOR ASSISTANT submenu box appears.
2. Select “DATA SORT” and press the [ENTER] key.
The SORT ITEM box appears.
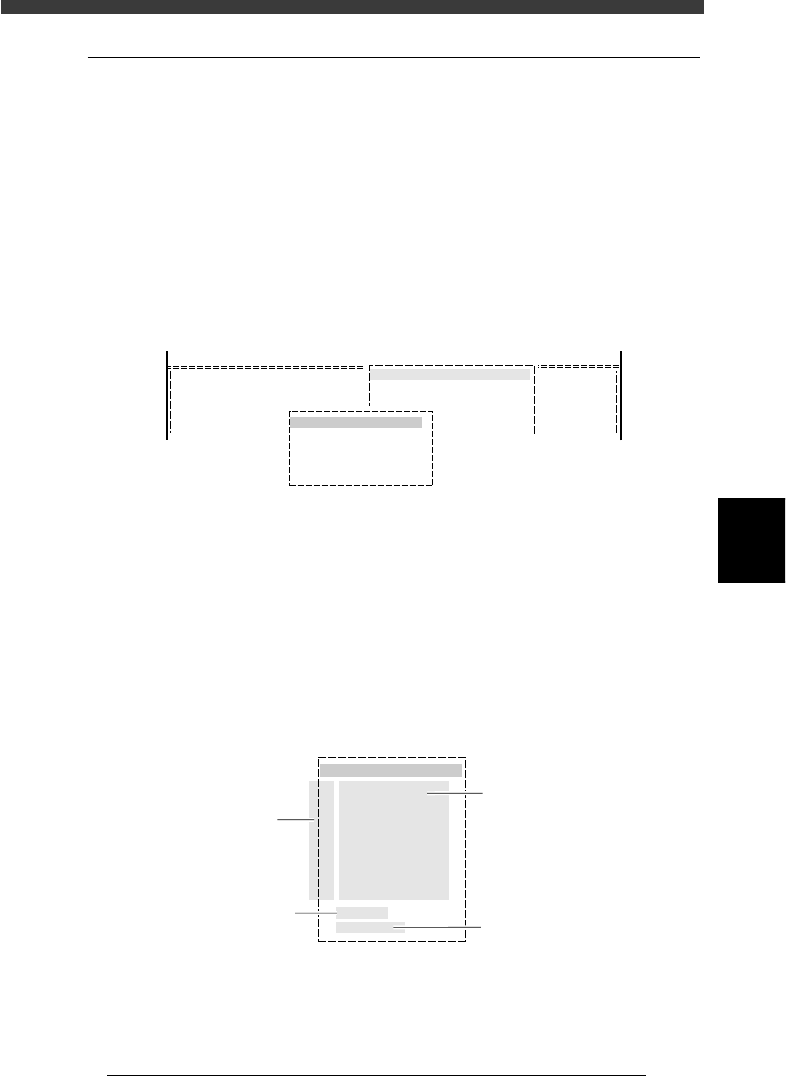
DATA SORT command
27577-C0-00
<COMMAND_LIST>
R1608
R2125
R3216
1
2
3
C/EDIT_TOOL
C1 EDITOR ASSISTANT
EDITOR ASSISTANT
DATA SORT
30
Exec
3 Specify the sorting conditions.
Here you must specify the sorting conditions (sorting items and their
priority). Numbers listed in the SORT ITEM box indicate the sorting
priority, with the highest priority at No.1 and the lowest at No. 9, so you
can specify up to 9 items.
1. Line up the cursor with No.1 in the SORT ITEM box.
2. Use the [INS], [DEL] or [Space] keys to select the sorting item.
3. Specify other sorting items as needed, by moving the cursor to No. 2
and then the subsequent numbers.
SORT ITEM box
27578-C0-00
SORT ITEM
1 Comp
2 SignOfLandPattern
3 Non
4 Non
5 Non
6 Non
7 Non
8 Non
Upper Dir
Execute
Use [INS], [DEL] or [Space]
keys to make selection
Use [INS] or [DEL] key
to make selection
Sorting priority
Press [ENTER] to execute
data sort

5
-160
EPD8013110
Operation
Chapter 5
5
Creating the PCB data
4 Select the sorting order.
Move the cursor to “Upper Dir” and select the sorting order with the [INS],
[DEL] or [Space] keys.
Select “Upper Dir” when you want to sort the data in the ascending order
(from A to Z for alphabet characters or from 0 to a larger number), and
select “Lower Dir” when you want to sort it in the descending order.
5 Run the sorting.
Move the cursor to “Execute” and press the [ENTER] key.
The sorting will now start according to the selected conditions.
n
NOTE
If you do not want to save the sorted data, select <D9 ABORT PCB DATA> when you exit
the <EDIT_DATA> mode.
c
CAUTION
The results obtained with the <DATA_GENERATOR> command will be lost by data
sorting.