YV180X_Ope_E.pdf - 第50页
4 -11 EPD8013110 Operation Chapter 4 4 Daily operation 1 Check the following points before starting warm-up. • Emergency stop is cancelled. • Return-to-origin has been completed. • No push-up pins are set on the push-up …
4
-10
EPD8013110
Operation
Chapter 4
4
Daily operation
4
4. Warm-up
A warm-up of the machine before starting PCB production is recom-
mended, especially for the X and Y axes. Normally, about 10 minutes of
warm-up is recommended. If less than two hours has elapsed after the
machine was last used, no warm-up is necessary. When the mounter starts
warm-up, the tray changer also starts warm-up at the same time if it is
connected.
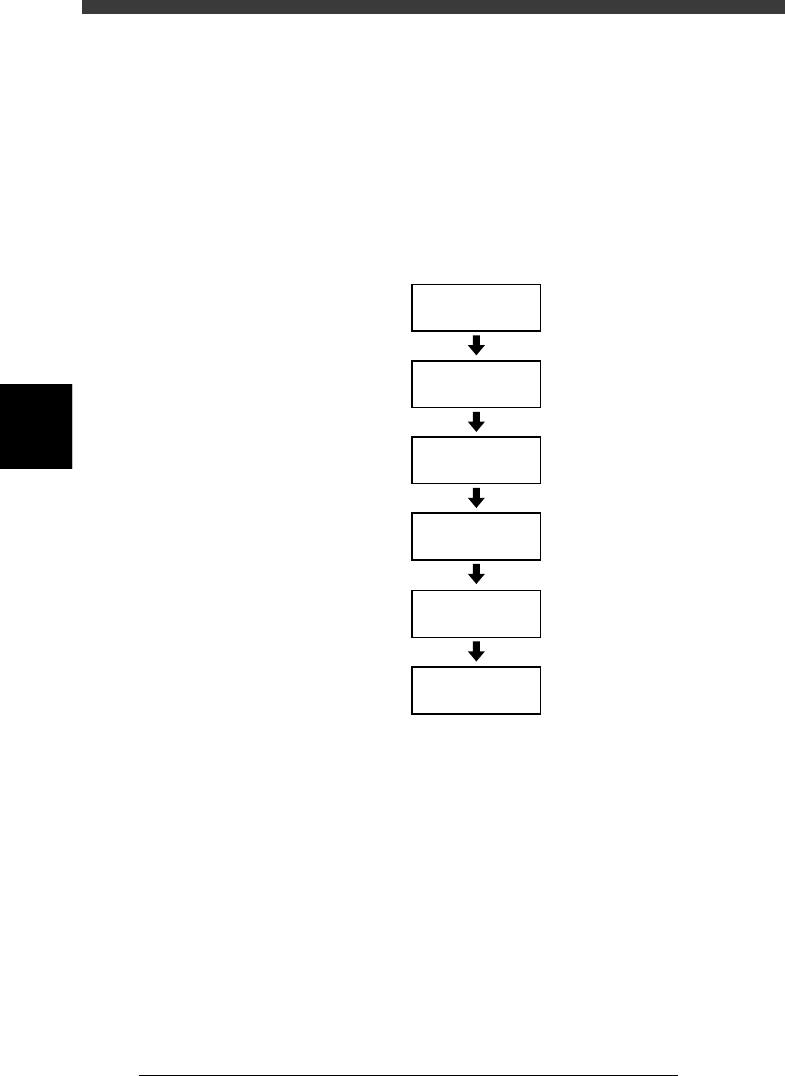
Warm-up flow chart
23404-C0-00
Check before
warm-up
1/1/D1 WARM UP
Set warm-up time
Check safety
Warm-up stops
automatically
Start warm-up
4
-11
EPD8013110
Operation
Chapter 4
4
Daily operation
1
Check the following points before starting warm-up.
• Emergency stop is cancelled.
• Return-to-origin has been completed.
• No push-up pins are set on the push-up plate.
• The safety covers are all closed.
2
Select <1/1/D1 WARM UP> and press the [ENTER] key.
The warning message box appears on the screen. Check the surrounding
area for safety.
c
CAUTION
If you select the <1/1/RUNNING> mode without selecting a PCB name, a PCB name
selection box appears. Select the PCB name or press the [ESC] key to make the selection
box disappear, and then execute the <D1 WARMUP> command.
3
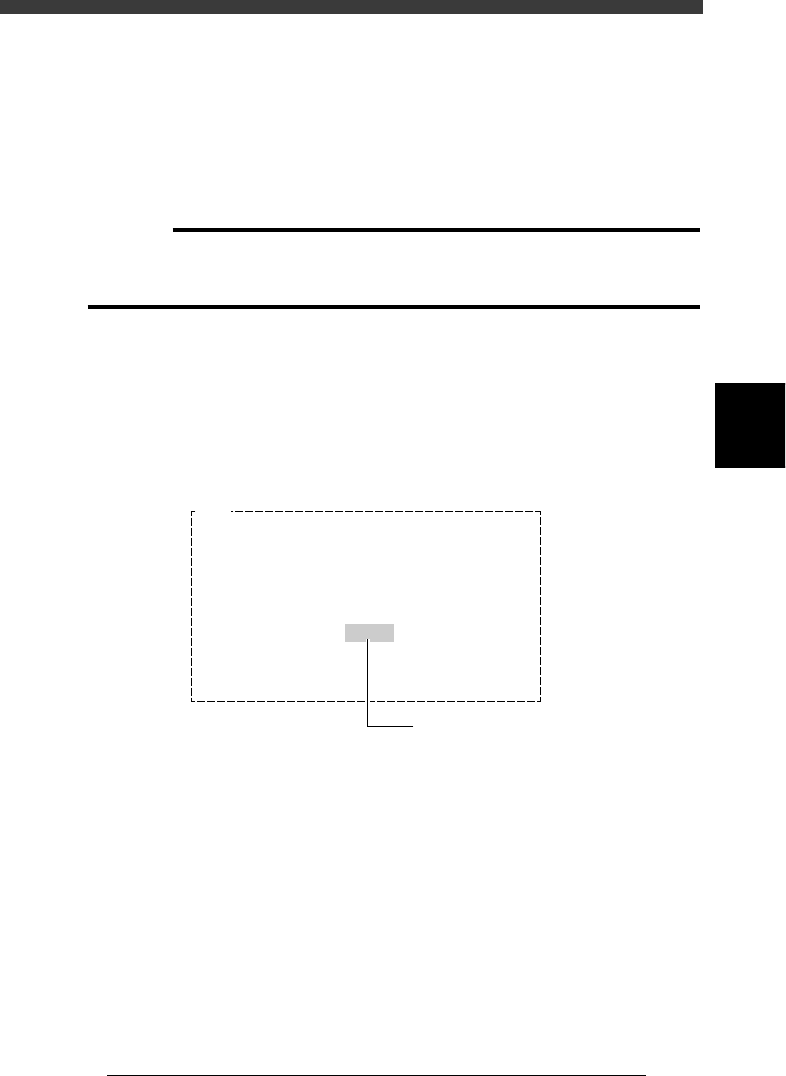
Press the [Space] bar to set a warm-up time.
A warm-up time is displayed in minutes in the warning message box. Each
time you press the [Space] bar (or [INS] key), the warm-up time setting
changes in one minute increments. To shorten the warm-up time setting,
press the [DEL] key. We recommend setting 10 minutes under normal
conditions.
Warm-up time setting
27403-C0-00
E903
Ready to start WARMING UP.
Ensure that here are no obstructions
to the head assembly
Push any one key except [ Enter ] key to abort
WARMING UP and to return to the command menu.
[ Space ] key enable to indicate minutes.
10min.
Press the [Space] bar to set
the warm-up time to "10"
4
-12
EPD8013110
Operation
Chapter 4
4
Daily operation
4
4
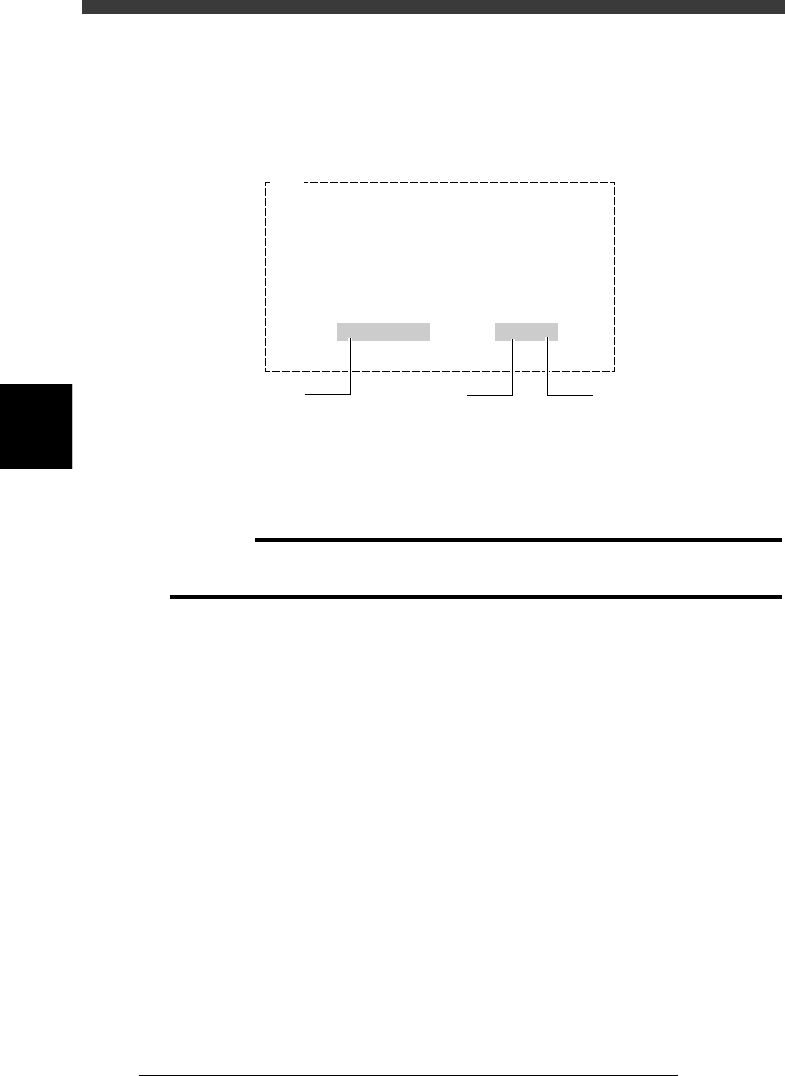
Press the [ENTER] key to start warm-up.
The machine starts warm-up, slowly at first and then gradually increases
speed. The current date and time, and elapsed time during warm-up are
displayed on the screen.
Warm-up operation display
27404-C0-00
E904
Now WARMING UP…
Press any key to stop WARM UP.
3/ 5 . 14:42 1min/10
Current date
and time
Warm-up time setting
Elapsed
warm-up time
5
Quit warm-up.
Warm-up operation will automatically stop when the warm-up time you
set has elapsed. (If you have not set the warm-up time, press any key to
stop warm-up.)
c
CAUTION
If an abnormality occurs during warm-up, press the [ESC] key to stop operation
immediately, check for the cause of the problem and eliminate it.