Q170226E01.pdf - 第230页
Front top cover Lamp replacement lid Main control panel M3 flat head machine screw Lamp replacement lid 5.38 B a c k light Replacement on Main Control Panel SERVICE MANUAL RH5 5.38−1 DA3SEC−83−9W0−A0 5.38 B acklight Repl…
RH5
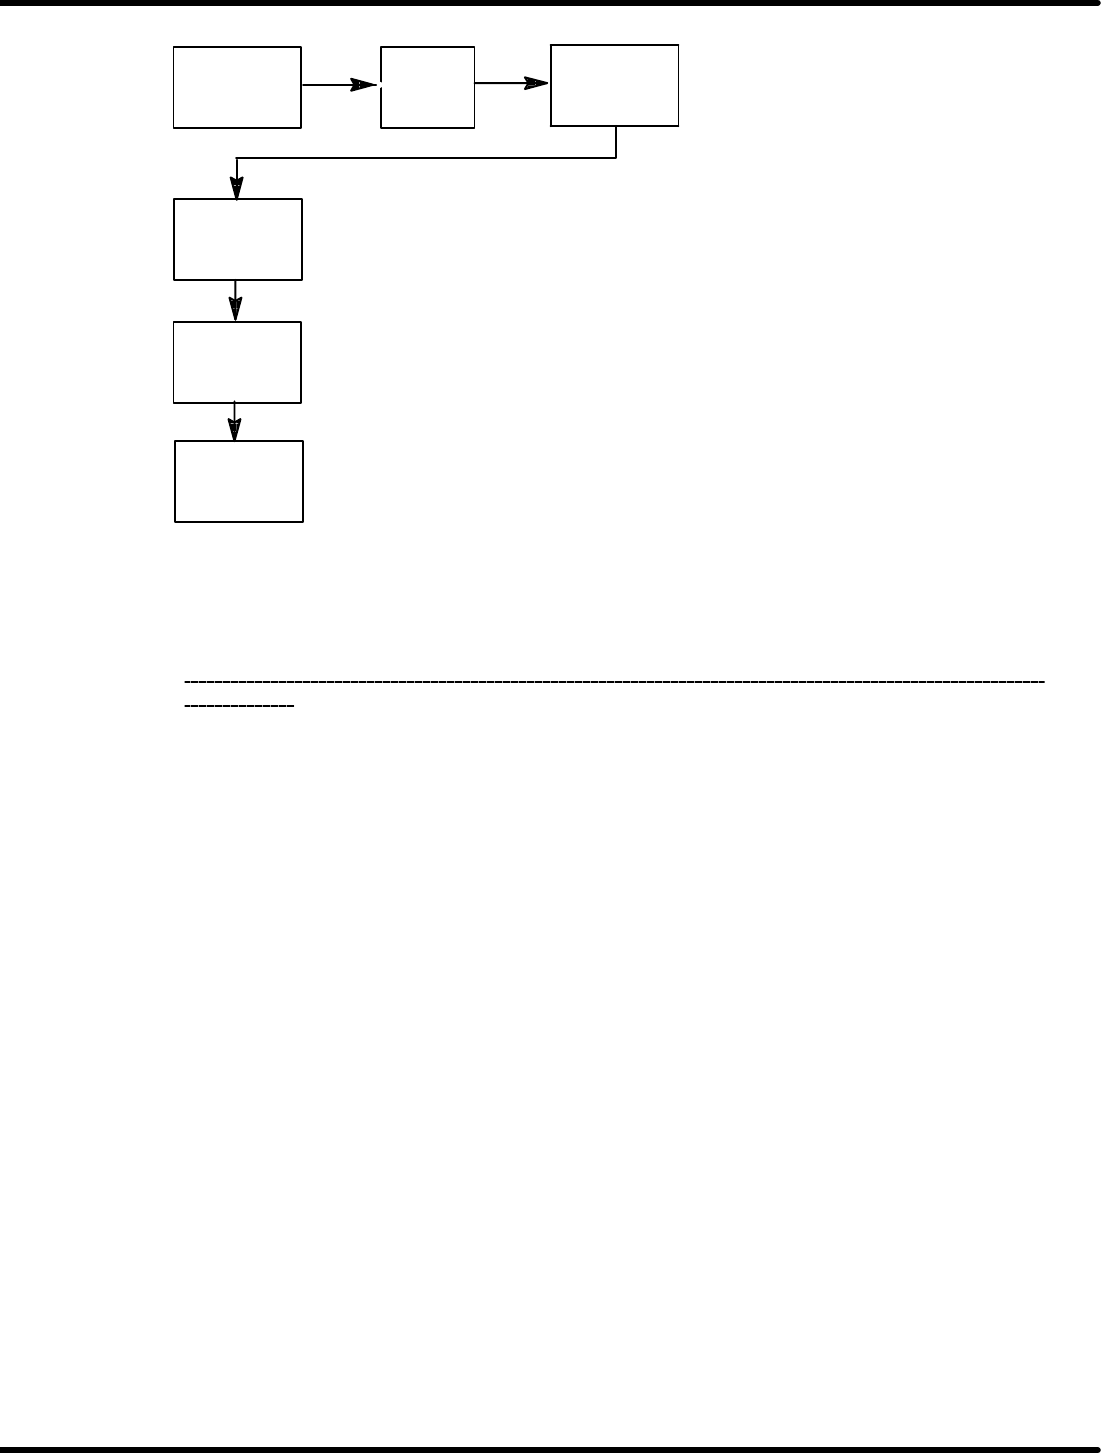
5.37 Using the Digital Sequence Timer
SERVICE MANUAL
5.37−4
DA3SEC−83−9V0−A0
Ex. 2: To readout ON timing of 130q and OFF timing of 345q at CH 1.
CH
(F1)
1
SET
(F2)
SET
(F2)
SET
(F2)
SET
(F2)
(Displays ON timing: 130q)
(Displays OFF timing: 345q)
(Displays the current stop angle.)
(Displays the current stop
angle.)
=REFERENCE=
Pressing “SET” key after displaying the last ON (OFF) timing completes readout.
To exit data readout during the process, press “CLR”.
After reading out the data, be sure to finish the operation on the screen that the current stop
angle
is
displayed.
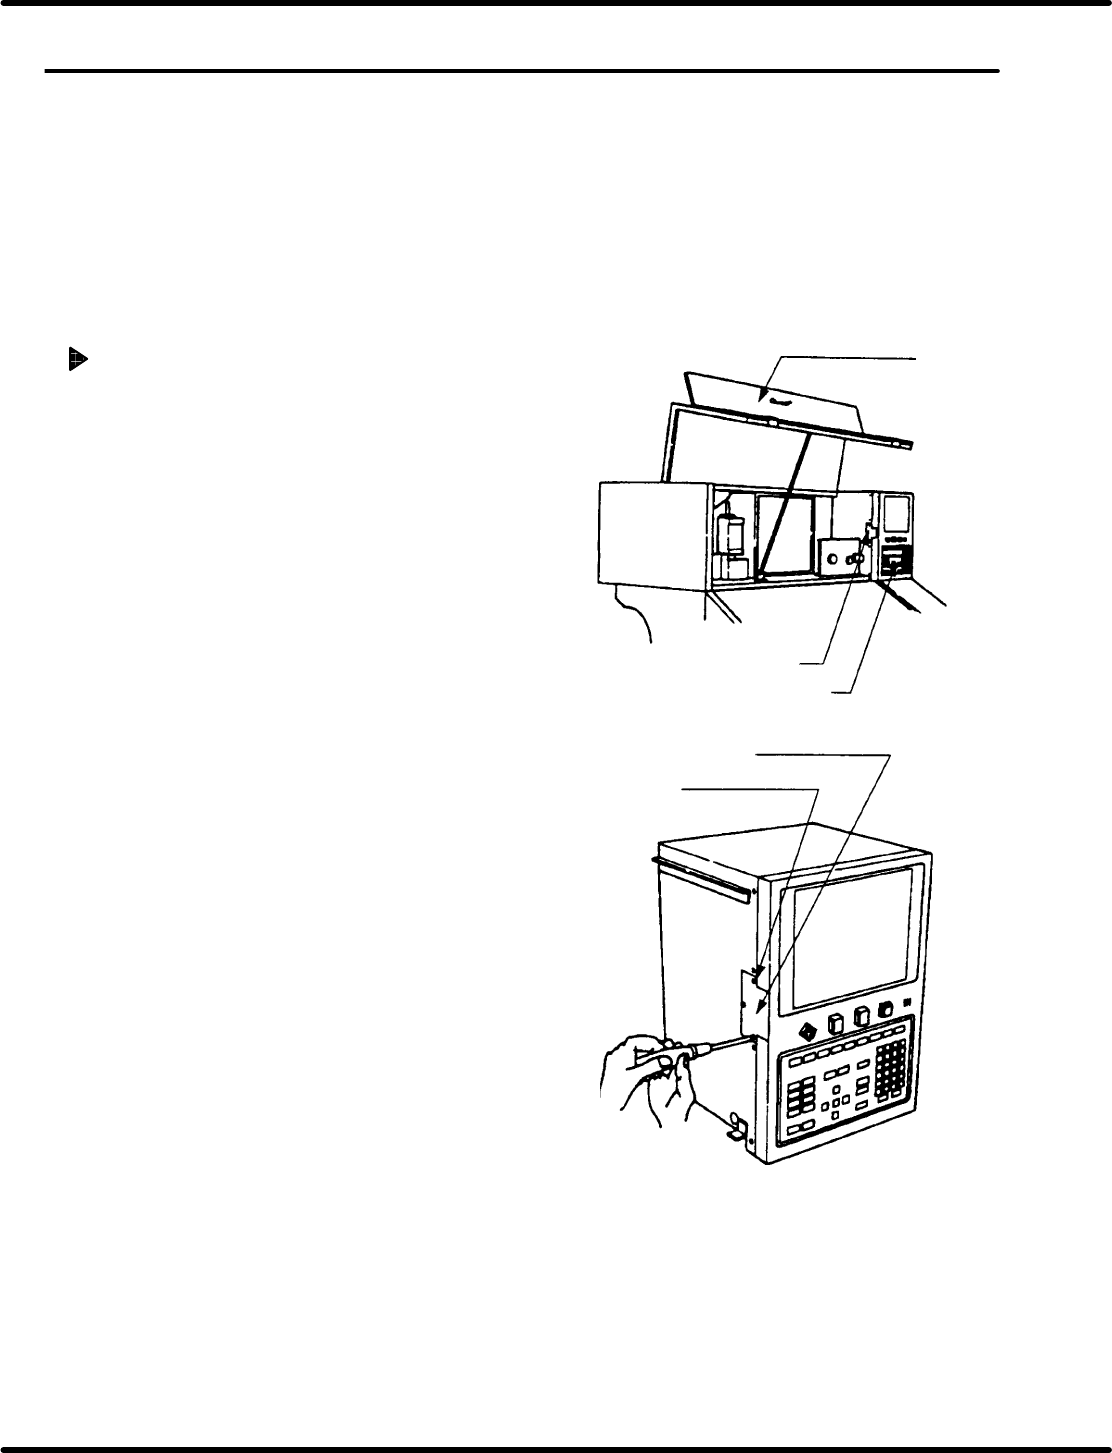
Front top cover
Lamp replacement lid
Main control panel
M3 flat head machine screw
Lamp replacement lid
5.38 Backlight Replacement on Main Control Panel
SERVICE MANUAL
RH5
5.38−1
DA3SEC−83−9W0−A0
5.38 Backlight Replacement on Main Control Panel
DA3SEC−83−9W0−A0
Sentence No.
x If the LCD backlight lamp has burnt out, use
the following procedure to replace the lamp.
x Lamps are fragile. So be careful when handling
them.
x Do not replace the lamp when it is hot. Contact
with heated parts can result in burns.
Replacing backlight
1. Open the front top cover of the equipment.
2. Remove the screws securing the lamp
replacement lid.
M3 flat head machine screw (x 3)
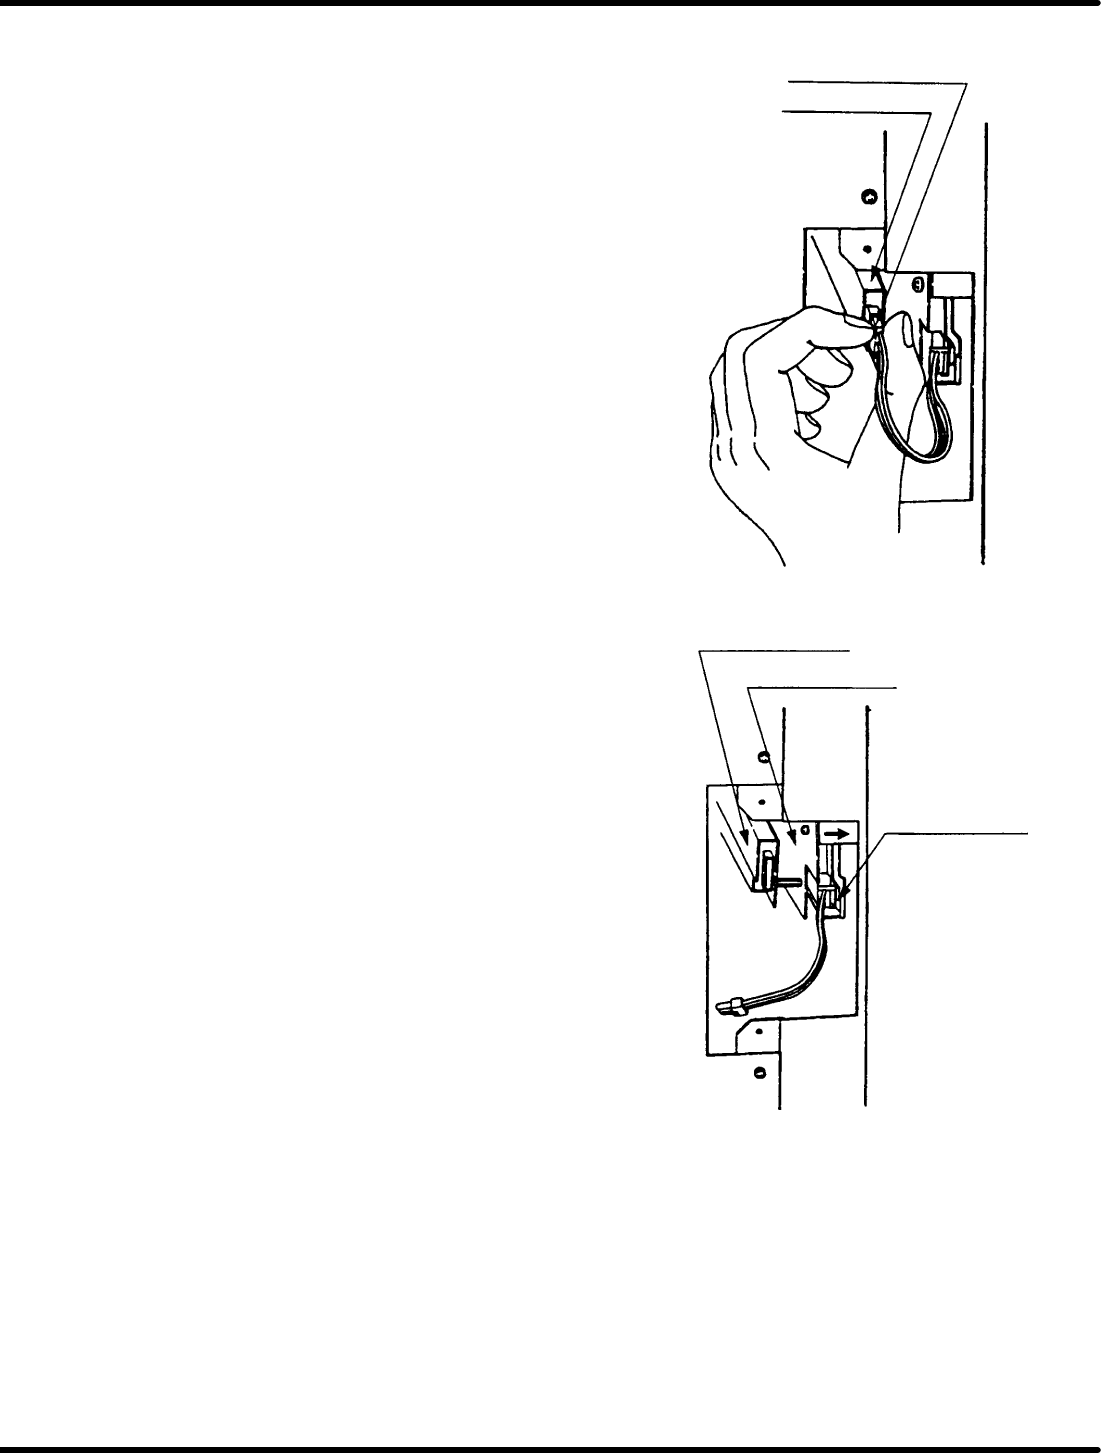
Lamp connector
Inverter board
Inverter board
LCD unit
Lamp lock claw
RH5
5.38 Backlight Replacement on Main Control Panel
SERVICE MANUAL
5.38−2
DA3SEC−83−9W0−A0
3. Draw out the lamp connector connected to
the inverter board slowly.
4. Flip the lamp lock claw to the direction
indicated by arrow to release the lamp and
then remove it.