XP-142E System Reference-SYS-XP142-2.0E.pdf.pdf - 第141页
8.6 Changing User Settings The access rights of each user name are customizable, and allow administrators to identify which operator is using a machine, and when. The only user whose settings cannot be changed is “Super …

8.5 Setting Up a New User
Procedure
Note: Operator settings can be specified only by those with a “Super User” status.
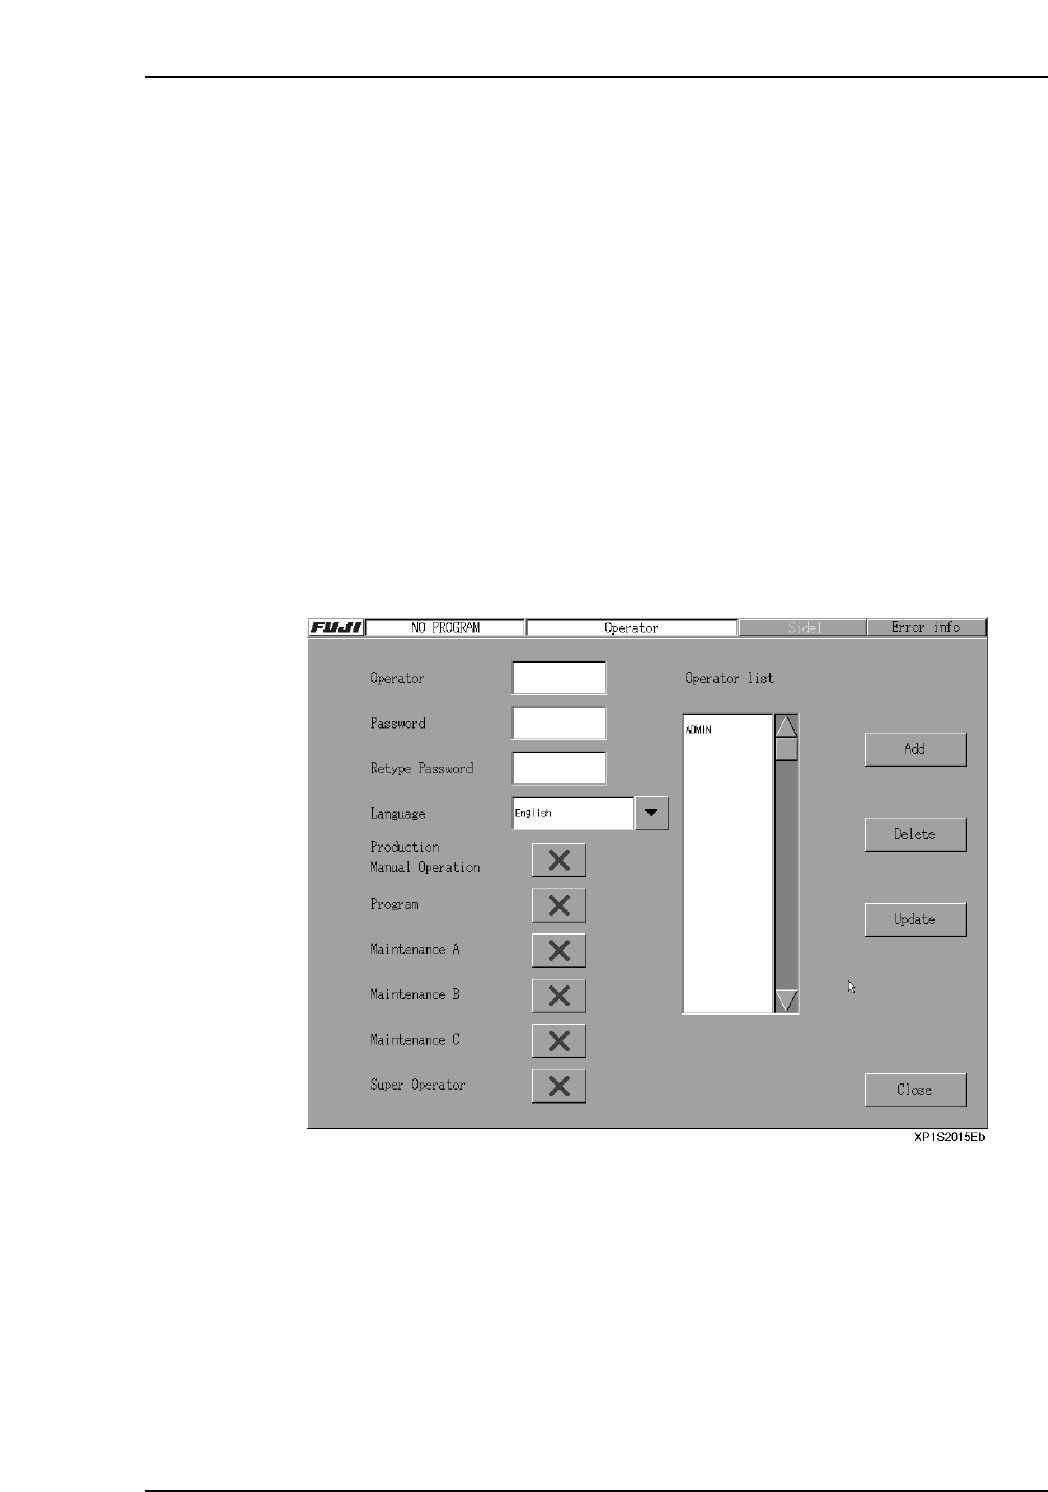
1. At the [Main] screen, press [Operator Config] to display the [Operator Config]
screen.
2. Press [Operator] to display the keyboard, then enter the operator name.
3. Press [Password] to display the keyboard, then enter the password. Enter the
same password again at the [Retype Password] item.
4. Press the [Language] button to select the desired language.
5. Specify the “access rights” settings for the [Production], [Program],
[Maintenance A], [Maintenance B], [Maintenance C] then [Super Operator] items.
6. Press [Add] then [OK] to add the new operator.
7. Press [Close] to end the Operator settings operation.
The name added appears in the user list when the machine starts up. Refer to the
following section for details of how to customize the settings for a user name.
Part 2 Chapter 8 System Administration
Edition 2.0 2-8-14 XP-142E System Reference
8.6 Changing User Settings
The access rights of each user name are customizable, and allow administrators to
identify which operator is using a machine, and when. The only user whose settings
cannot be changed is “Super Operator”. “Super Operator” is a special administration
level user name which is installed by default on every machine.
Procedure
1. At the [Main] screen, press [Operator Config] to display the [Operator Config]
screen.
2. Select the operator name (from the “Operator List” display) where a setting
change is desired. To delete the selected operator name, press [Delete].
3. Under the [Language] item, specify the “access rights” settings for the
[Production], [Program], [Maintenance A], [Maintenance B], [Maintenance C] then
[Super Operator] items. “Access rights” setting statuses are indicated by “O” and
“X” marks.
4. After selecting a setting item, [Update] can be pressed to show the updated results
onscreen.
5. After completing the setting procedure, press [Close] to return to the [Main]
screen.
Part 2 Chapter 8 System Administration
Edition 2.0 2-8-15 XP-142E System Reference
8.7 Setting the Date and Time
(ESR0225)
The date and time can be set from the machine menu.
Procedure
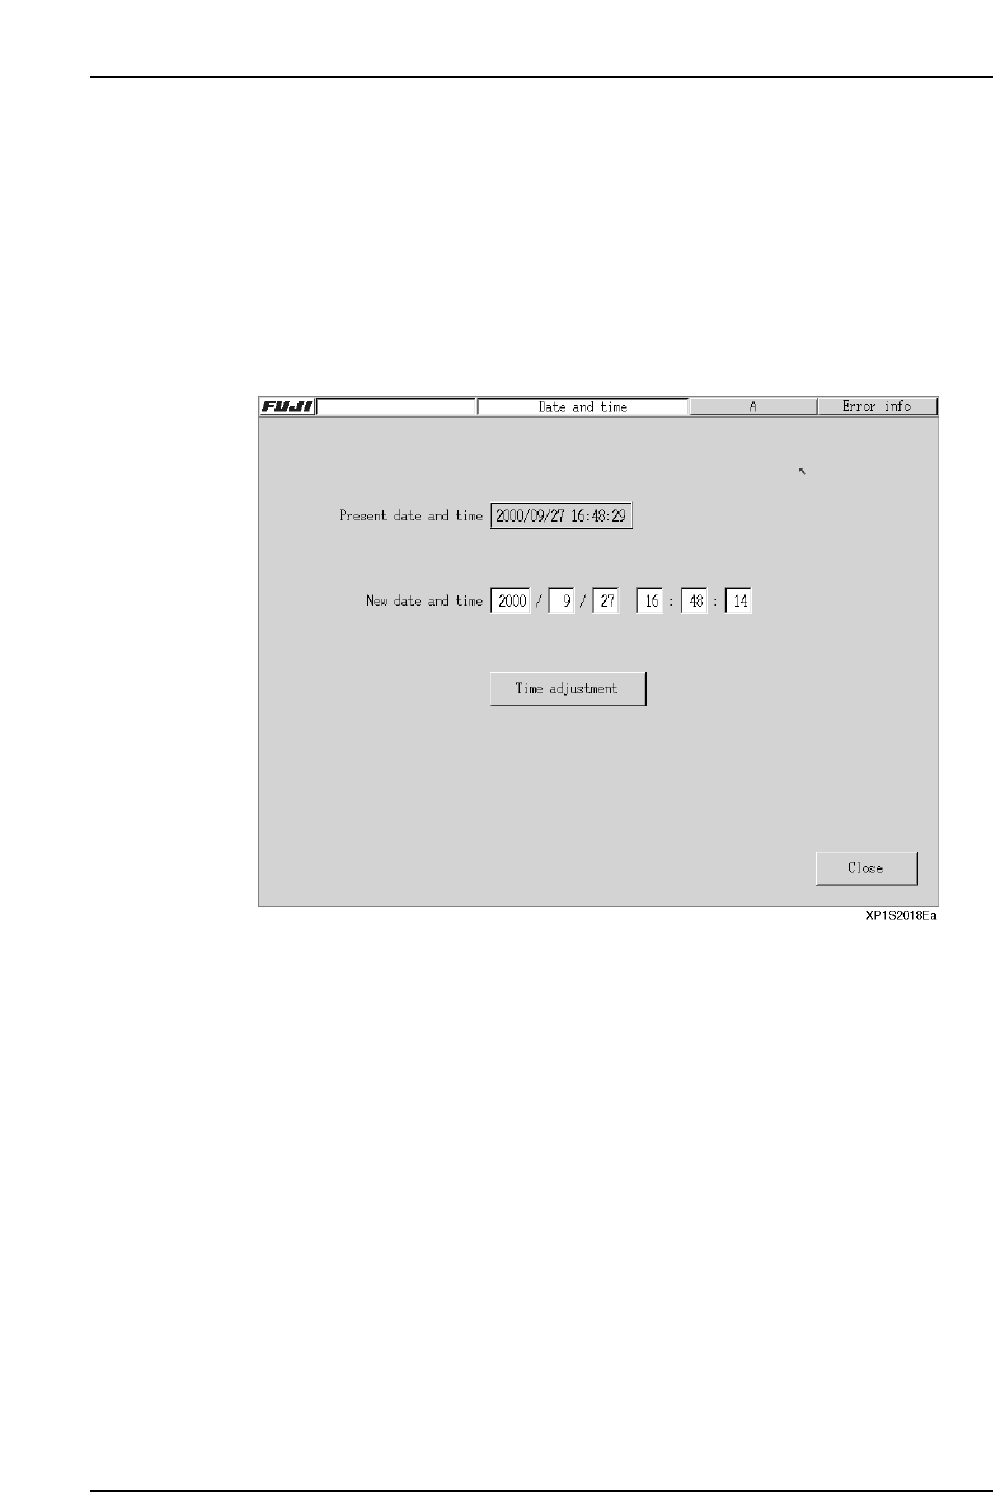
1. At the [Main] screen, press [Maintenance B] then [Date and Time] to display the
[Date and Time] setting screen.
2. Enter the desired date and time settings.
3. After verifying that the settings are correct, press [Time adjustment] then [Close]
to end the setting operation.
Part 2 Chapter 8 System Administration
Edition 2.0 2-8-16 XP-142E System Reference