KE2010.Instruction Manual.Ver.2.01,Rev.08.pdf - 第307页
4 – 200 (2) “Executing measurem ent” dialog box W hile t he system is measuring the cur rent component , the f ollowing dialog box appears on the screen. On this dialog box, the descriptions of a component which is being…
4 – 199
6) Short-cut keys
In the “Measurement” dialog box, the following short-cut keys are provided.
Keyboard
key
Operation
panel key
HOD key Operation
F10 ENTER Measures the current component.
F4 Knocks a feeder.
F5 PREVIOUS Moves to the previous alternate component.
F6 NEXT Moves to the next alternate component.
ESC CANCEL Returns to the previous screen.
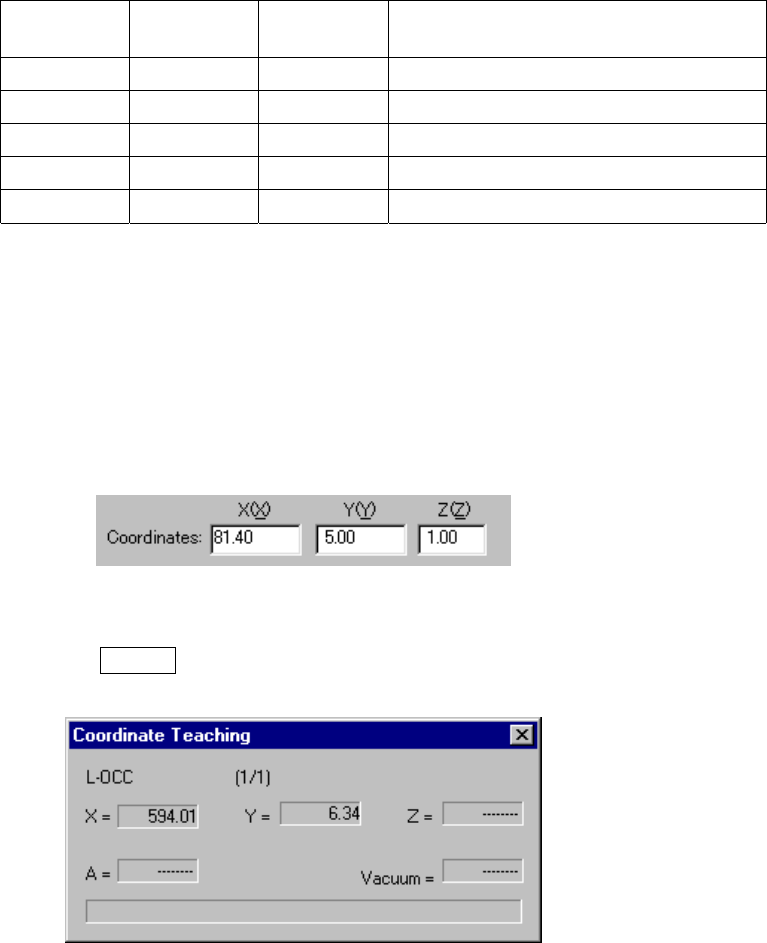
7) Changing the component pick-up coordinates
If the pick-up position of a component to be measured is different from the
current one, use the HOD to teach the coordinates of a component placed.
You can manually enter the coordinates to change the current ones also.
Step 1) Move the cursor to the X or Y coordinate.
Step 2) Press the HOD device button to teach the coordinates, then the
ENTER button to validate them.
Figure 4.12.2.4.2.2 “Coordinates Teaching” dialog box
4 – 200
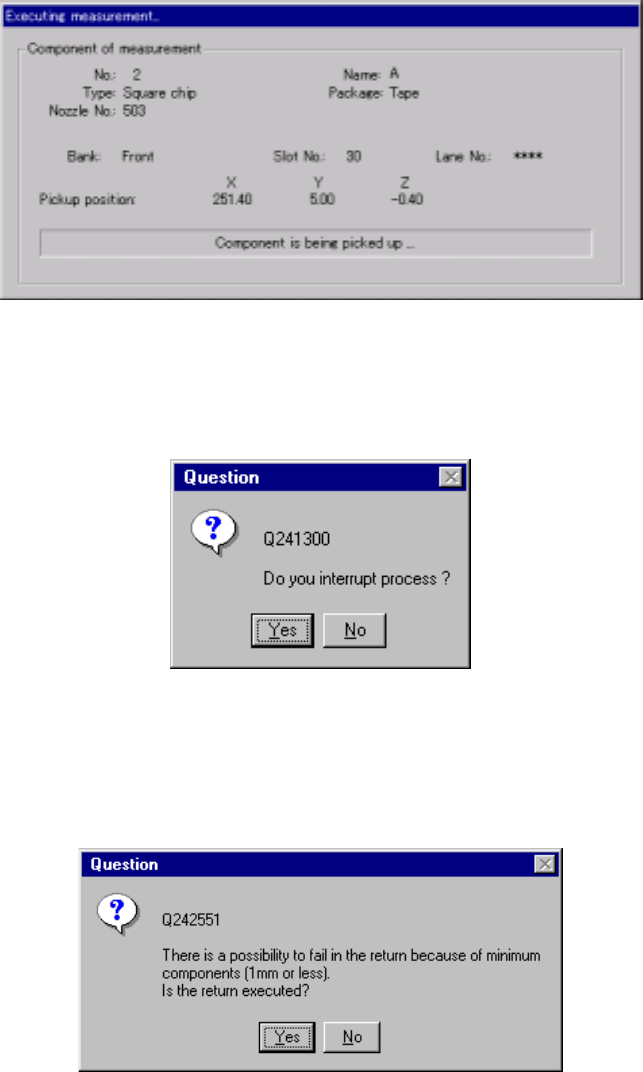
(2) “Executing measurement” dialog box
While the system is measuring the current component, the following dialog box
appears on the screen. On this dialog box, the descriptions of a component
which is being measured and its pick-up position are displayed. The process
being performed is displayed also.
Figure 4.12.2.4.2.3 “Executing measurement” dialog box
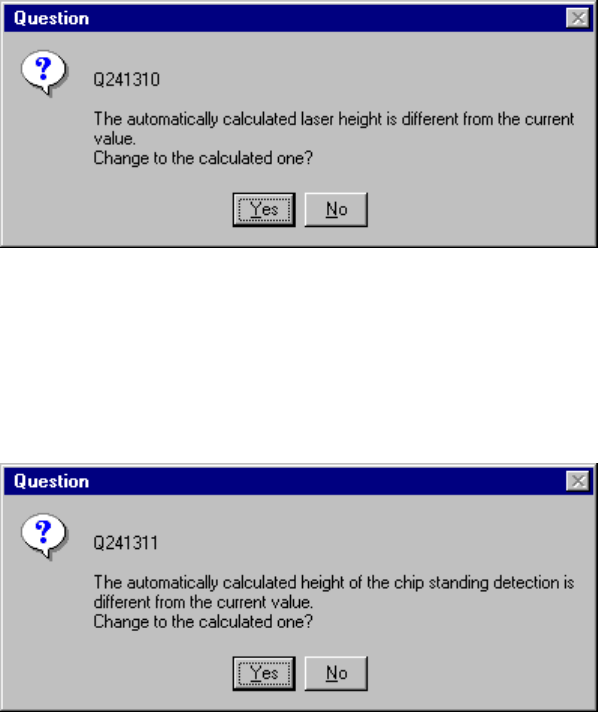
To forcibly abort measurement, press the <Stop> button. The following dialog
box appears on the screen. Select whether to abort measurement or not.
Figure 4.12.2.4.2.4 “Question to interrupt process” dialog box
Depending on the packaging style of a component, the dialog box ,which asks
you whether to return a component to its original position or discard it after
measurement, may appear on the screen if the size of a component is 1 mm or
less.
Figure 4.12.2.4.2.5 “Question to return” dialog box
4 – 201
− If the laser height that is calculated based on the dimensions is different from the
original value, the following message appears on the screen.
Figure 4.12.2.4.2.6 Laser height overwrite confirmation dialog box
− If the height that is calculated based on the dimensions to judge whether a
component is located on its side is different from the original value, the following
message appears on the screen.
Figure 4.12.2.4.2.7 Chip-rise judging height overwrite confirmation dialog box