KE2010.Instruction Manual.Ver.2.01,Rev.08.pdf - 第676页
9 − 22 9.5 Operation to Be Performed When a Nozzle A ttachment Error Occurs If a nozzle is attached on a head at power-on, or if an error occurs when a nozz le is replaced with another one, inf orm ation on the nozzle of…
9 − 21
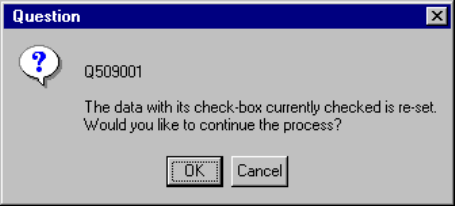
− On each dialog box above, a check box is displayed next to the data items
respectively. Select the check box of the item to be reset, then click the <OK>
button or <APPLY> button. The following dialog box appears on the screen.
Figure 9.4.6.1.5 Driver operation information resetting confirmation dialog box
- When you click the <OK> button on the dialog box above, data of the item whose
check box is checked on the Reset dialog box is reset.
- When you click the <CANCEL> button, the system does not reset any data: if you
selected the <OK> button on the Reset dialog box, this Reset dialog box closes.
9 − 22
9.5 Operation to Be Performed When a Nozzle Attachment Error
Occurs
If a nozzle is attached on a head at power-on, or if an error occurs when a nozzle is
replaced with another one, information on the nozzle of the head (stored in the main
unit internal memory) may not indicate the nozzle actually attached on the head. In
this case, follow the procedure below.
9.5.1 Semi-automatically returning a nozzle
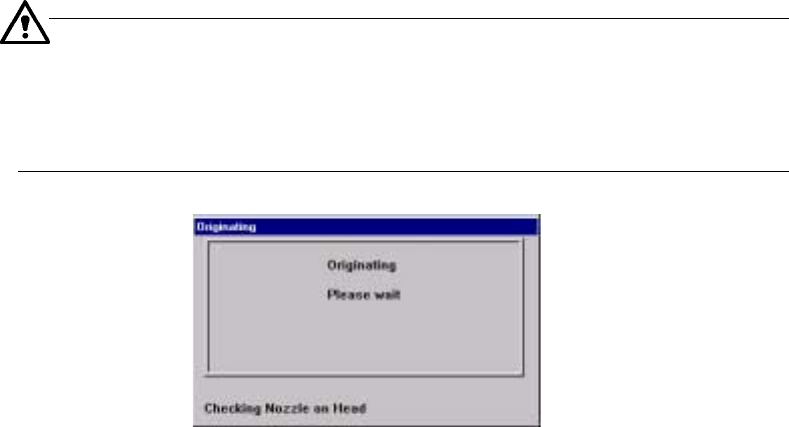
Press the <ORIGIN> switch on the operation panel to move all axes to their home
positions respectively. After that, the message “Checking Nozzle on Head” (see
Figure 9.5.1.1) appears on the “Originating” screen.
− The machine performs this axes operation if “the nozzle arrangement for each
head stored in the machine internal memory” does not match the “the actual
nozzle arrangement”.
Normally, the machine does not perform this operation.
If you set the main circuit breaker to off without returning a nozzle to the
ATC and turn on the machine again, or if a nozzle is replaced with
another one although a laser head is stained to cause a nozzle
replacement error, the machine performs this operation.
Figure 9.5.1.1 “Checking Nozzle on Head” message displayed on the screen
(“Originating”)
− Detecting if a nozzle is attached on a head
If “the nozzle arrangement for each head stored in the machine internal memory”
does not match the “the actual nozzle arrangement”, the following screen (see
Figure 9.5.1.2) appears.
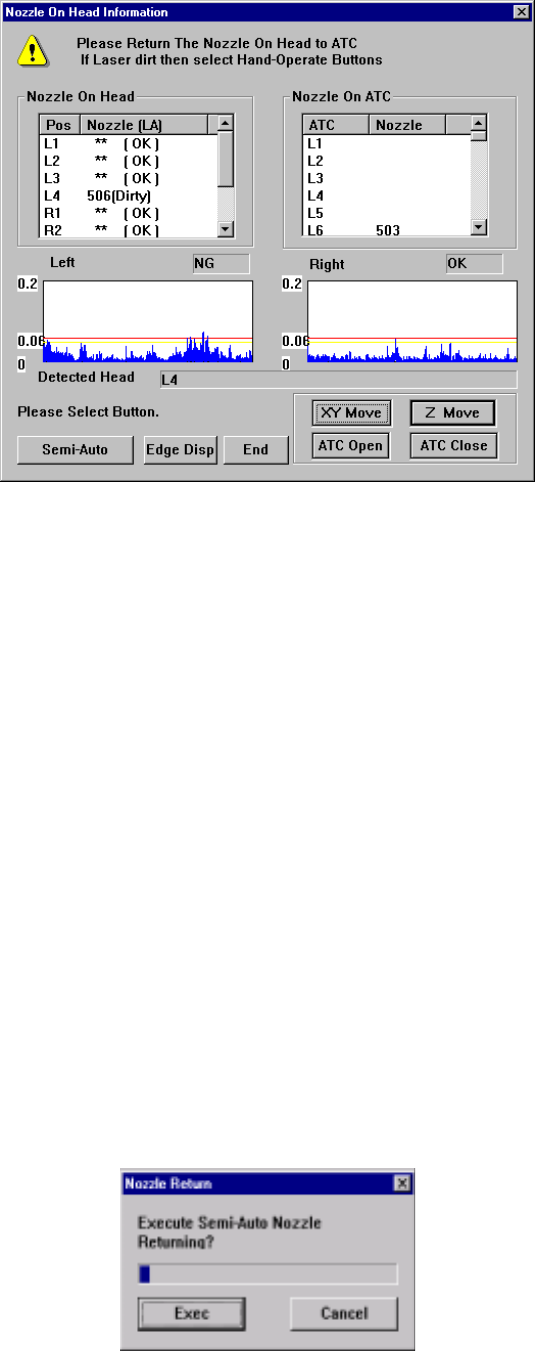
9 − 23
− Return the nozzle attached on the head to the ATC on this screen.
Figure 9.5.1.2 “Nozzle On Head Information” screen
− There are two ways for returning a nozzle to the ATC: “Semi-Auto Nozzle
Returning” and “Manual Nozzle Returning”.
“Semi-Auto Nozzle Returning”: Press the <Semi-Auto> button.
“Manual Nozzle Returning”: Press the <XY Move>, <Z Move>, <ATC
Open> and/or <ATC Close> buttons to move
a nozzle where you can remove it with your
hands, remove the nozzle from the head, and
then return it to the ATC.
9.5.1.1 Semi-Auto nozzle returning
When no stained laser head information appears on the screen, you can return a
nozzle semi-automatically in safety.
Step 1. Click the <Semi-Auto> button on the screen shown in Figure 9.5.1.2.
Step 2. The screen that asks you whether to return a nozzle semi-automatically
appears (see Figure 9.5.1.1.1).
Step 3. Click the <Exec> button to start returning a nozzle semi-automatically.
Figure 9.5.1.1.1 “Nozzle Return” screen