KE2010.Instruction Manual.Ver.2.01,Rev.08.pdf - 第66页
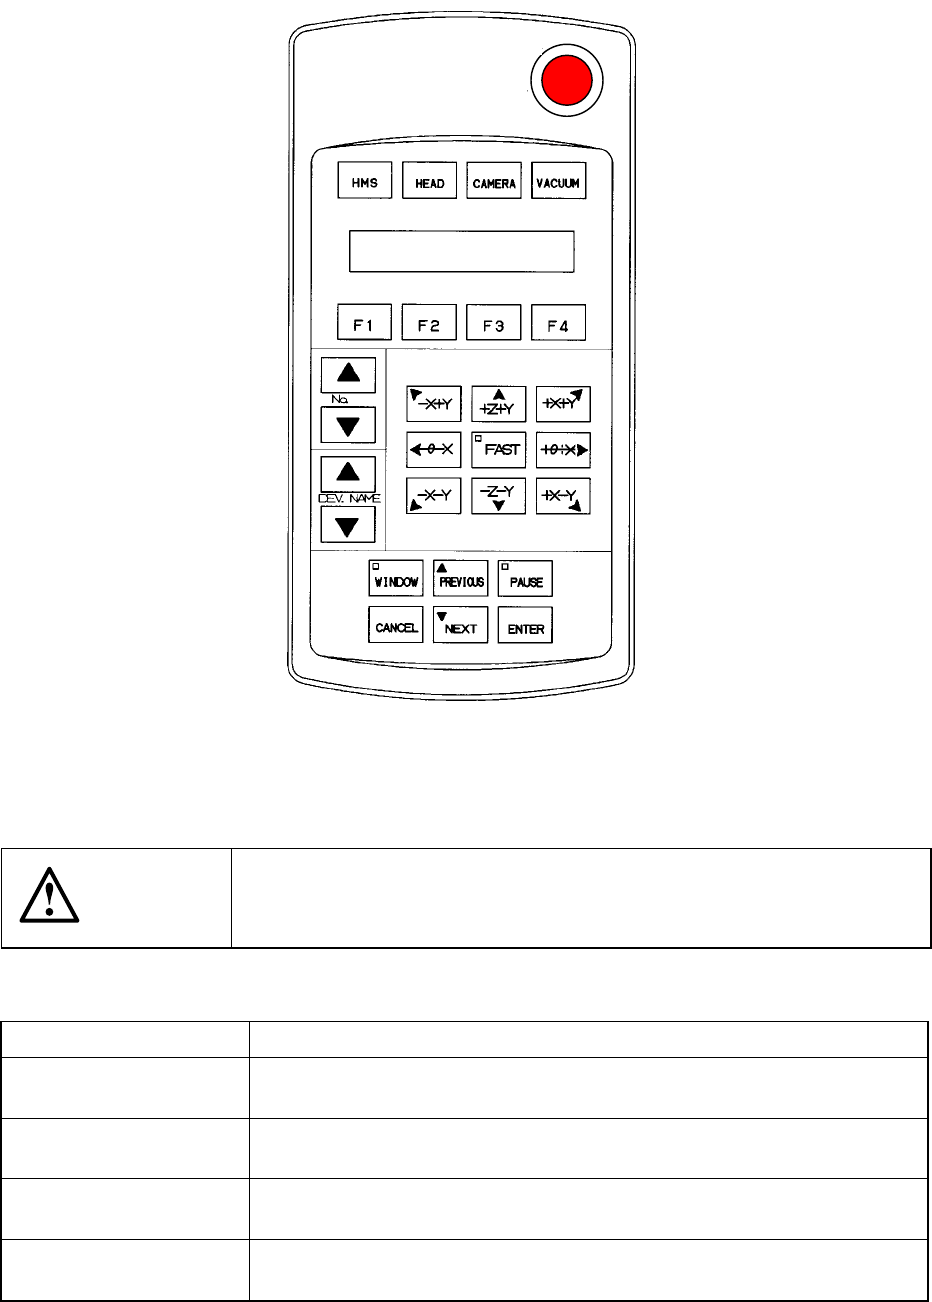
2 − 3 2.1.2 HOD: Hand-held operating device operation panel Figure 2.1. 2 HO D: Handheld operating dev ice operation panel CA UTION To avoid a risk of injury, do not place y our hand in the machine, nor move your face or…
2 − 2
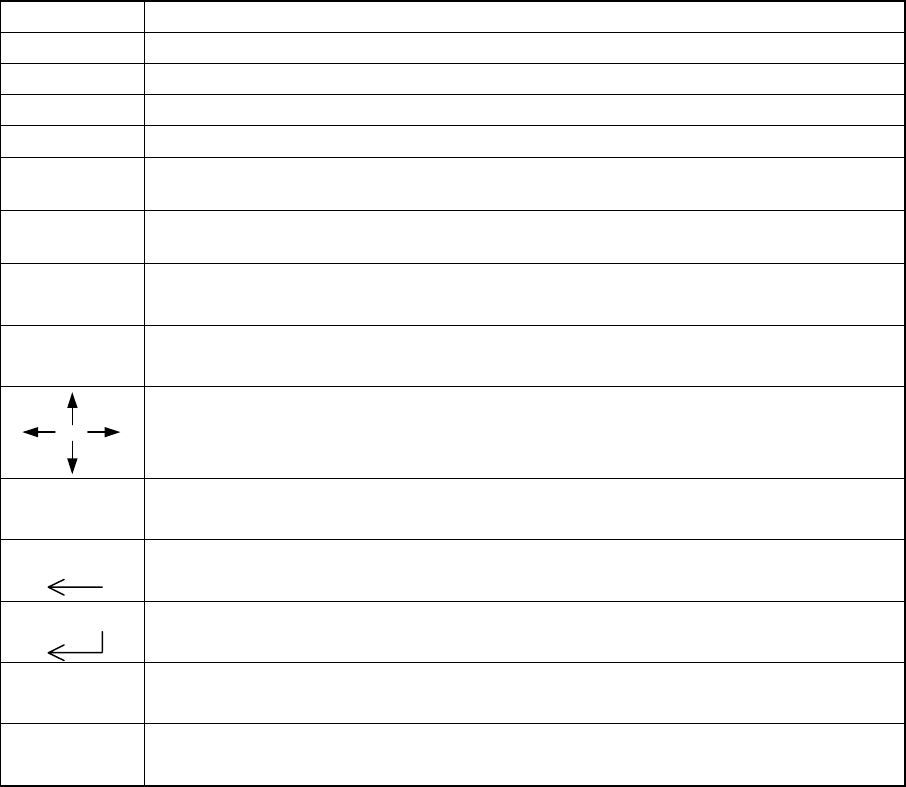
Key Function
INSERT Use to select either the insert or overtype mode, the key toggling between the two.
DELETE Use to erase the character at the cursor.
HOME Use to move the cursor to the beginning of the line.
END Use to move the cursor to the end of the line.
PAGE
DOWN
Use to access the following page on the display.
PAGE
UP
Use to access the previous page on the display.
Tab Use to move the window forward.
Use to move the cursor forward.
Tab + Shift Use to move the window backward.
Use to move the cursor backward.
Use to move the cursor in the direction of the arrow.
0-9, A-Z, -, +,
other symbols
Used to generate and edit data.
Note: The mark is entered by ¥. (Japanese only)
ScrlL
Use to move the cursor backward and, at the same time, erase the character at the cursor.
ENTER
Use to validate the data entered.
Caps Lock Use to switch between uppercase and lowercase letters.
The LED lights up when this function is slelcted.
Num Lock Use to lock the numeric key functions.
The LED lights up when this function is slelcted.
2 − 3
2.1.2 HOD: Hand-held operating device operation panel
Figure 2.1.2 HOD: Handheld operating device operation panel
CAUTION
To avoid a risk of injury, do not place your hand in the machine, nor
move your face or head close to the machine during operations of the
HOD.
Key name Function
HMS • Obtains the pick-up height with the height sensor.
When selected, its LED lights.
HEAD • Use this key to perform a teaching function with a head.
When selected, its LED lights.
CAMERA • Use this key to perform a teaching function with the OCC.
When selected, its LED lights.
VACUUM • Use this key to teach the vacuum pressure.
When selected, its LED lights..
2 − 4
Table 2.1.2 List of HOD keys and their functions
Key name Function
F1 • Assigns the X-Y axes after a device is selected.
• Selects another axis or specifies the number of points during teaching.
F2 • Assigns the Z axis after a device is selected.
• Selects another axis or specifies the number of points during teaching.
F3 • Assigns the θ axis after a device is selected.
• Selects another axis or specifies the number of points during teaching.
F4 • Assigns an axis after a device is selected.
• Selects another axis or specifies the number of points during teaching.
No
• Increments or decrements the number for selecting an axis.
• Specifies the axis number displayed on the LCD.
DEVNAME
• Increments or decrements a device number to be selected.
• Specifies the device number displayed on the LCD.
-X+Y
<When XY is selected> Moves the X-Y axes to the direction indicated with the
arrow mark.
<When CAMERA is selected> Moves the cursor to the direction indicated
with the arrow mark.
+Z+Y
<When XY is selected> Moves the X-Y axes to the direction indicated with the
arrow mark.
<When CAMERA is selected> Moves the cursor to the direction indicated
with the arrow mark.
<When the Z axis is selected> Moves the Z axis to the direction indicated
with the arrow mark.
-X+Y
<When XY is selected> Moves the X-Y axes to the direction indicated with the
arrow mark.
<When CAMERA is selected> Moves the cursor to the direction indicated
with the arrow mark.
-θ-X
<When XY is selected> Moves the X-Y axes to the direction indicated with the
arrow mark.
<When CAMERA is selected> Moves the cursor to the direction indicated with
the arrow mark.
<When the θ axis is selected> Moves the theta axis to the desired angle.
FAST • Moves the axis at high speed.
• When selected, its LED lights.
+θ+X
<When XY is selected> Moves the X-Y axes to the direction indicated with the
arrow mark.
<When CAMERA is selected> Moves the cursor to the direction indicated with
the arrow mark.
<When the θ axis is selected> Moves the theta axis to the desired angle.
-X-Y
<When XY is selected> Moves the X-Y axes to the direction indicated with the
arrow mark.
<When CAMERA is selected> Moves the cursor to the direction indicated
with the arrow mark.
-Z-Y
<When XY is selected> Moves the X-Y axes to the direction indicated with the
arrow mark.
<When CAMERA is selected> Moves the cursor to the direction indicated
with the arrow mark.
<When the Z axis is selected> Moves the Z axis to the direction indicated
with the arrow mark.
+X-Y
<When XY is selected> Moves the X-Y axes to the direction indicated with the
arrow mark.
<When CAMERA is selected> Moves the cursor to the direction indicated
with the arrow mark.