KE2010.Instruction Manual.Ver.2.01,Rev.08.pdf - 第400页
6 − 24 6.2.2 Start of production Aft er setting the number of PW Bs to be produced, pr ess the <START > switch on the operator panel t o start pr oduction. CA UTION The head starts to mov e immediately after the &l…
6 − 23
④ Setting the [Remain] field
When you click any "Remain" field with the right button of a track ball, the list
showing the following commands appears on the screen.
No. Command Description
1 Replenish Comp Enters the number set in the "Initial" field to the "Remain" field of the line at
which the input focus is located, then clears all warnings.
2 Clear Set a value in the “Initial” field to the “Remain” field, and clears all warnings.
3 Replenish all feeders Executes the [Replenish Comp] command for all components.
4 Clear all Executes the [Clear] command for all components.
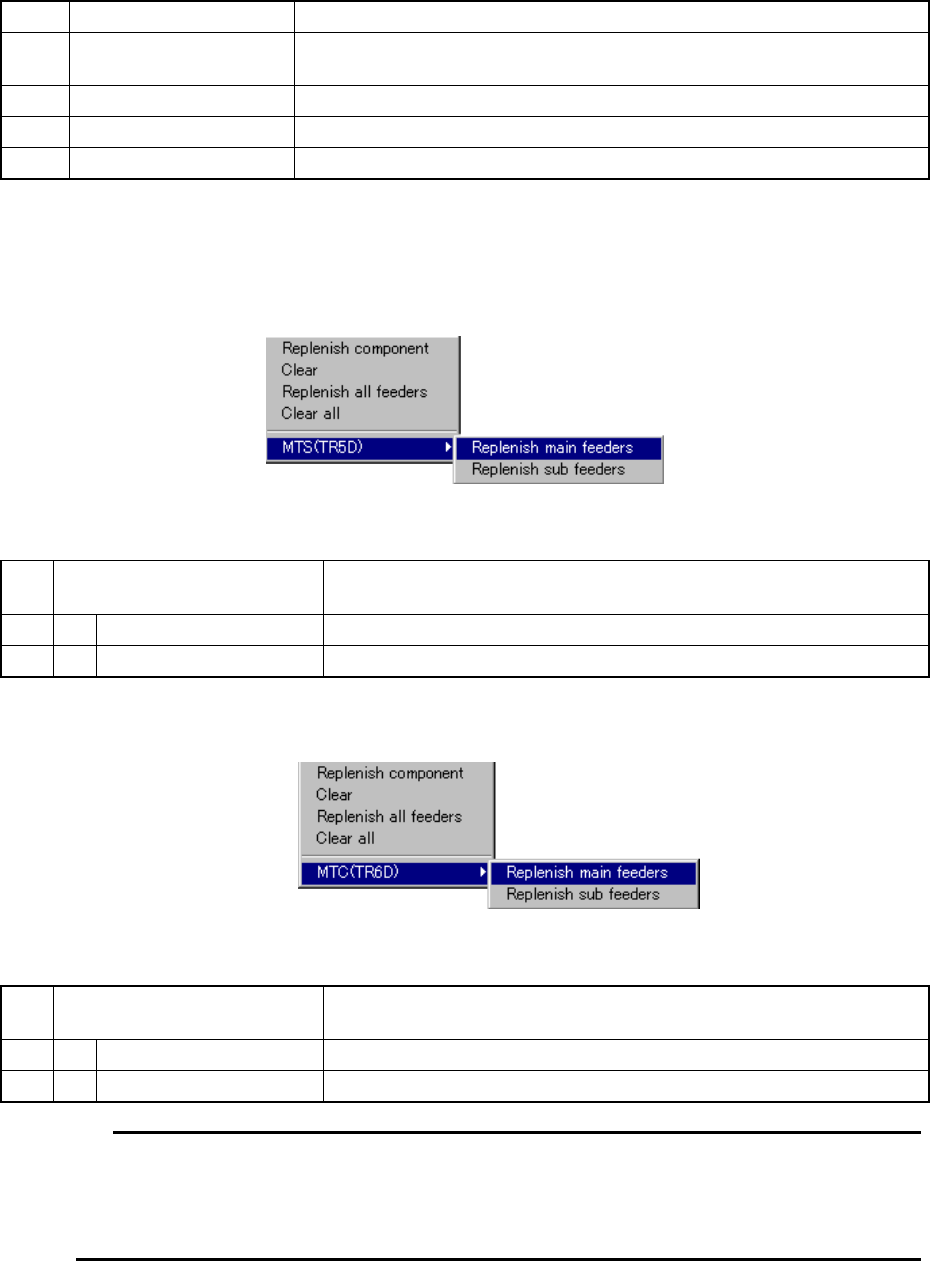
− When the machine is in Non-Stop Operation mode, the following menu appears
on the screen also (if your model is a KE-2020 only).
④-1 When a TR5D is used
Figure6.2.1.2.3 TR5D pop-up menu
5 MTS(TR5D) When the machine is in Non-Stop Operation mode that uses a TR5D,
this menu appears on the screen.
1 Replenish main feeders Replenishes the main side (21 to 40) with components fully.
2 Replenish sub feeders Replenishes the sub side (1 to 20) with components fully.
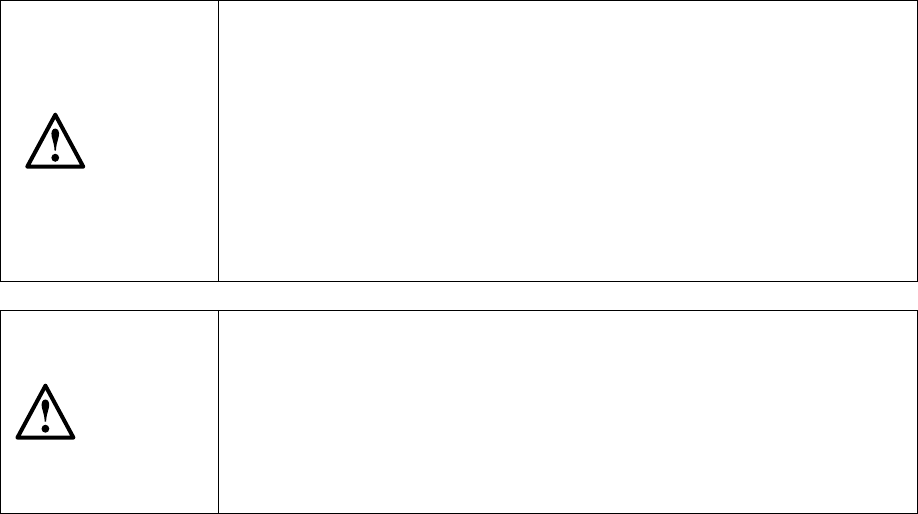
④-2 When a TR6D is used
Figure6.2.1.2.4 TR6D pop-up menu
5 MTS(TR5D) When the machine is in Non-Stop Operation mode that uses a TR6D,
this menu appears on the screen.
1 Replenish main feeders Replenishes the main side (16 to 30) with components fully.
2 Replenish sub feeders Replenishes the sub side (1 to 15) with components fully.
The MTS/MTC menu appears on the screen only if an MTS (TR5D) or MTC
(TR6D) is set to be used on the Setup menu and the setting item “Non-stop operation
(MTS)” or “Non-stop operation (MTC)” is checked on the “Use Unit” tab of the
Operation option menu. Otherwise, these menus will not appear on the screen.
6 − 24
6.2.2 Start of production
After setting the number of PWBs to be produced, press the <START> switch on the
operator panel to start production.
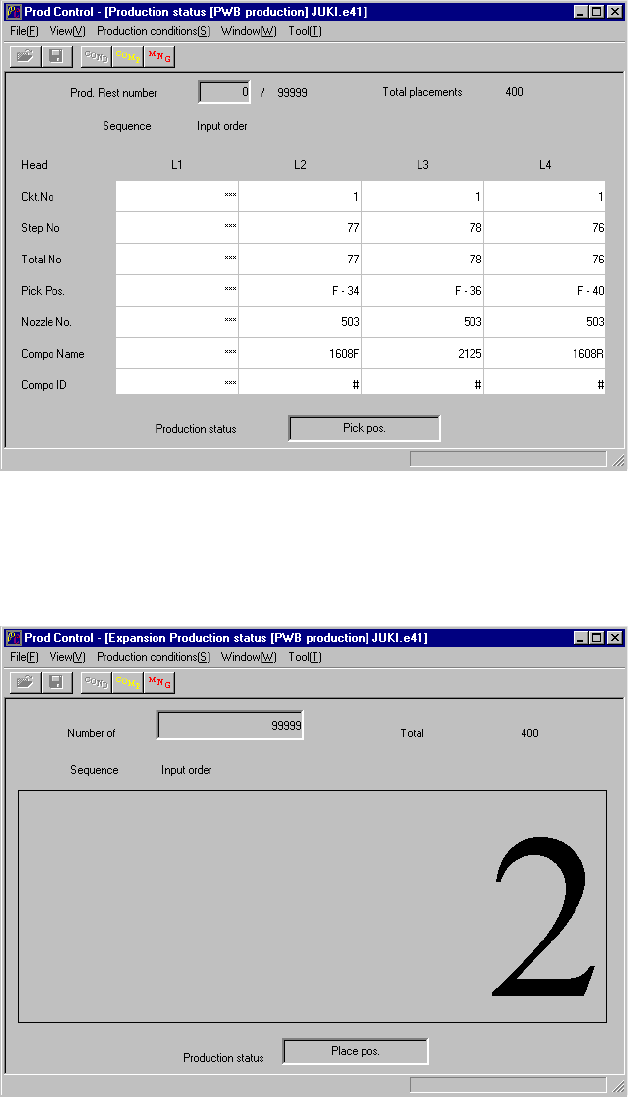
CAUTION
The head starts to move immediately after the <START> switch is
pressed, and then the machine starts PWB production.
To avoid a risk of injury, do not place your hand in the machine, nor
move your face or head close to the machine during operation.
Before pressing the <START> switch, check that there is no one who is
working in the machine.
Before pressing the <START> switch, check that there is no one who
can be injured when the head starts to move.
Before pressing the <START> switch, check that there are no
obstacles (tools and jigs) attached or left in the machine.
CAUTION
If the feeder bank is never recognized (since the machine zeroes, or the
bank moves down then up), it may be recognized automatically before
the machine moves to the pick position. Since the head moves across
the feeder while the feeder bank is being recognized, do not place your
hand in the machine, nor move your face or head close to the machine.
Especially, take care when the feeder bank is recognized not from the
menu but during teaching or tracking a pick position.
The PWB production starts and the green signal lamp lights to indicate that PWB
production is in progress.
If home positioning has not been completed when the <START> switch is pressed,
press the <HOME> key to execute home positioning, then press the <START> switch
again.
6 − 25
(1) Display of production status
When PWB production starts with the <START> switch pressed, the status of
production is displayed on the screen.
Figure 6.2.2.1 shows the "Production status" screen to b displayed while the
machine is producing PWBs normally. Figure 6.2.2.2 shows the screen to be
displayed when the item "Shows the number of boards produced in large
characters" is selected on the "Production (Display)" tag of the Operation Options
menu.
• Display of normal production status
Figure 6.2.2.1 Production status screen (1)
• In case in which "Shows the number of boards produced in large characters" is
selected on the "Production (Display)" tag of the Operation Options menu
Figure 6.2.2.2 Production status screen (2)