KE2010.Instruction Manual.Ver.2.01,Rev.08.pdf - 第548页
7 − 11 7.2.1.3 Exi t Select [File] on t he menu bar , then [Exiting Applicat ion], or click the close but ton (X ) at the upper r ight cor ner of the dialog box. T he system quit s the Machine Setup menu. 7.2.1.3. 1 Sav …
7 − 10
7.2.1.2.3 Deleting a registered nozzle
To delete a registered nozzle, use the [Registered nzl no table] command that is
described in Section 7.2.1.1.
(1) Basic Operations
① Select the [File] command on the menu bar, and then select the
[Registered nzl no table] command on the displayed menu to open the
necessary dialog box.
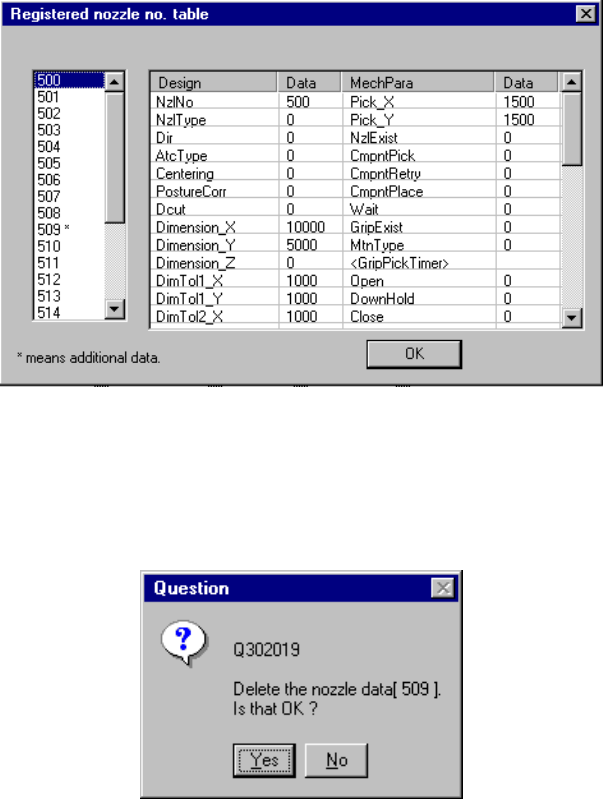
② Select the nozzle number, and press the <DEL> key (see Figure 7.2.1.2.7).
Figure 7.2.1.2.7 “Registered nozzle no. table” dialog box
③ When you click the <Yes> button on the “Question” dialog box, the
selected nozzle is deleted from the registered nozzle number table (see
Figure 7.2.1.2.8).
Figure 7.2.1.2.8 “Question” dialog box
Note: You can delete only additional registered data. You cannot delete any
standard nozzle.
7 − 11
7.2.1.3 Exit
Select [File] on the menu bar, then [Exiting Application], or click the close button (X)
at the upper right corner of the dialog box. The system quits the Machine Setup
menu.
7.2.1.3.1 Saving the settings
Although push buttons <OK>, and <Cancel> and <Apply> are available with each
setup group dialog box, pressing the <OK> or <Apply> button will not save the
data onto the hard disk.
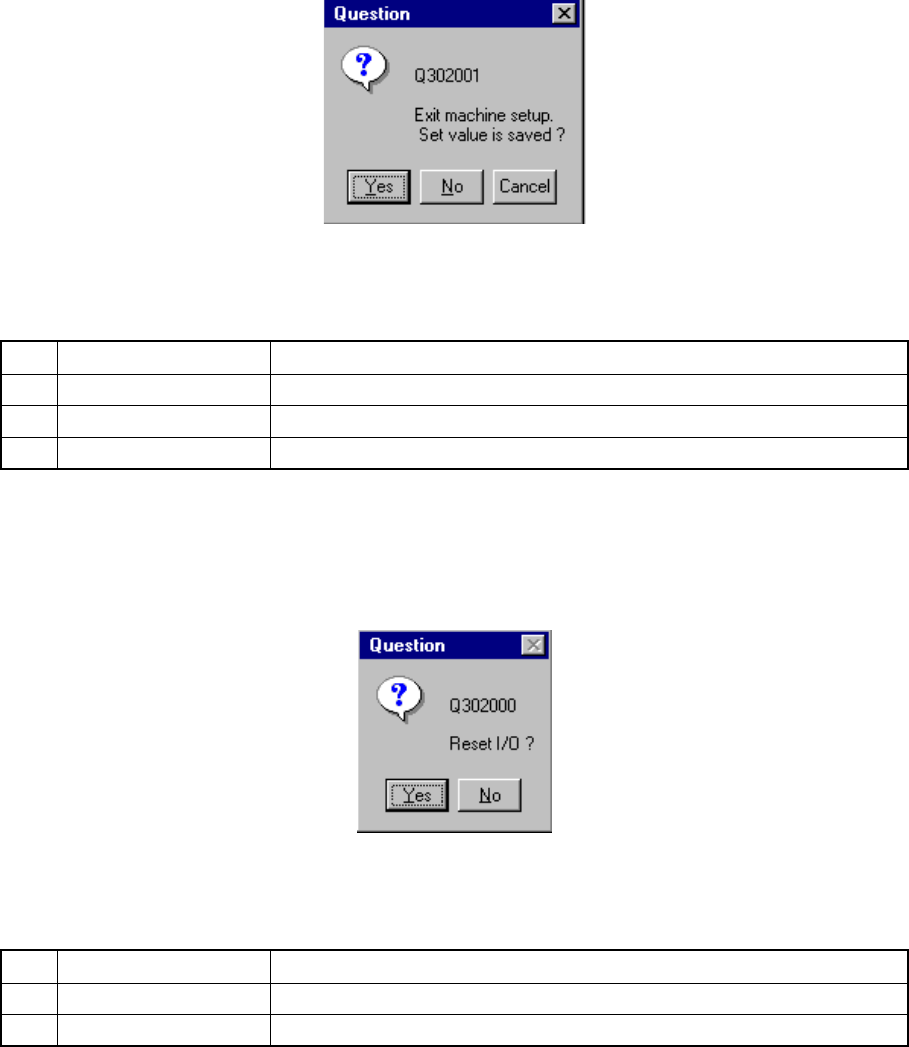
When you change the setting(s) on Setup group dialog box, a dialog box appears
asking you whether to save the setting(s) or not (see Figure 7.2.1.3.1.5). When
you click the <Yes> button, the setting(s) is (are) saved onto the hard disk.
Figure 7.2.1.3.1.5 Save confirmation screen
Table 7.2.1.3.1.1 Save confirmation buttons
No. Button Action
1 Yes Saves the setting data onto the hard disk.
2 No Cancels the setting data.
3 Cancel Cancels the Exiting Application command.
7.2.1.3.2 Setting the safe direction of each I/O
After you select the [Exiting Application] command, the dialog box shown in Figure
7.2.1.3.2.1 appears on the screen.
Figure 7.2.1.3.2.1 “Reset I/O” dialog box
Table 7.2.1.3.2.1 Buttons for setting the safe direction of each I/O
No. Button Action
1 Yes Sets each I/O safe direction, then quits the Machine Setup menu.
2 No Quits the Machine Setup menu without setting each I/O safe direction.
7 − 12
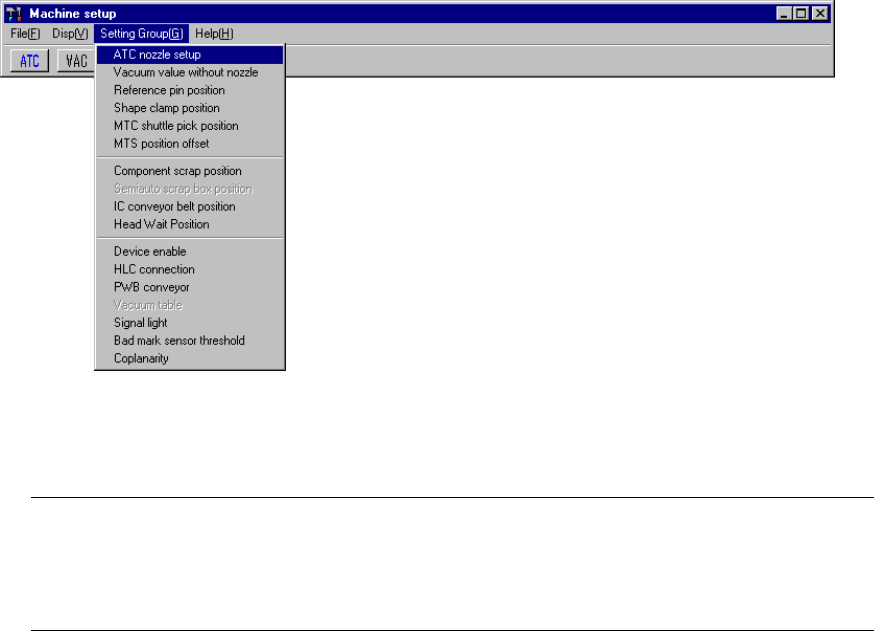
7.2.2 Setting group commands
When you select the [Setting Group] command on the menu bar, the commands
shown in Figure 7.2.2.1 appears on the screen.
Figure 7.2.2.1 Setting Group command items
Note: 1) You cannot select any dimmed menu item. (The displayed available
depending on the model you use )
2) If you have to drive any mechanical part at setup, see Section 7.3
"Mechanical Setup" to drive it.