Omron V-TS Teaching Manual.pdf.pdf - 第105页
Chapter 2 Inspecti on Programm ing 2- 78 2.4.6.3 Deleting from Com ponent Number Gr oup A component num ber is deleted from a component num ber group. 1. Select a comp onent type. Select a component t ype from the [Compo…
2.4 Registering for Inspection
2-77
2.4.6.2 Adding to Component Number Group
An existing component number is added to a component number group.
1.
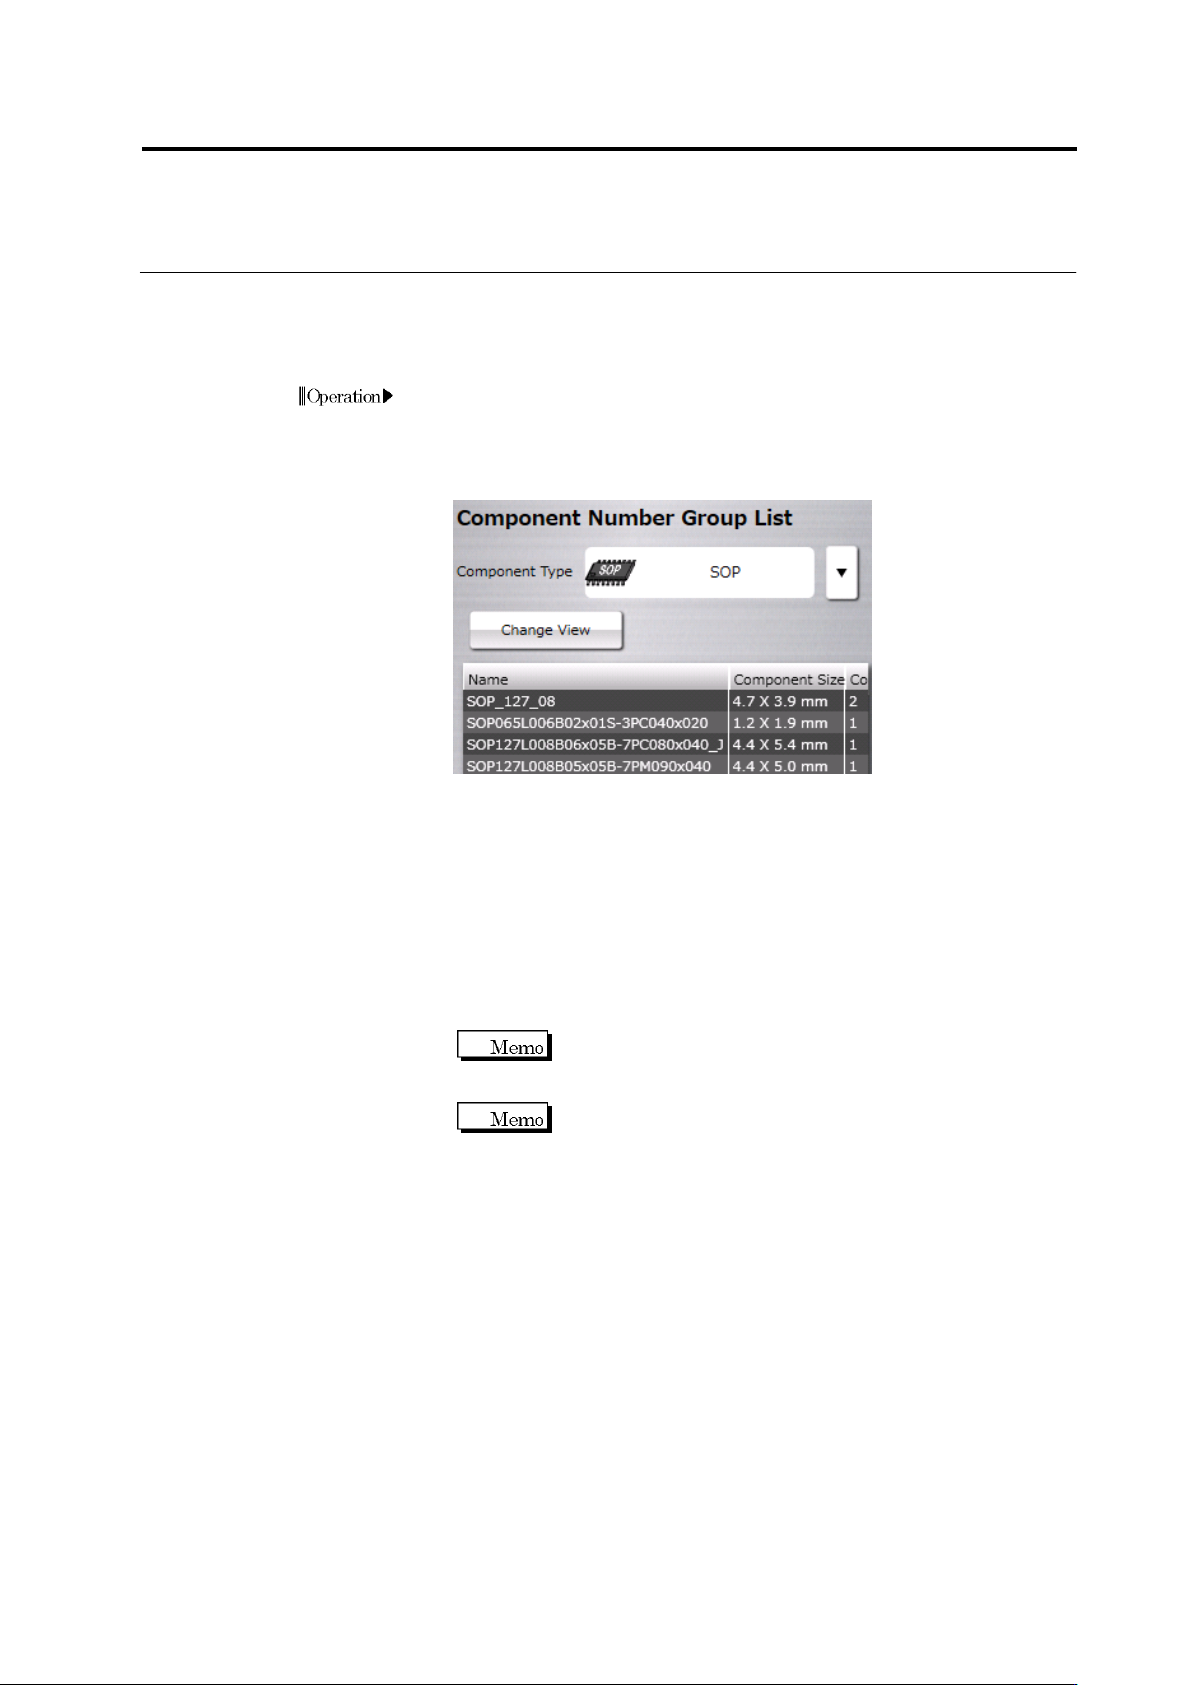
Select a component type.
Select a component type from the [Component Type] pull-down
menu.
2.
Select a component number group.
3.
Select a component number.
Select the [Show component number not belonging to group] check
box, and select a component number you want to add to the
selected component number group.
By clicking [Change View], the display of component number can be
toggled between image and thumbnail.
4.
Add to the component number group.
Click [Add to Group] to add the component number to the
component number group.
When added to the group, data of the component number is
synchronized with the component number group. Be careful
that this may change the inspection result.
If a component size of the component number you want to add
differs from the component size of the component number
group, you cannot add the component number to the group. In
such a case, either create a new component number group or
correct the component window size.
Chapter 2 Inspection Programming
2-78
2.4.6.3 Deleting from Component Number Group
A component number is deleted from a component number group.
1.
Select a component type.
Select a component type from the [Component Type] pull-down
menu.
2.
Select a component number group.
3.
Select a component number.
Unselect the [Display component number not belonging to group]
check box, and select a component number you want to delete from
the selected component number group to which the component
number belongs.
4.
Delete from the component number group.
Click [Delete from Group] to delete the component number from the
component number group.
When a component number is deleted from a component
number group, the setting of the component number group is
succeeded to the component number. Be careful that the
original setting of the component number before being added
to the group is not restored.
A component number registered 1st to the component number
group cannot be deleted from the group. To delete the 1st
registered component number, delete the group first then
create and register the group again.

2.5 Registering the Component Number Model
2-79
書式変更: フォント : (日) MS ゴシッ
ク, 10 pt, 文字間隔広く /文字間隔狭く
(なし)
削除: Registering the Component Numbe
r Model
2.5 Registering the Component Number Model
Calculate the model for each component number and register the component information in the
library.
Details of the information registered are the color parameter information needed for the 2D
inspection logic and the height information and projector’s light intensity needed for the 3D
inspection logic.
Model calculation refers to the automatic extraction of the characteristic parameters to detect
the colors and shapes of the component and electrodes.
1.
Select the "Extract Parameters (Auto)" tab.
2.
Select the component number in the Component Number List.
The thumbnail images of the currently selected component and all
the components with the selected component number are displayed
in the image display area. If you select a component number
belonging to a component number group, all the thumbnail images
of the component number group are displayed.
When the button is (locked), click to change the
component number state to not locked .
Only the image for the component numbers with the right end
progress signal bar lit ( or ) can be selected. To redo
the model calculation for the comonent numbers with lit right
end signal bar, click [Delete].
Click button in the Image Operation tool bar to display a
list of component thumbnail images in the image display area.
Refer to "2.1.2 Configuration of the Editing Screen" for the
image operation buttons.
Operation