Omron V-TS Teaching Manual.pdf.pdf - 第291页
Appendix 7. Positio n Correction/Extractio n a- 14 Appendix 7. Position Correction/Extraction In this section, procedures to confirm position correction/extrac tion, which is a m isjudgment factor common to each inspec t…
Appendix 6. Selection of Optimization Items
a-13
Appendix 6. Selection of Optimization Items
Optimization is a tool to automatically set a logical expression suitable for the component type and
electrode type of the component number when inspection criteria are set up.
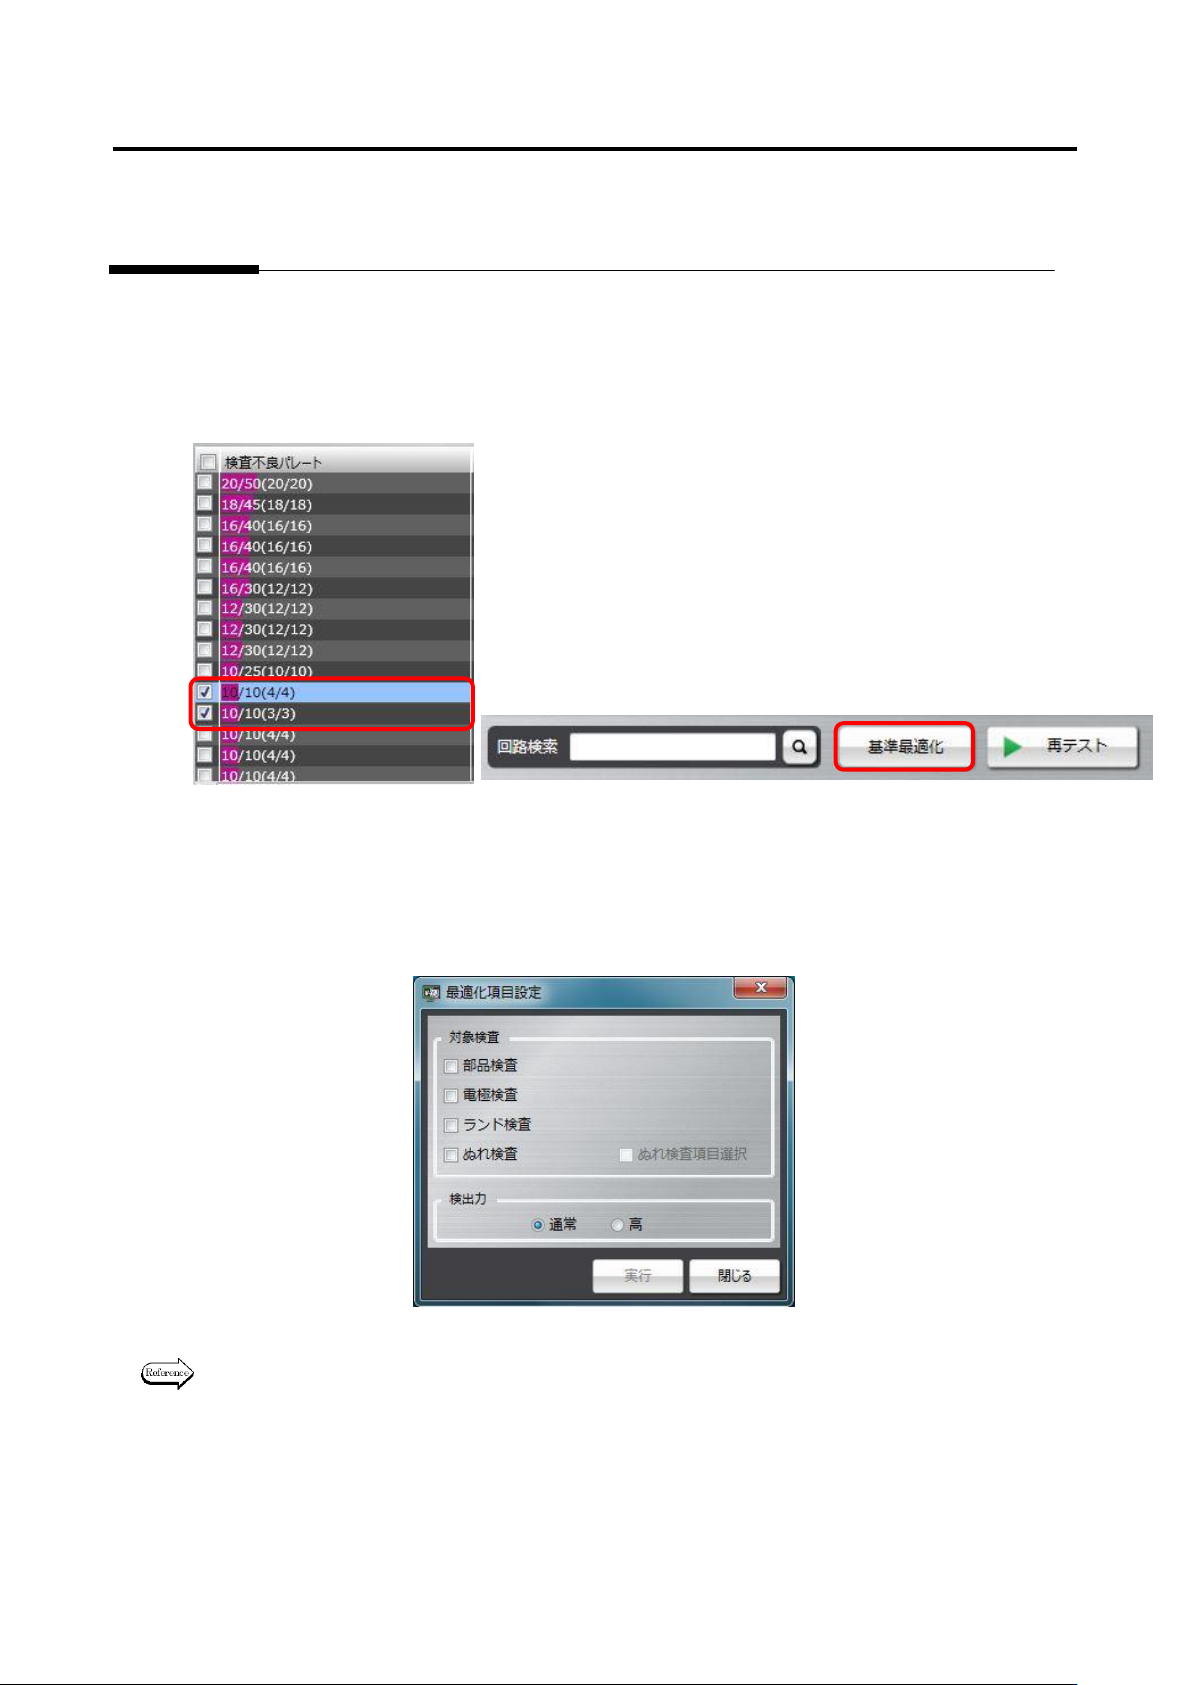
To use optimization, select a component number or a component number group to be optimized on the
result confirmation screen as framed in red below, and press the Optimize Criteria button. Since
reference values are changed to suitable values, if there is a component number and so on you don’t
wish to change, perform optimization without selecting it.
Then, options can be selected for the target inspection and inspecting ability items.
When optimization is performed, selecting all options of the target inspection item is recommended.
However, if you don’t wish to change the criteria of the inspection program, select necessary inspection
options only, and perform optimization.
For details of the optimization execution method, refer to P2-154 Section 2.15.4 “Optimizing
Boolean Expressions and Inspection Criterion Values” of the Teaching Manual.
Appendix 7. Position Correction/Extraction
a-14
Appendix 7. Position Correction/Extraction
In this section, procedures to confirm position correction/extraction, which is a misjudgment factor
common to each inspection, and repair errors.
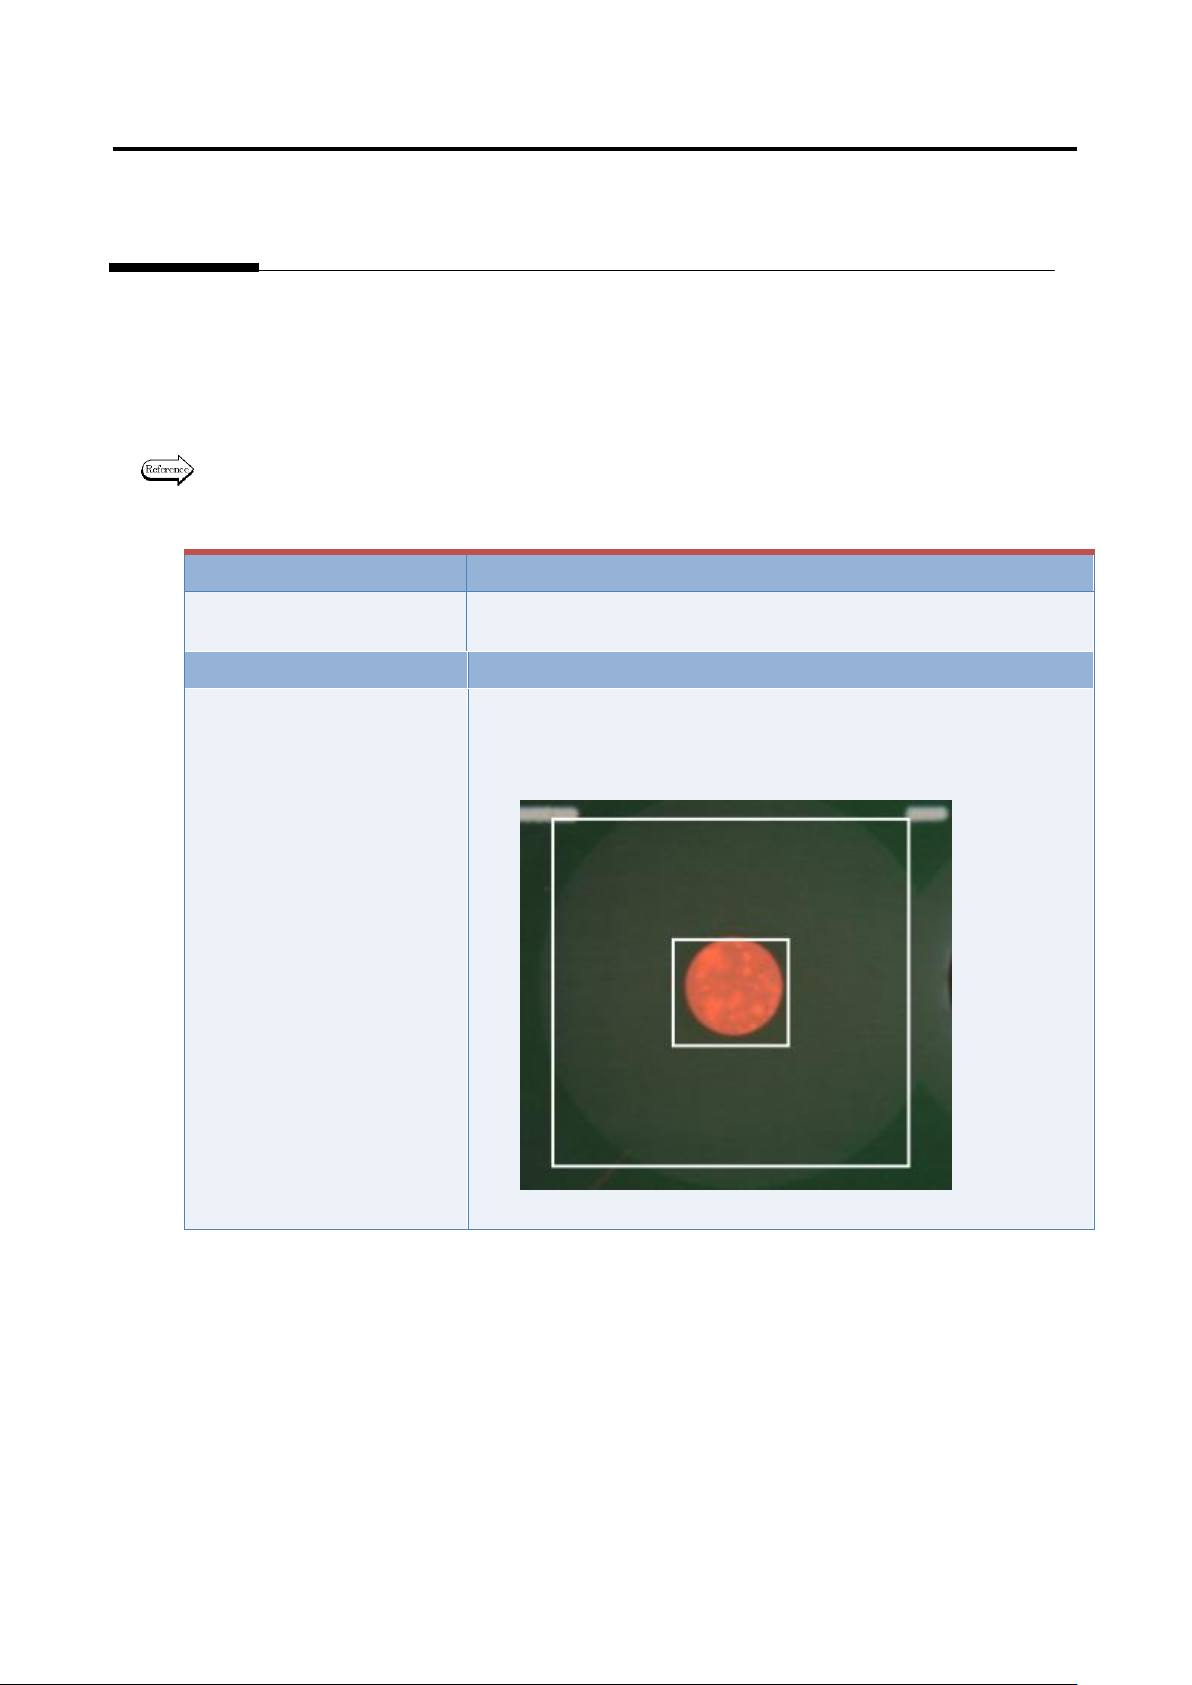
1. Fiducial correction
In the fiducial correction window, recognize PCB’s fiducial mark, and correct the camera capturing
position.
For details of fiducial correction, refer to P2-2 Section 2.2 “Fiducial Correction” of the inspection
logic manual.
Inspection result
Component image (PCB test)
N/A
N/A
Cause
Confirmation and repair method
1) Move to the “Inspection Registration” tab.
2) Click “Add Position Correction Mark” button.
3) Confirm the position and size of the fiducial window.
4) Change the position or size if not appropriate.
Appendix 7. Position Correction/Extraction
a-15
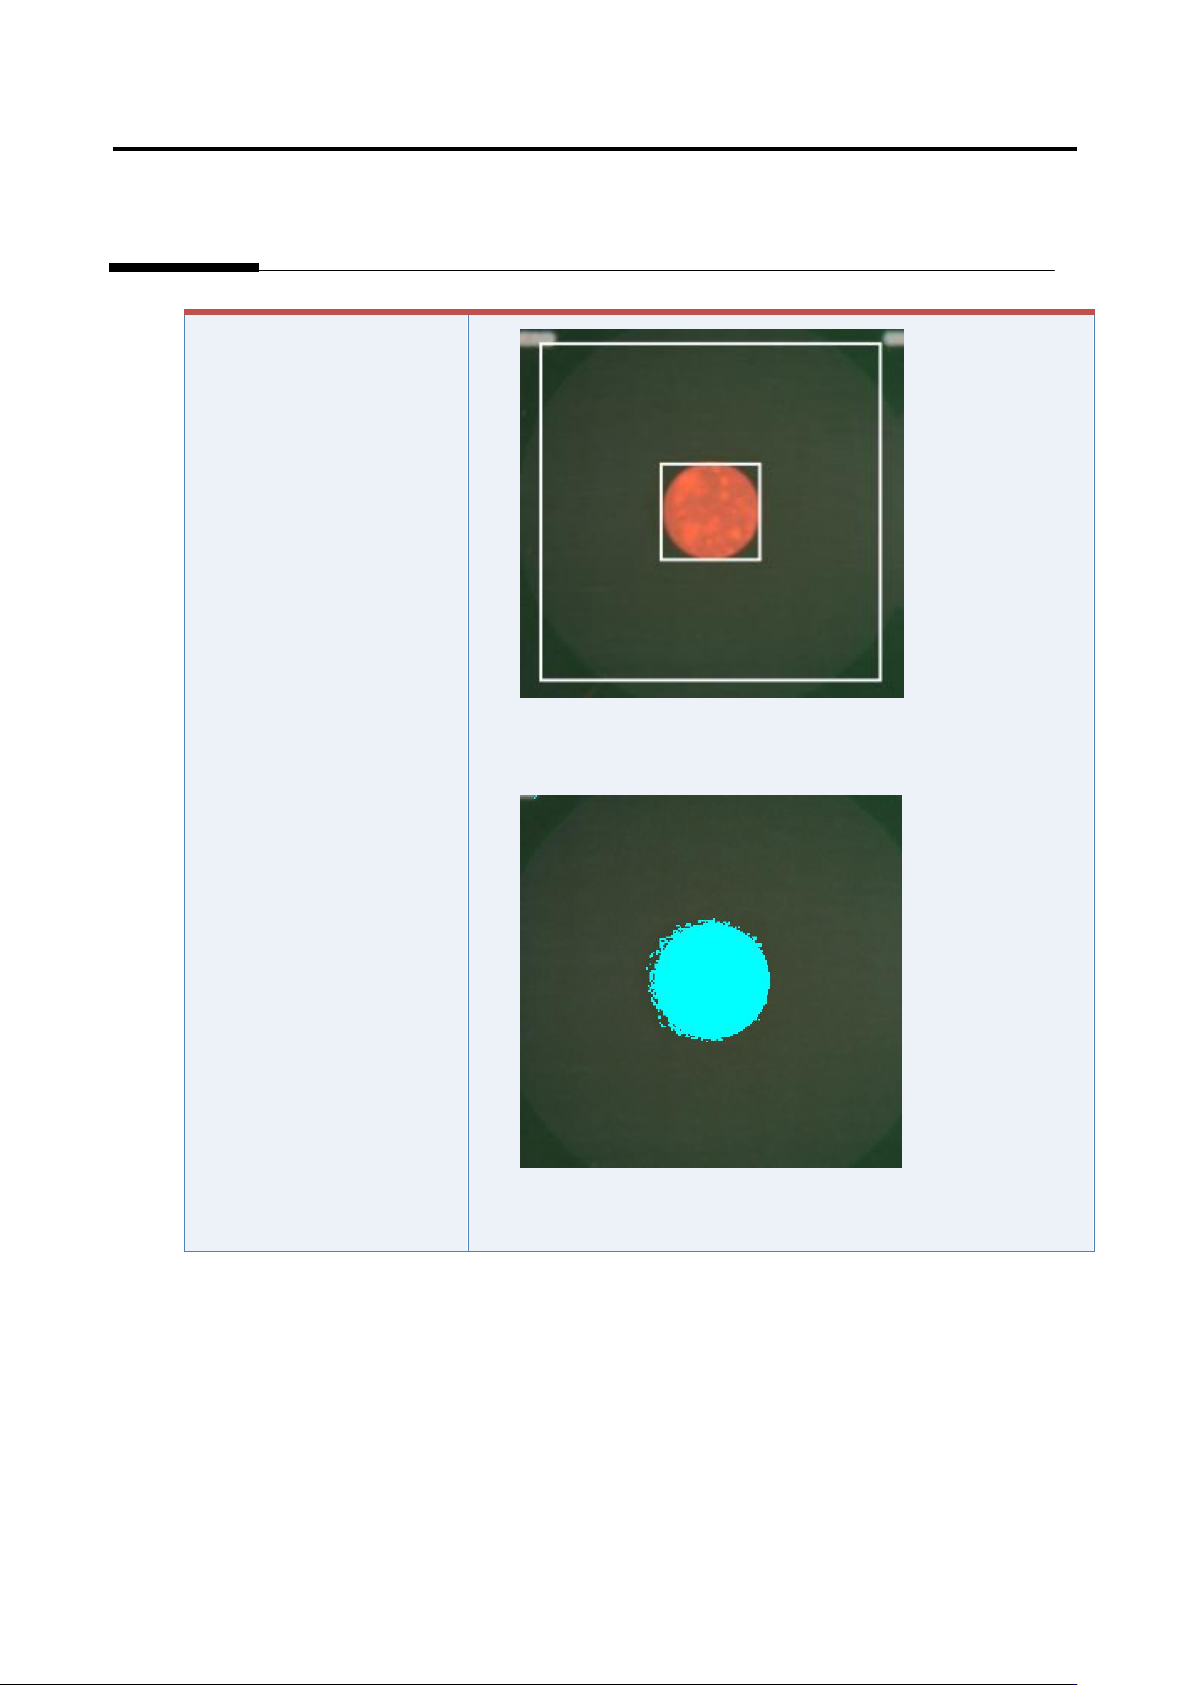
5) Click the [Model Editing] button to confirm that the fiducial color
is set appropriately.
6) Change the color if not appropriate.