Omron V-TS Teaching Manual.pdf.pdf - 第145页
Chapter 2 Insp ection Progr amming 2- 118 2.11 Saving an Inspection Program 2.11.1 Saving an Inspec tion Program Save an inspection progr am during the process of teaching. 4. Select [File] - [S ave] in the m enu bar. Or…
2.10 Setting Secondary Reflection Inspection
2-117
If there is no target component of the secondary
reflection inspection around the target component of it, a
warning message is displayed when the inspection
program is closed. If it happens, review the settings of
the secondary reflection inspection.
Chapter 2 Inspection Programming
2-118
2.11 Saving an Inspection Program
2.11.1 Saving an Inspection Program
Save an inspection program during the process of teaching.
4.
Select [File] - [Save] in the menu bar.
Or press [S] while holding down the [Ctrl] key on the keyboard.
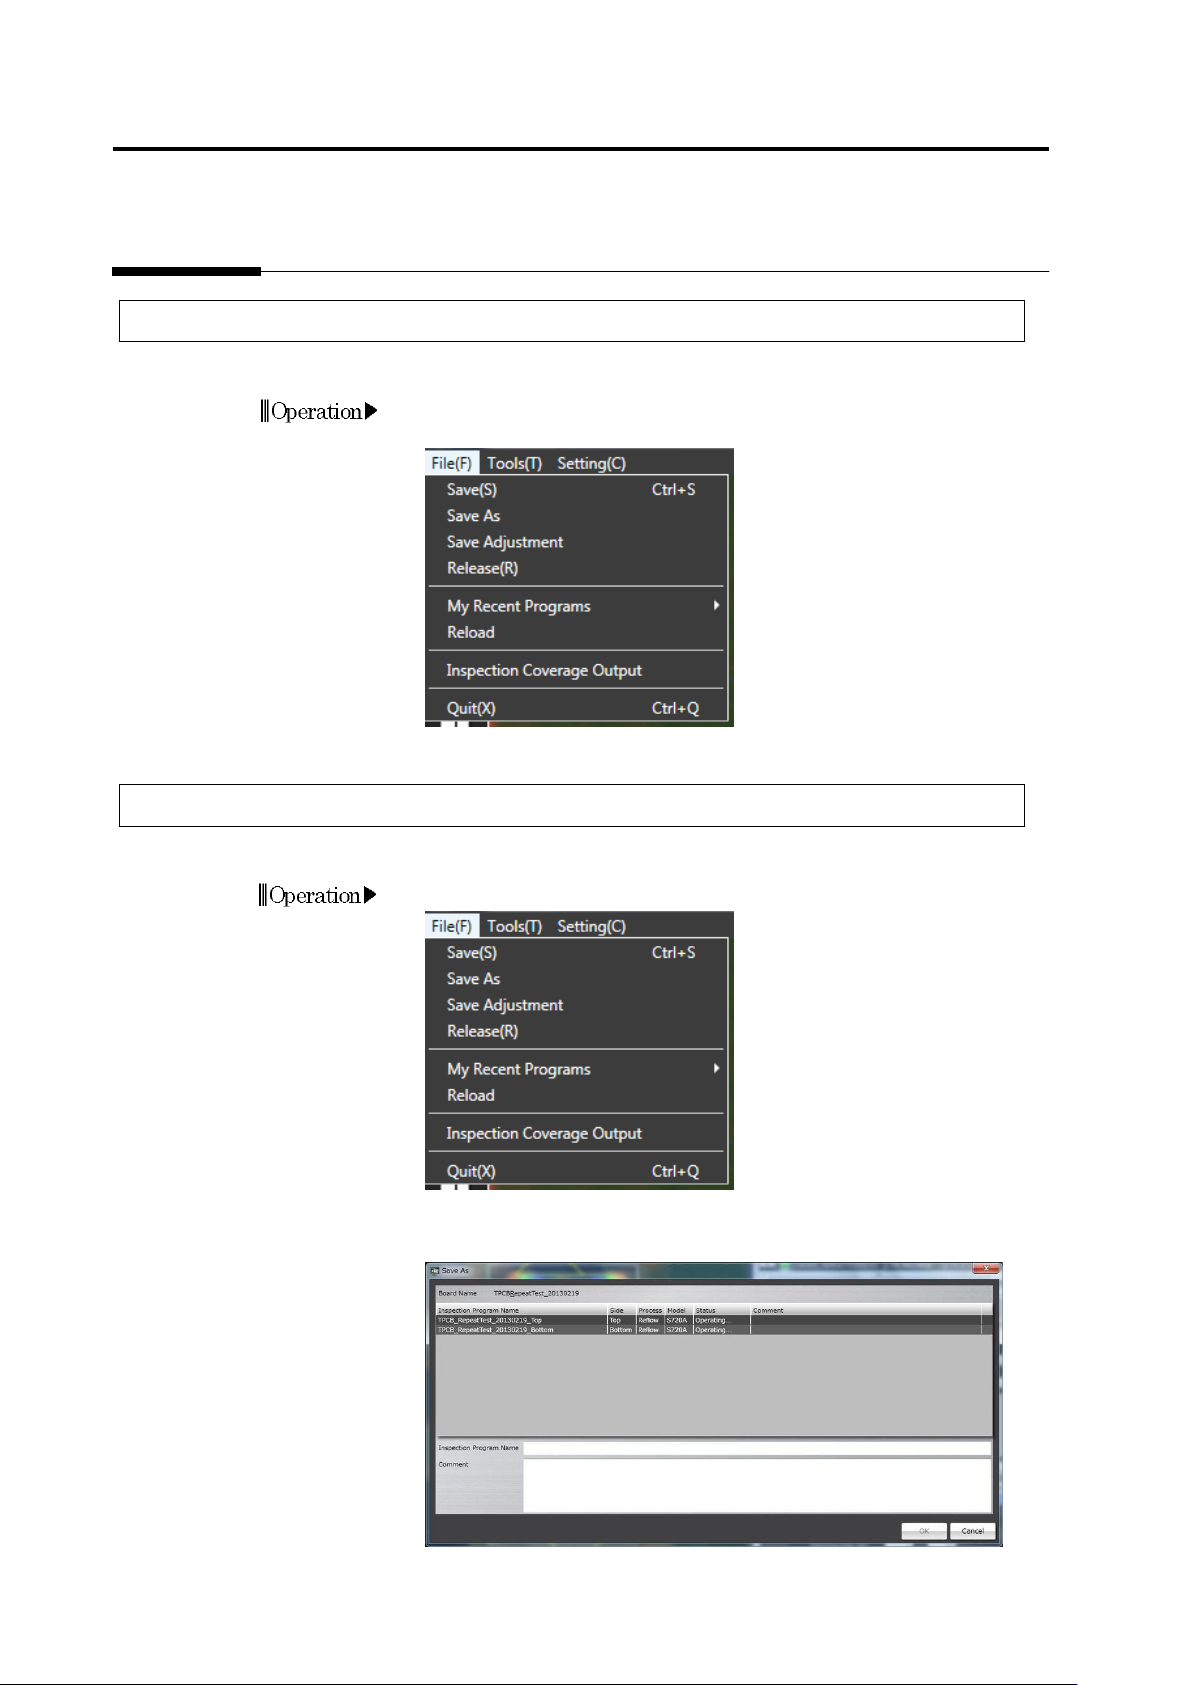
2.11.2 Saving an Inspection Program Under a New File Name
This section describes how to save an inspection program with a name during teaching.
1. On the menu bar, select [File] - [Save As].
2. The Save As dialog box appears.
Specify an inspection program name and a comment, and click [OK].
Operation

2.11 Saving an Inspection Program
2-119
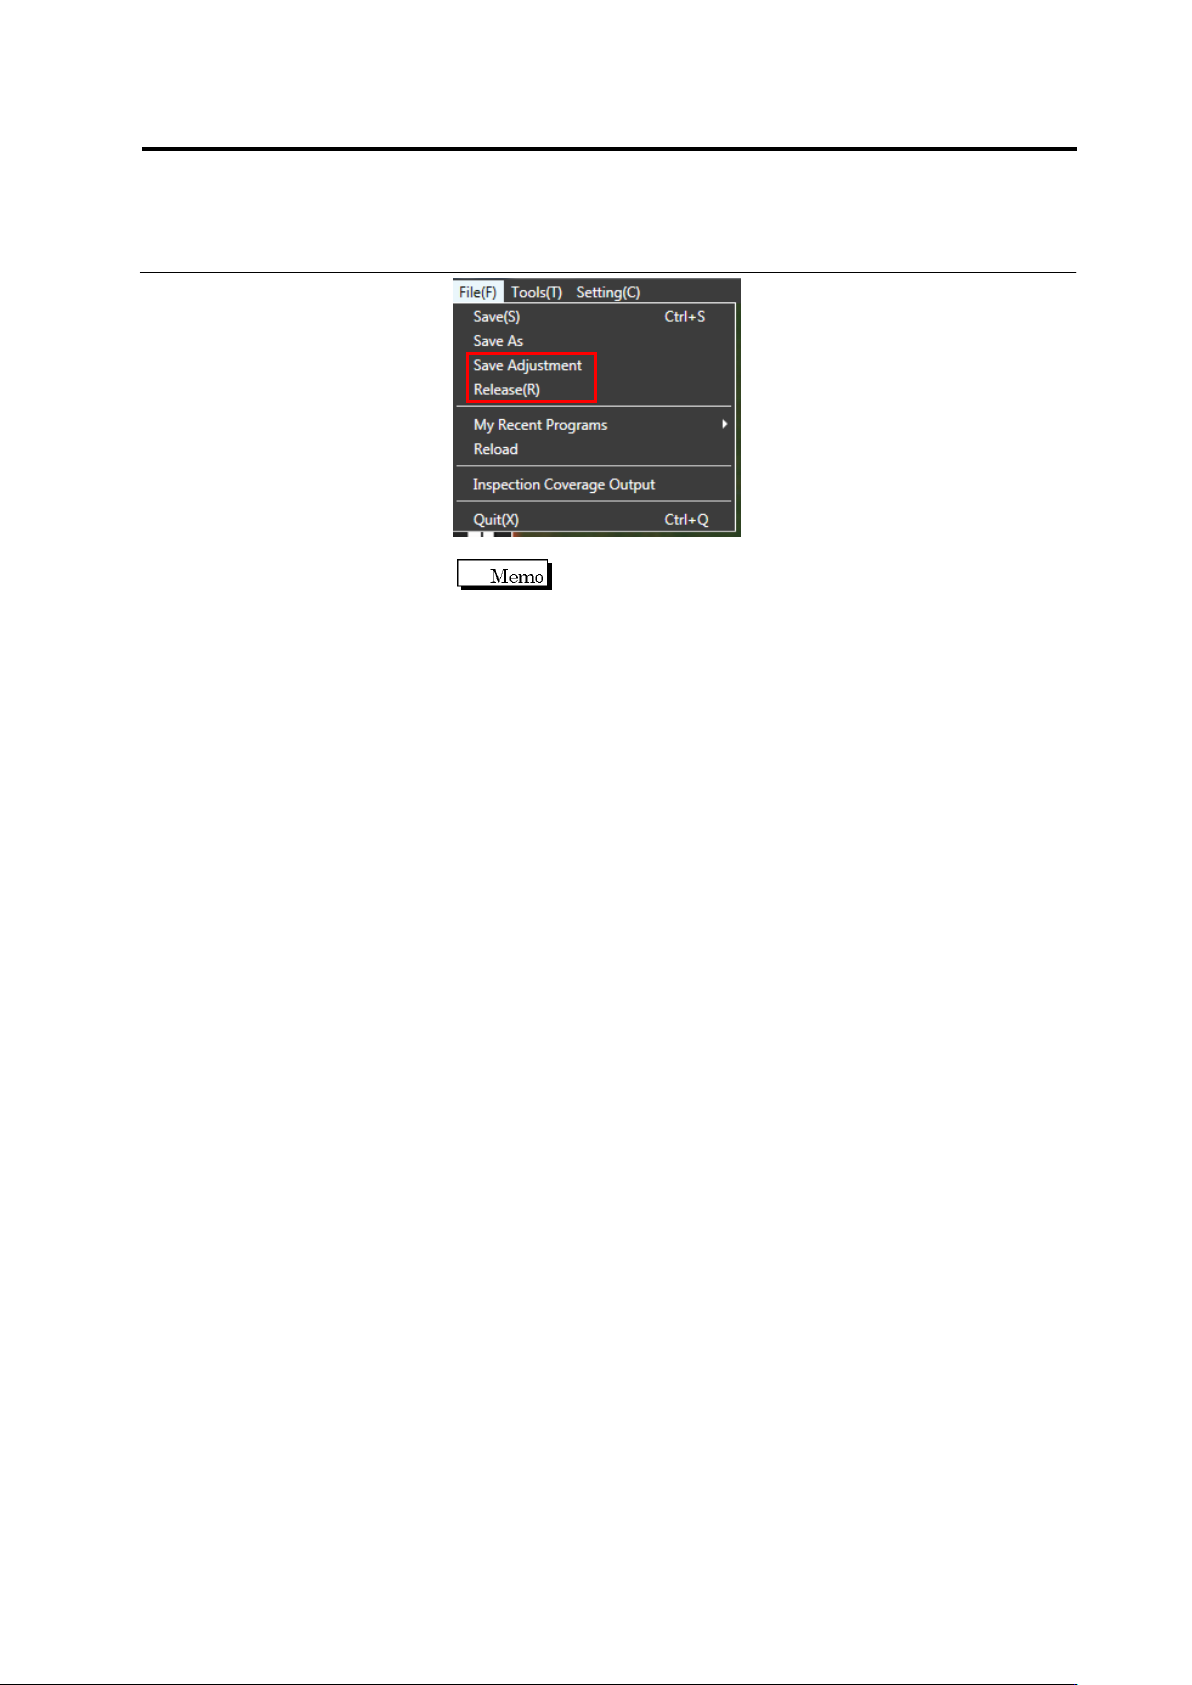
2.11.3 Releasing an Inspection Program
The following shows the procedure to release a completed inspection program. Once released, it
is now available for the use on the PCB inspection system.
The calculation and saving of the image capture route is performed when an inspection
program is released, which requires a certain amount of time.
After an inspection program is released, its status in the Inspection Program list in the Select
PCB screen changes from "Teaching" to "Operating".
1.
Select [File] - [Release] in the menu bar.
The dialog below is displayed during releasing.
If components might be added because of destination creation,
select [No] to leave the height data.
To add a component after height data is deleted, perform
teaching using a PCB image with the height data using the
steps below:
1. On the inspection machine, capture the image in the capturing mode.
2. Move back to v-TS, select [Tool] - [PCB Image Management]. On this
screen, se the newest image captured at Step 1 as a master.
3. Confirm the result. After the reference value is confirmed, select [File] -
[Release] to release the inspection program.
Operation