Omron V-TS Teaching Manual.pdf.pdf - 第266页
3.3 Configuring Qu ality Criteria Setting 3- 11 3. T o create a new co m ponent number library , clic k [Add]. A com ponent num ber library is created and added to the list. For easier identification , enter a com ponent…
Chapter 3 Management Menu
3-10
3.4 Managing Component Number Libraries
3.4.1 Adding/Deleting Component Number Libraries
You can specify the component number library to use for each inspection project.
Utilizing multiple component number libraries materializes separate management of required
quality and component numbers.
1.
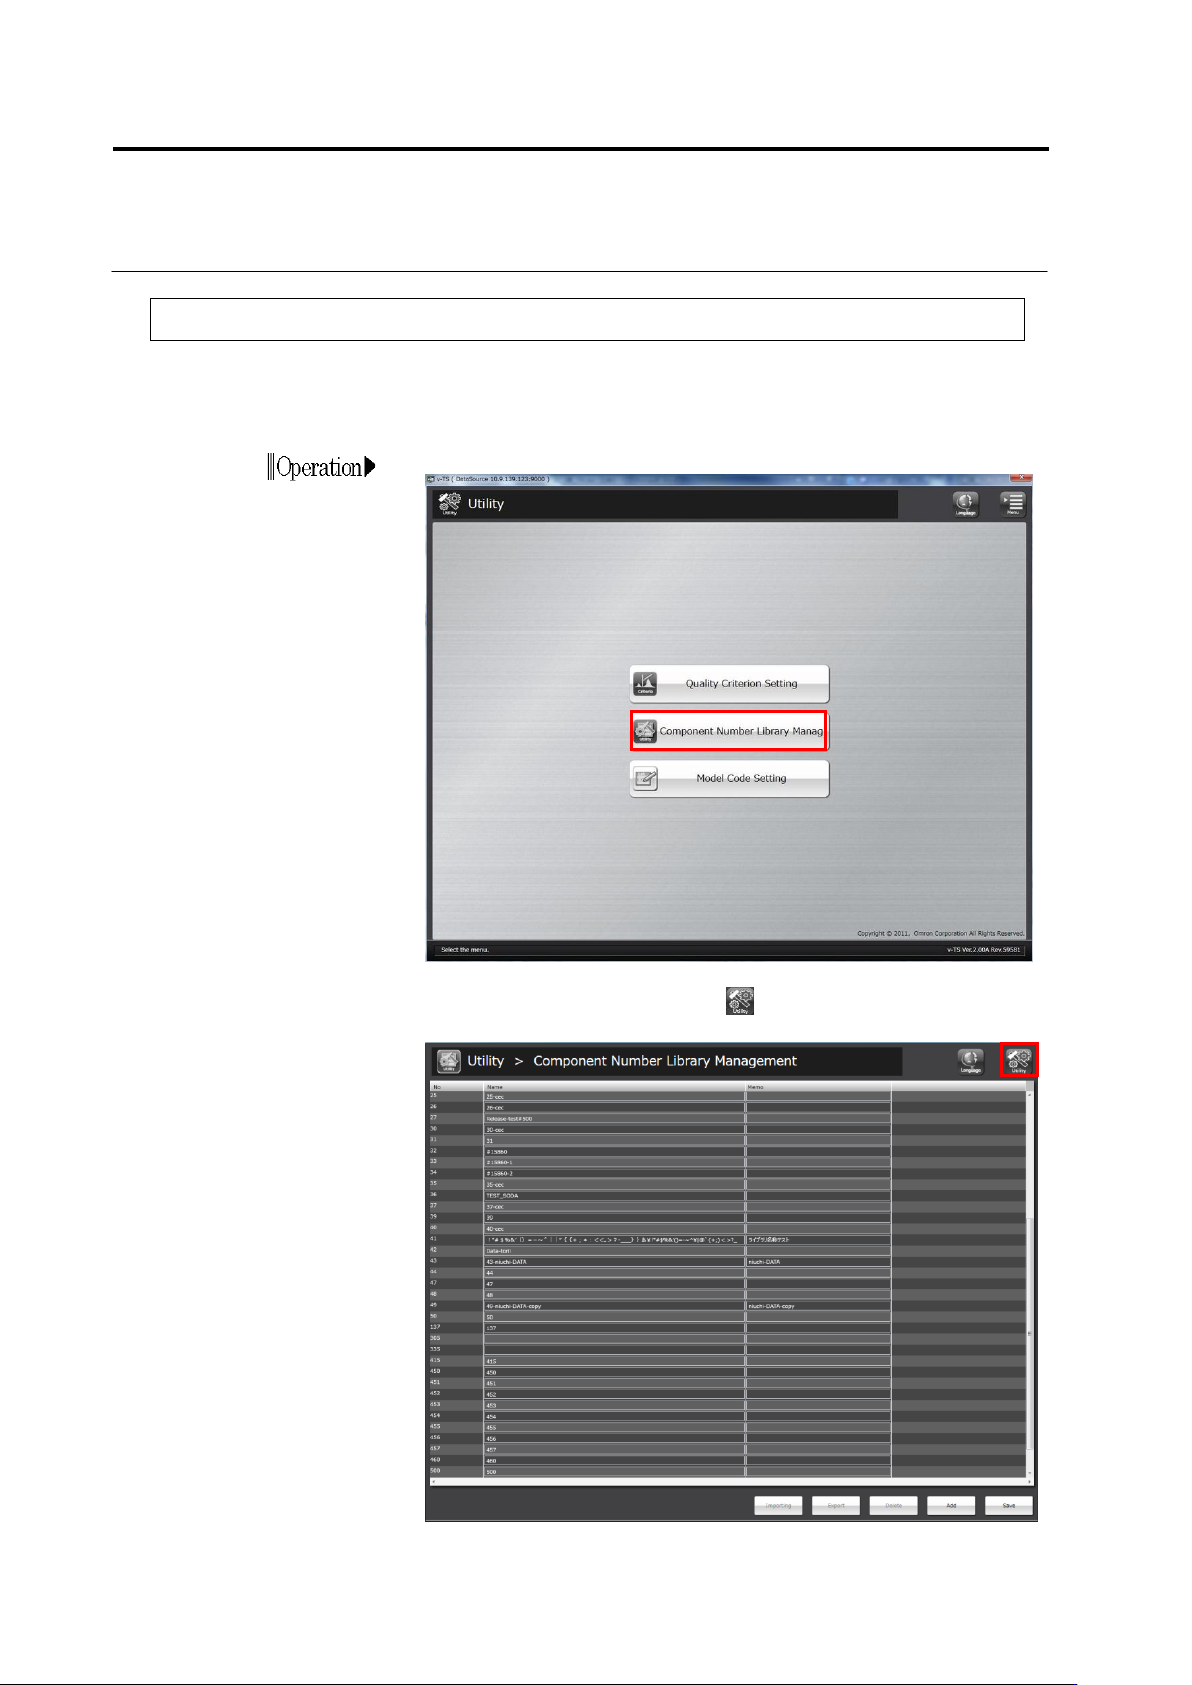
Click [Component Number Library Manag] on the utility menu.
2.
The component number library management screen appears.
To return to the utility menu, click button on the top-right screen.
3.3 Configuring Quality Criteria Setting
3-11
3.
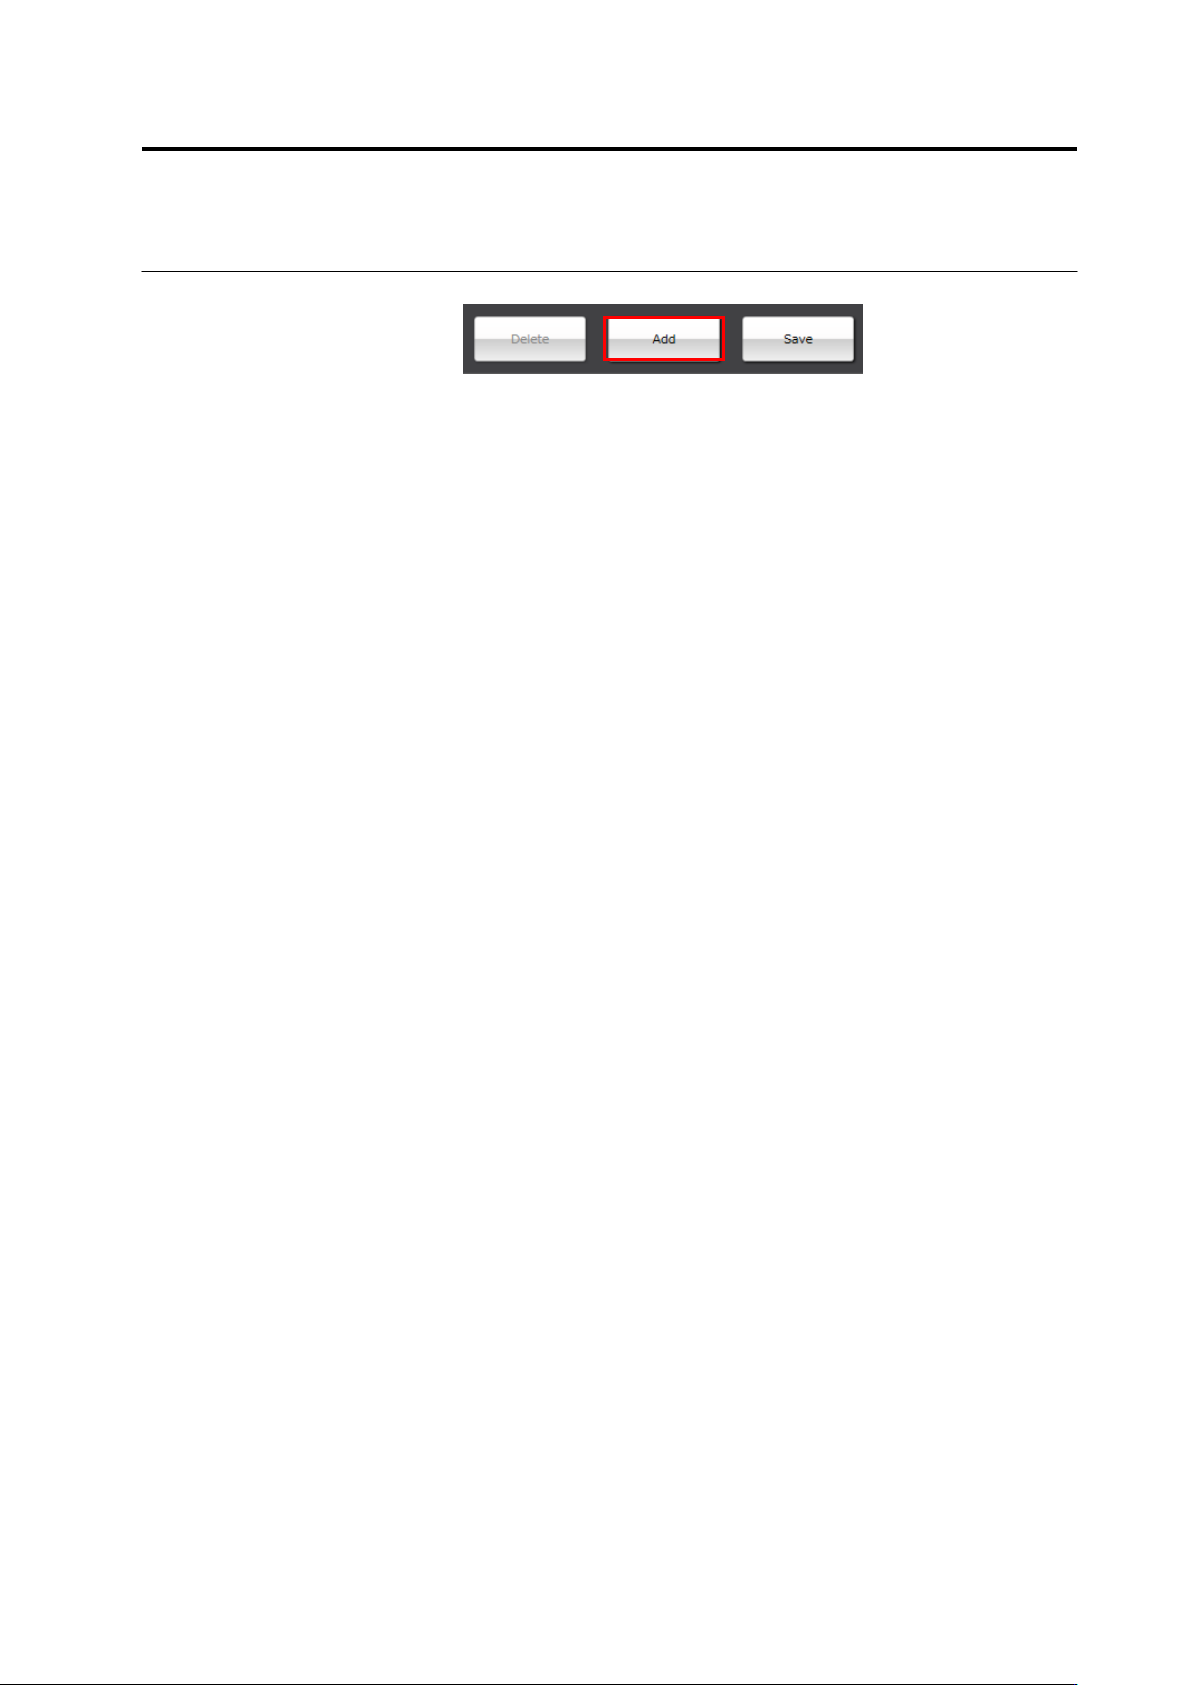
To create a new component number library, click [Add].
A component number library is created and added to the list.
For easier identification, enter a component number library name
and a comment.
4.
To delete the component number library, select a component
number library and click [Delete]. When you delete a component
number library, delete inspection programs that use the library as
the inspection programs that refer to the component number
library will become unavailable.
5.
After completing the setting, click [Save] to save the change.
Chapter 3 Management Menu
3-12
3.4.2 Copying Component Number Data and Component
Number Group Data among Libraries
Any component number data or component number group data can be copied among
component number libraries.
Exporting component number data
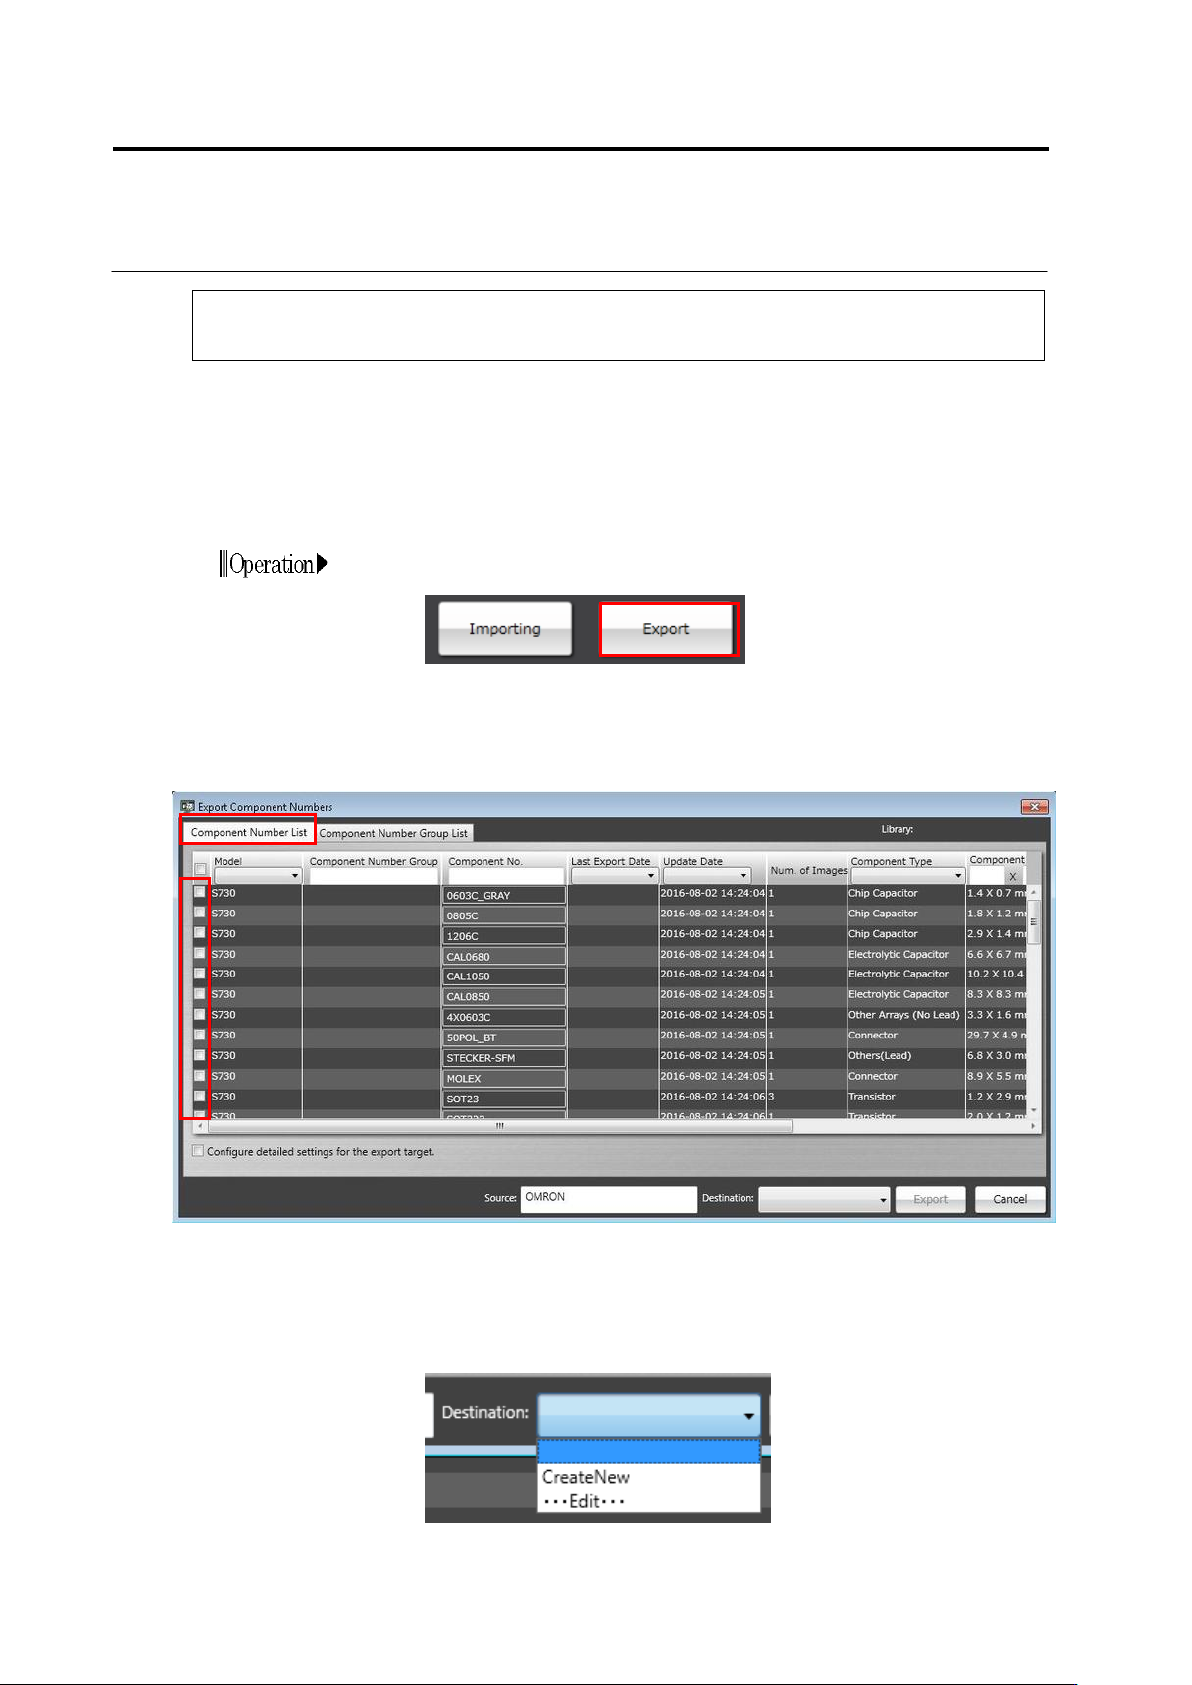
1.
Select a component number library from which you wish to
output a component number data, and click [Export].
2.
On the Export Component Numbers screen, click the
[Component Number List] tab. It is able to select the component
numbers you wish to export from the component number list, and
set information on the source or destination of data.
3.
The name of a data supply source can be set by filling in the
[Source] text box with text. For destinations, by clicking
[CreateNew] on the pull-down menu, a new destination can be
registered. When editing an existing destination, click [
・・・
Edit
・・・
]. Then, the destination list can be edited.