Omron V-TS Teaching Manual.pdf.pdf - 第270页
3.3 Configuring Qu ality Criteria Setting 3- 15 3. Display t he “ Import Component Number ” screen. A list of existing component nu mbers is display ed in the upper port ion of the screen. In t he lower portion of t he s…
Chapter 3 Management Menu
3-14
4.
To set the content you wish to export in detail, turn ON the [Set
content exported in detail] check box. When turned ON, items
②
to
⑥
below are displayed.
5.
When the component numbers and content exported have been
set, click [Export]. Select a folder to save the component number
data.
Importing component number data
1.
Select a component number library you wish to input the
component number data, and click [Importing].
2.
Select the folder containing the component number data you
wish to input.
All the component number data in the folder are applicable to
import. So, remove the component number data you don’t wish
to import from the folder in advance.
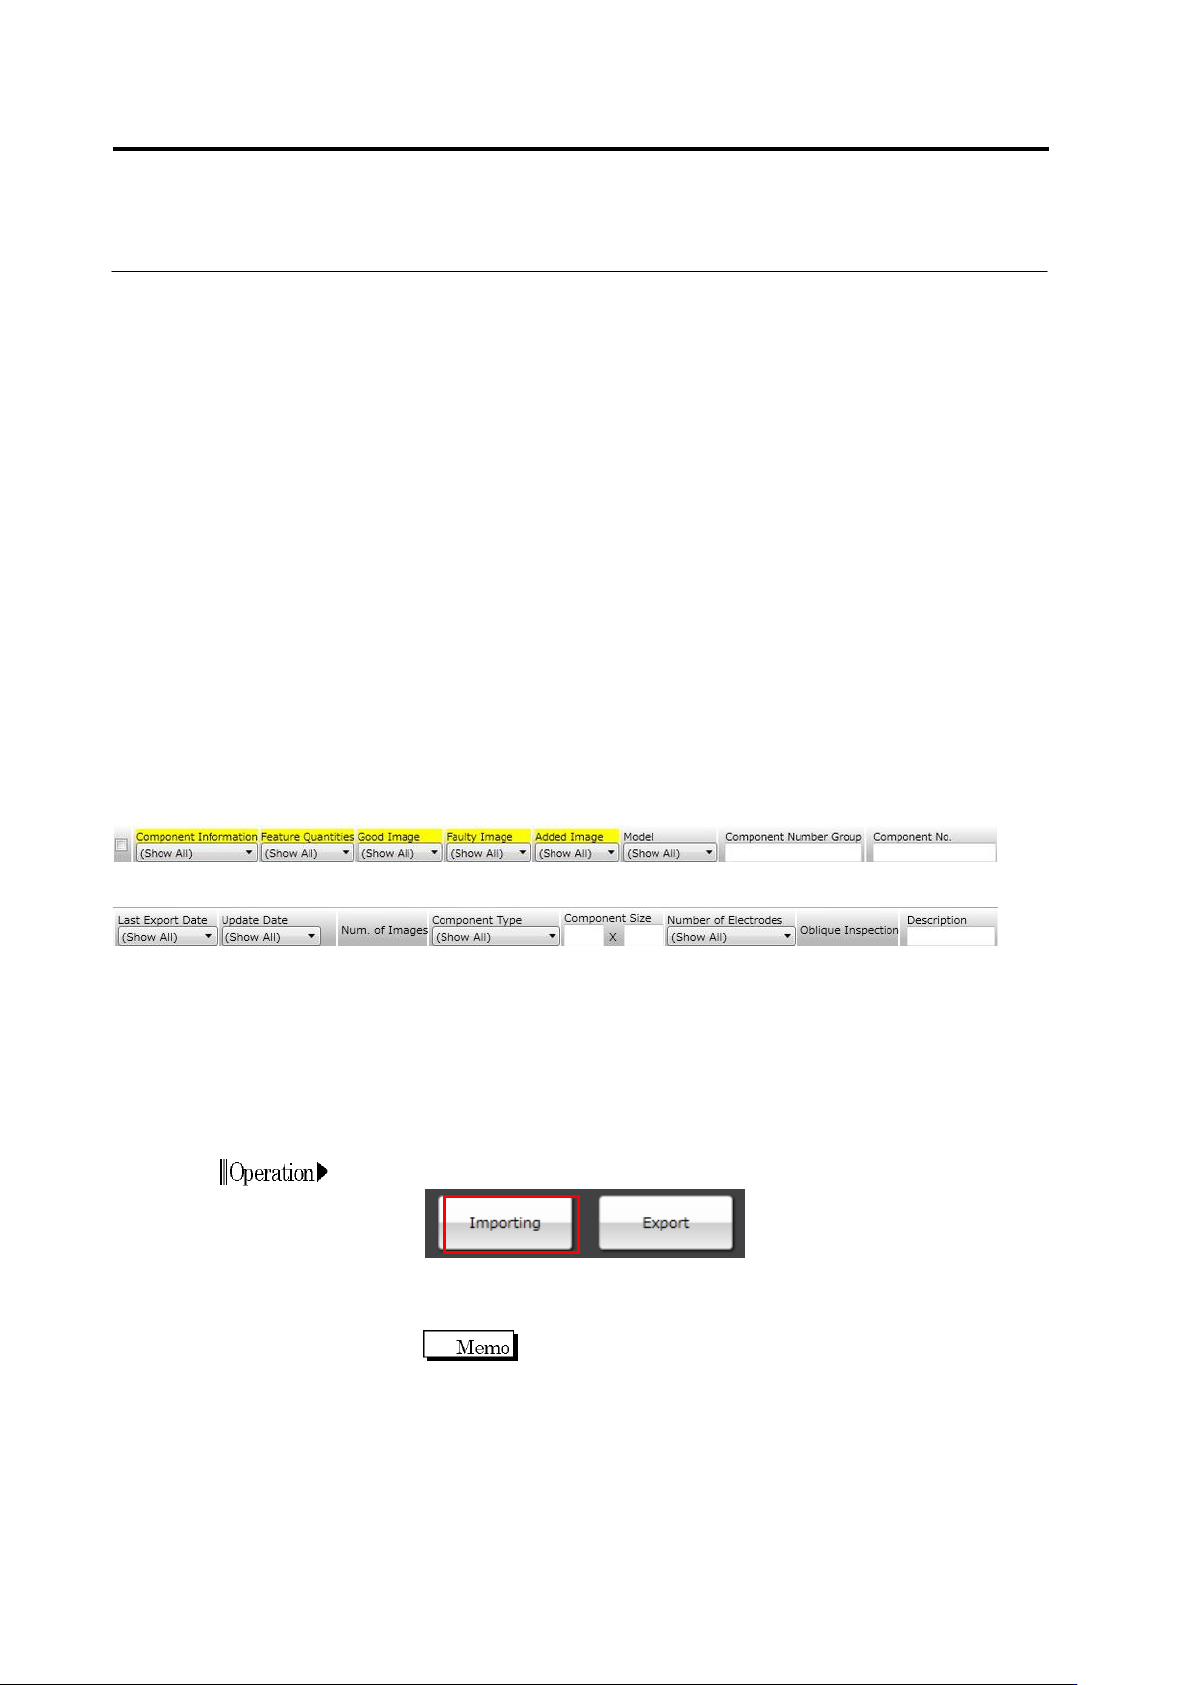
① ② ③ ④ ⑤ ⑥ ⑦ ⑧ ⑨
⑩ ⑪ ⑫ ⑬ ⑭ ⑮ ⑯ ⑰
⑨
① Turn ON/OFF export execution
② Turn ON/OFF export execution of component information data
③ Turn ON/OFF export execution of feature quantity data (color, mask information)
④ Turn ON/OFF export execution of OK images
⑤ Turn ON/OFF export execution of NG images
⑥ Turn ON/OFF export execution of only images added after previous export
⑦ Display inspection machine model
⑧ Display component number group name
⑨ Display component number name
⑩ Display date & time of previous export
⑪ Display date & time of updating component numbers
⑫ Display number of images
⑬ Display component type
⑭ Display component size
⑮ Display number of electrodes
⑯ Display presence of oblique inspection settings
⑰ Display component number explanation
3.3 Configuring Quality Criteria Setting
3-15
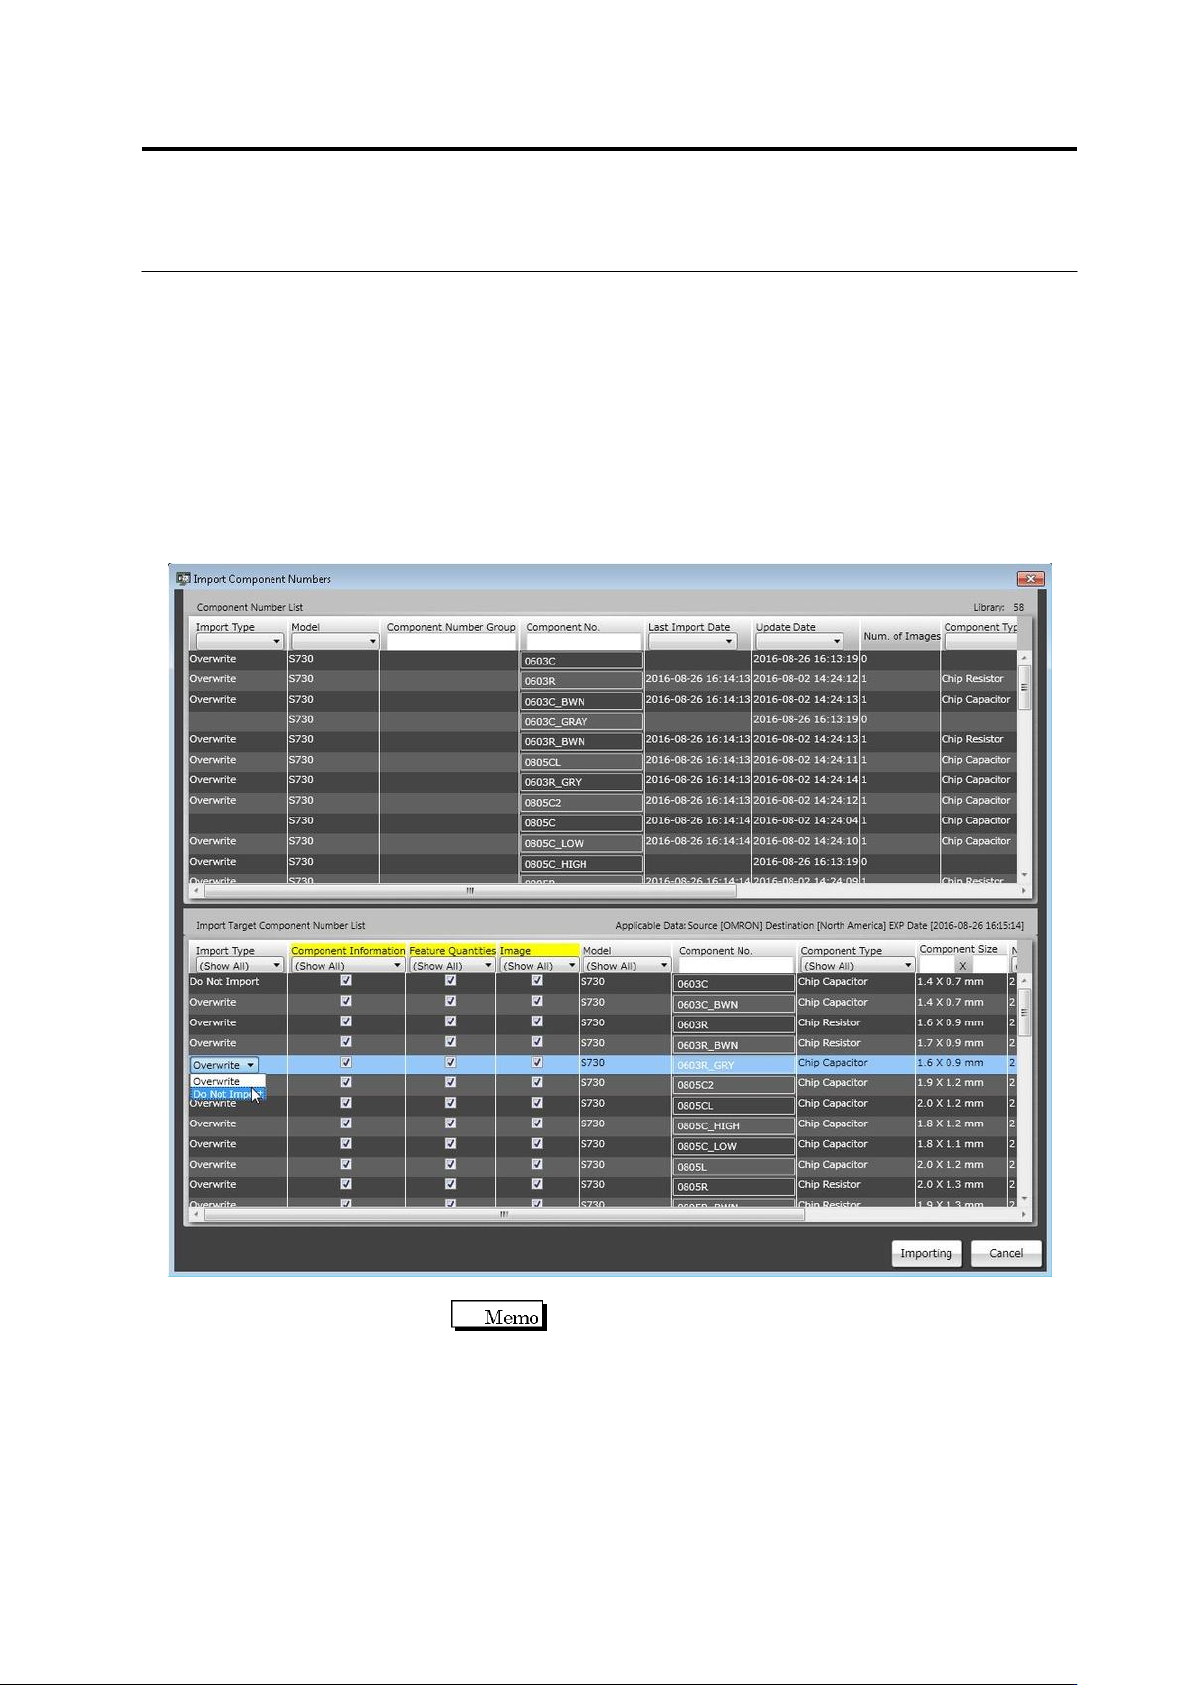
3.
Display the “Import Component Number” screen. A list of existing
component numbers is displayed in the upper portion of the
screen. In the lower portion of the screen, the component
numbers imported and the import type are displayed. By clicking
the “Import Type” cell, whether to execute import or not can be
set.
By clicking [Import], the component numbers are imported. If the
same component number is present in an existing library, the
existing component number is overwritten. If there is no same
component number, the component number is added.
By clicking [Cancel], this screen is closed.
One of the following types is displayed for each component
number according to the software processing of importing.
- Overwrite: The existing component number is overwritten by importing. It
can be selected which data are imported to the existing
component number. For example, if adding images only, turn
OFF the check boxes of Component Information and Feature
Quantity, but turn ON the check box of Image. If overwriting
inspection criteria only, conversely, turn ON Component
Information only.
- Add: A new component number is added.
Chapter 3 Management Menu
3-16
- Not Execute Import: If data are selected arbitrarily, or if there is no existing
component number and feature quantity or images are not
selected when data are exported, data are not sufficient. So,
“Not execute import” is selected.
Exporting component number group data
Although there are several settings specific to component number group, user operations are
basically equal to those for component number data.
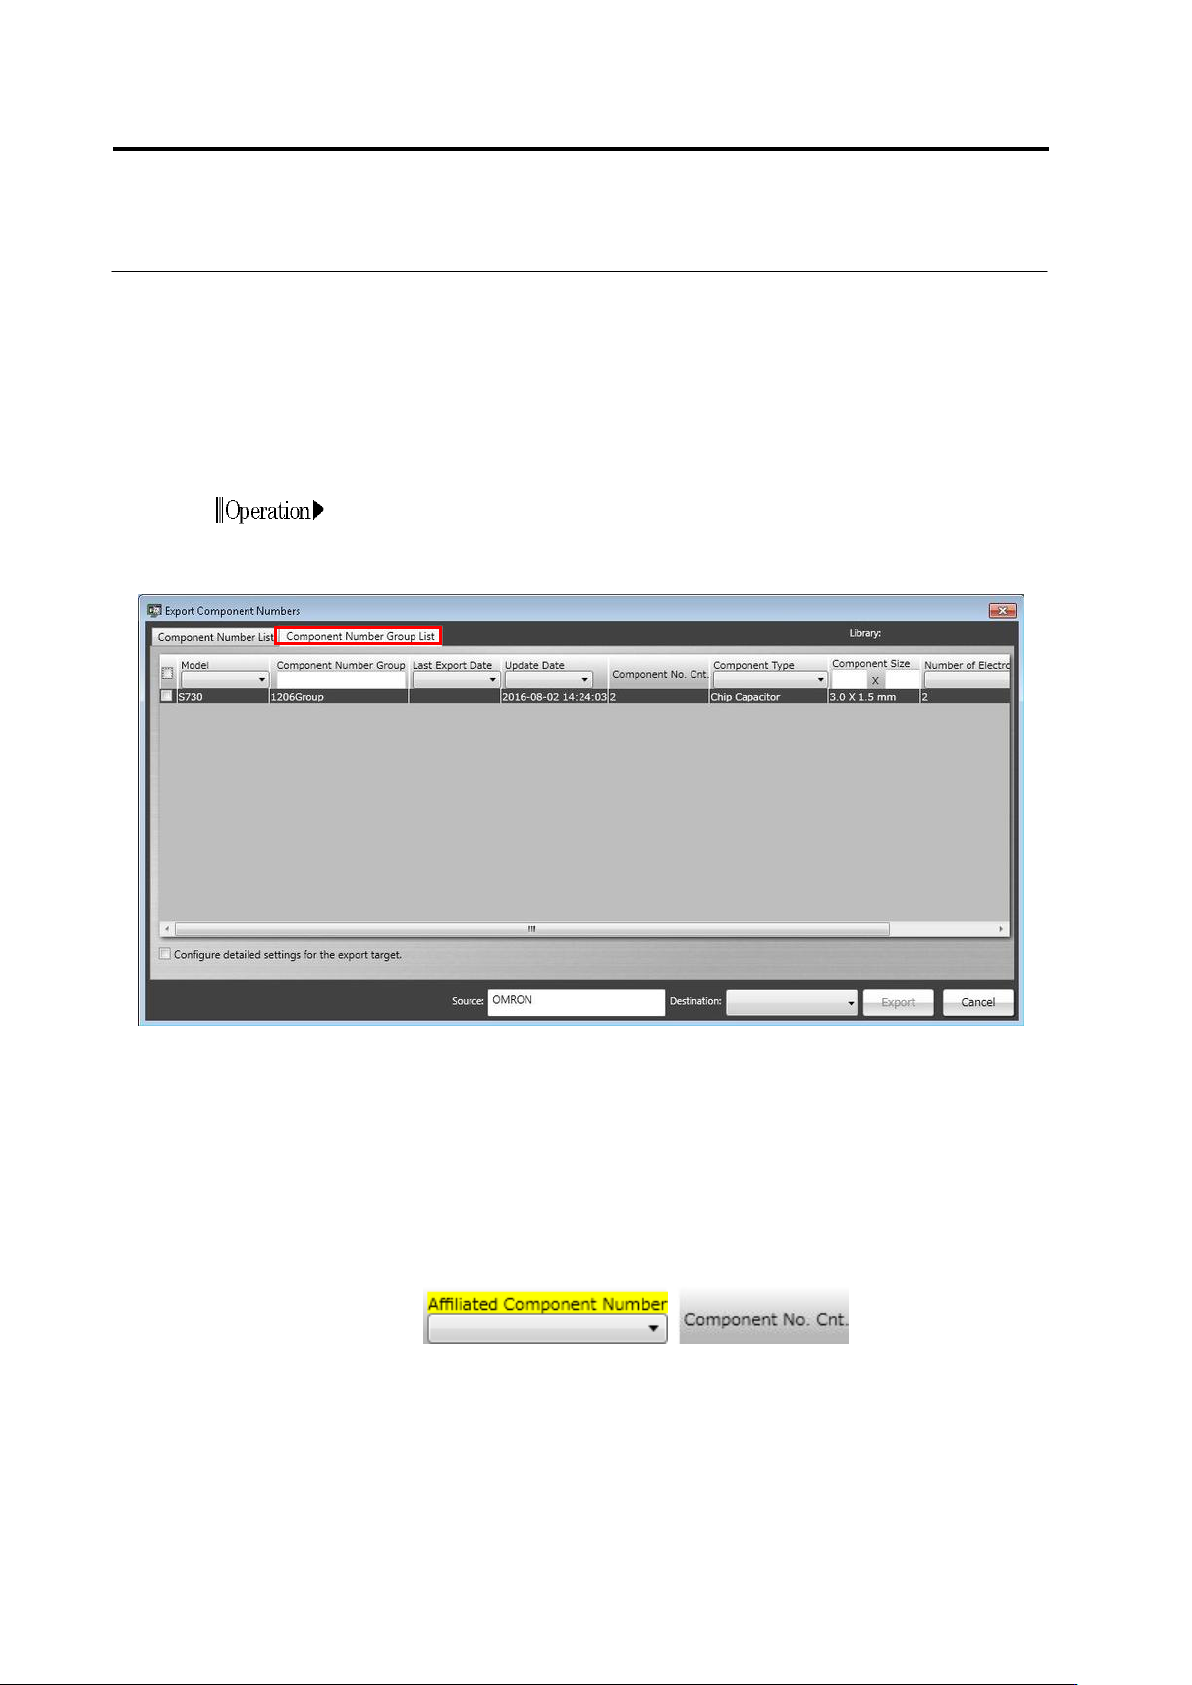
1.
On the Export Component Numbers screen, click the
[Component Number Group List] tab.
2.
Set the Source and Destination items in the same way as applied
to component number data. To set the content exported in details,
turn ON the [Set the content exported in details] check box. The
following items
⑱
and
⑲
are displayed in addition to
component number data.
3.
When the component number group exported or its content has
been set, click [Export]. Select a folder to save the component
number group data.
⑱ Turn ON/OFF export execution of the component number data belonging to the
component number group
⑲ Display the number of component numbers belonging to the component number group
⑱ ⑲