MR8740、MR8741_user_manual_eng_20191016H.pdf - 第125页
5.4 Set the print contents 113 6 Chapter 5 Printing 5 Set the print contents on the [Printer] sheet of the System screen. 5.4 Set the print content s Print content s sett ing To open the scr een: Press the SYSTEM key …
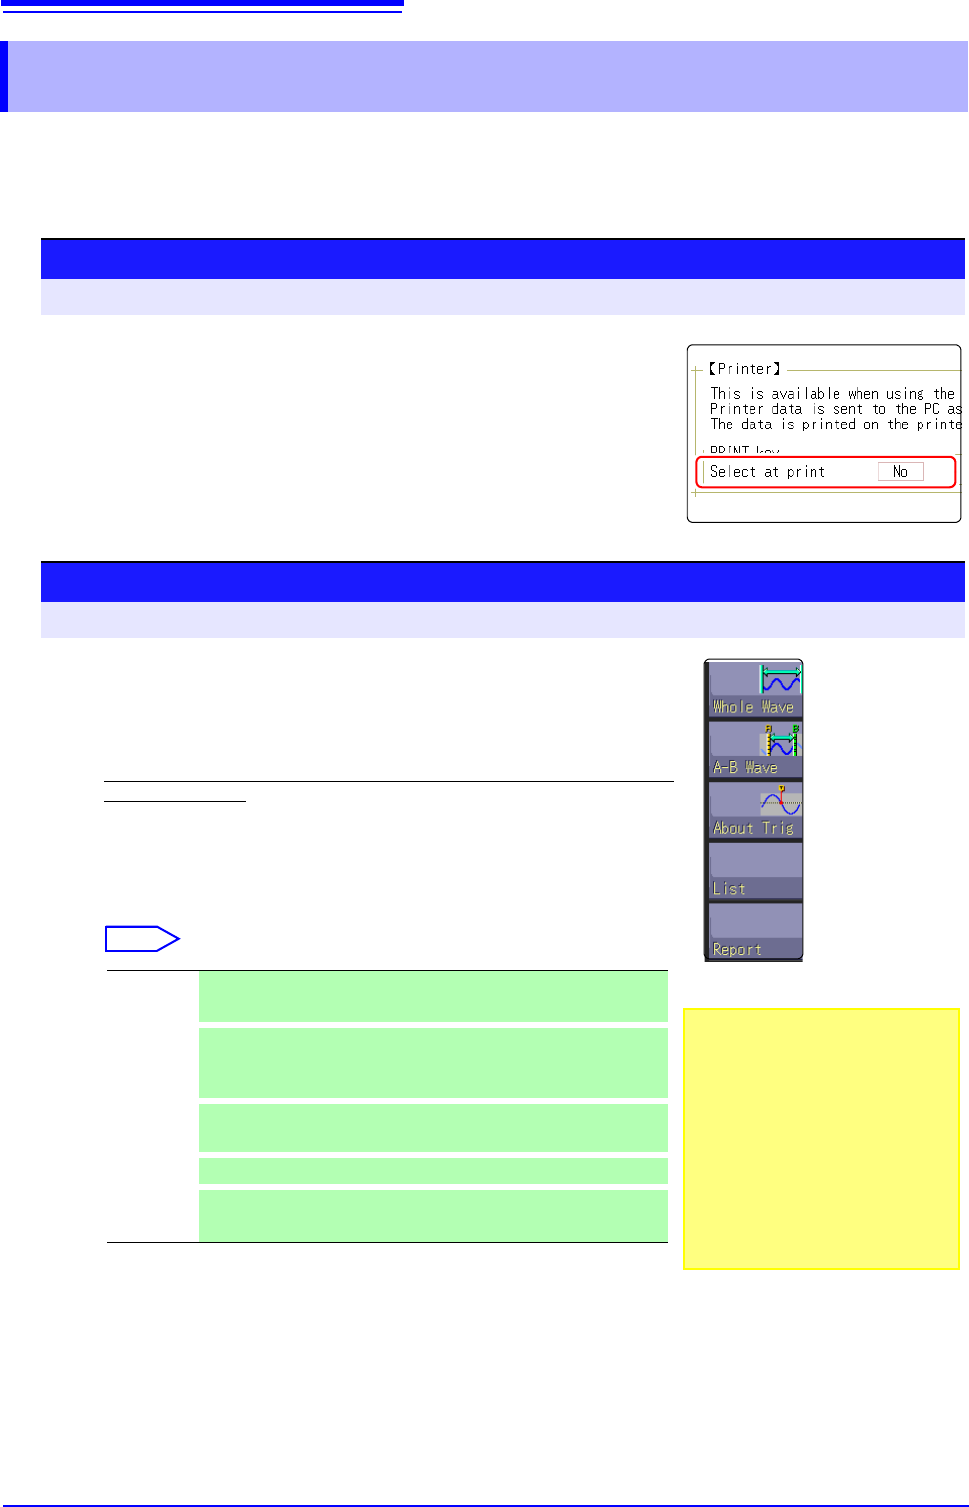
5.3 Send PRINT key
112
If the "Send Print Key" is executed by using Model 9333, the data are printed after the print range
and types are selected.
This is also useful to prevent inadvertent printing due to operation errors.
When performing waveform evaluation, the evaluation area will be printed at the same time.
To disable printing of the evaluation area, set waveform evaluation to [OFF]. ( p.300)
5.3 Send PRINT key
Procedure
To open the screen: Press the SYSTEM key [Printer] sheet
1
Enable data selection at time of printing
Move the cursor to the [Select at print] item.
Select [Yes].
Procedure
To open the screen: Press the DISP key File screen
2
Start and stop the measurement.
Press the START key to start the measurement.
Press the STOP key to finish the measurement.
During measurement, printing is not possible. Measurement must be stopped be-
fore starting to print.
3
Select print contents and execute printing
If the "Send Print Key" is executed by using Model 9333, the GUI
[Select at print] is displayed at the right on the screen.
Select
When the selection (except for [Cancel]) has been made, printing starts.
Whole
Wave
Print all waveform data in internal memory of instrument. (default
setting)
A-B Wave
Print only A/B cursor defined range of waveform data in internal
memory of instrument. (Memory Function and Recorder Function
only)
About Trig
Print waveform data for 10 divisions before and after trigger posi-
tion. (Memory Function only)
List
Print main settings.
Report
Print the report.
See: "5.5.2 Report Print (A4 Size Print)" ( p.116)
• To output the waveform
data to the PC con-
nected via LAN
Model 9333 LAN Communicator
is required to be installed on the
PC to which the data is to be out-
put. For more information about
how to operate and configure
Model 9333 LAN Communicator,
in addition to install it on the PC,
see the instruction manual of
Model 9333 LAN Communicator.
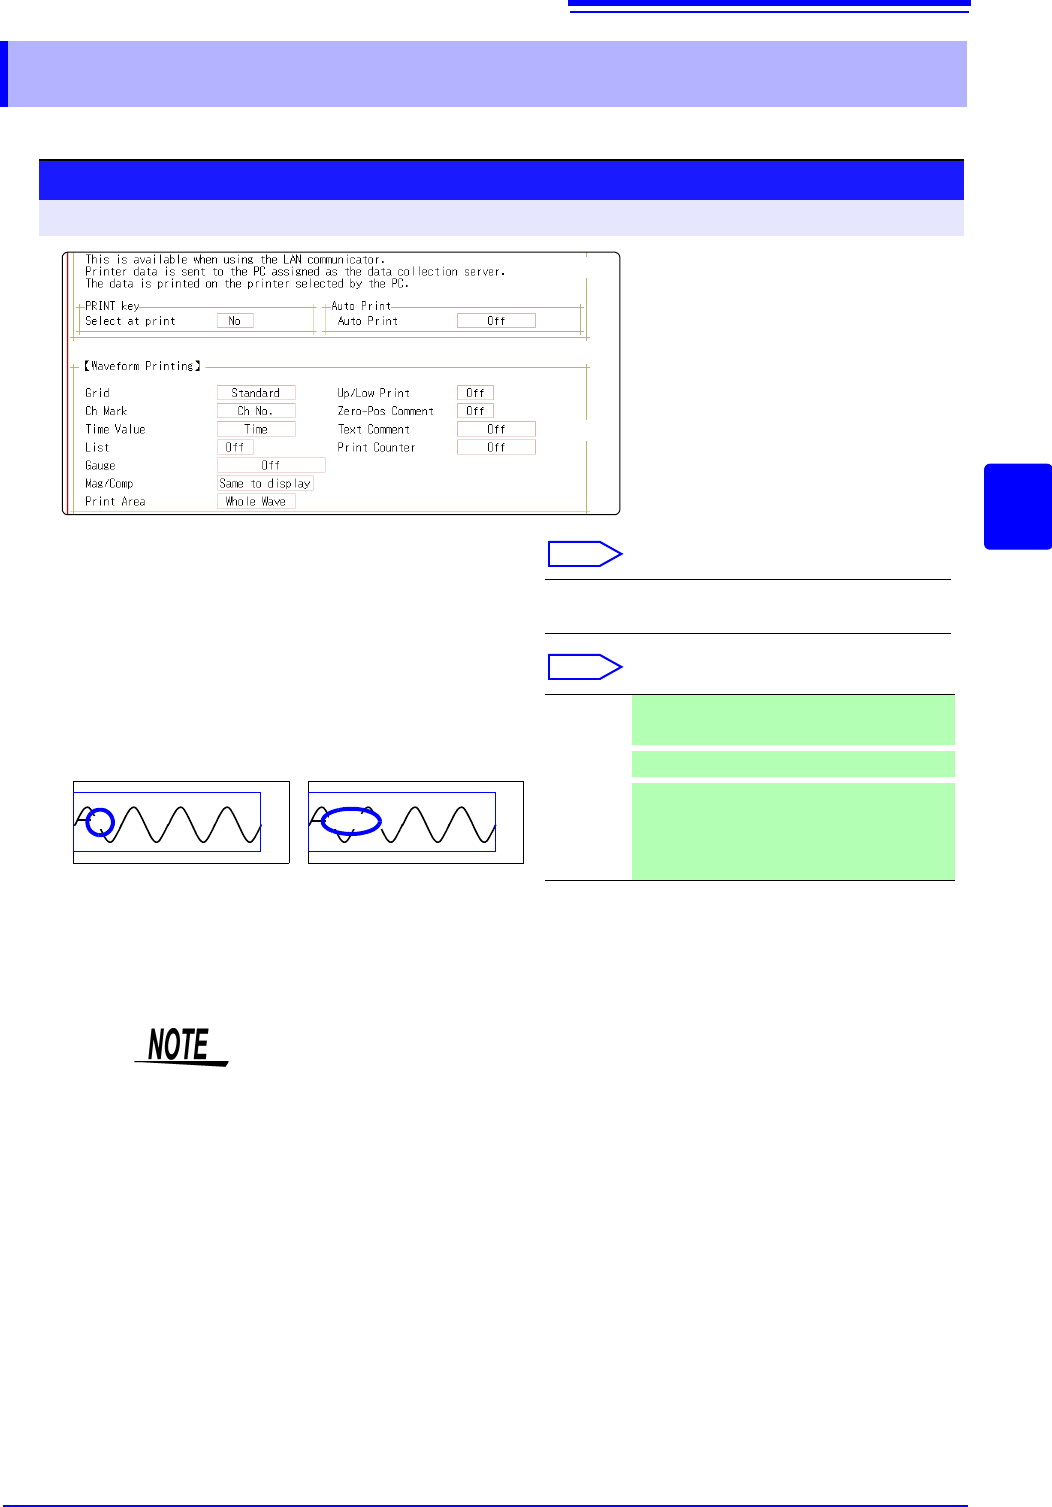
5.4 Set the print contents
113
6
Chapter 5 Printing
5
Set the print contents on the [Printer] sheet of the System screen.
5.4 Set the print contents
Print contents setting
To open the screen: Press the SYSTEM key [Printer] sheet
1
Select the grid type.
Move the cursor to the [Grid] item.
Select
2
Select the channel marker type.
Move the cursor to the [Ch Mark] item.
Select
Off, Standard (default setting), Fine, Std Dark,
Fine Dark
Channel number. Comment
<Print Example>
1
Voltage
Off Do not print the channel number or com-
ments.
Ch No.
Print the channel number . (default setting)
Comment
Print the comments entered in the Channel
Settings screen over the waveform.
A comment setting must have been made.
See: "7.1 Adding Comments" ( p.138)
1
2
( p.117)
( p.116)
Grid Type
Grids displayed on the screen are not reflected in the printout.
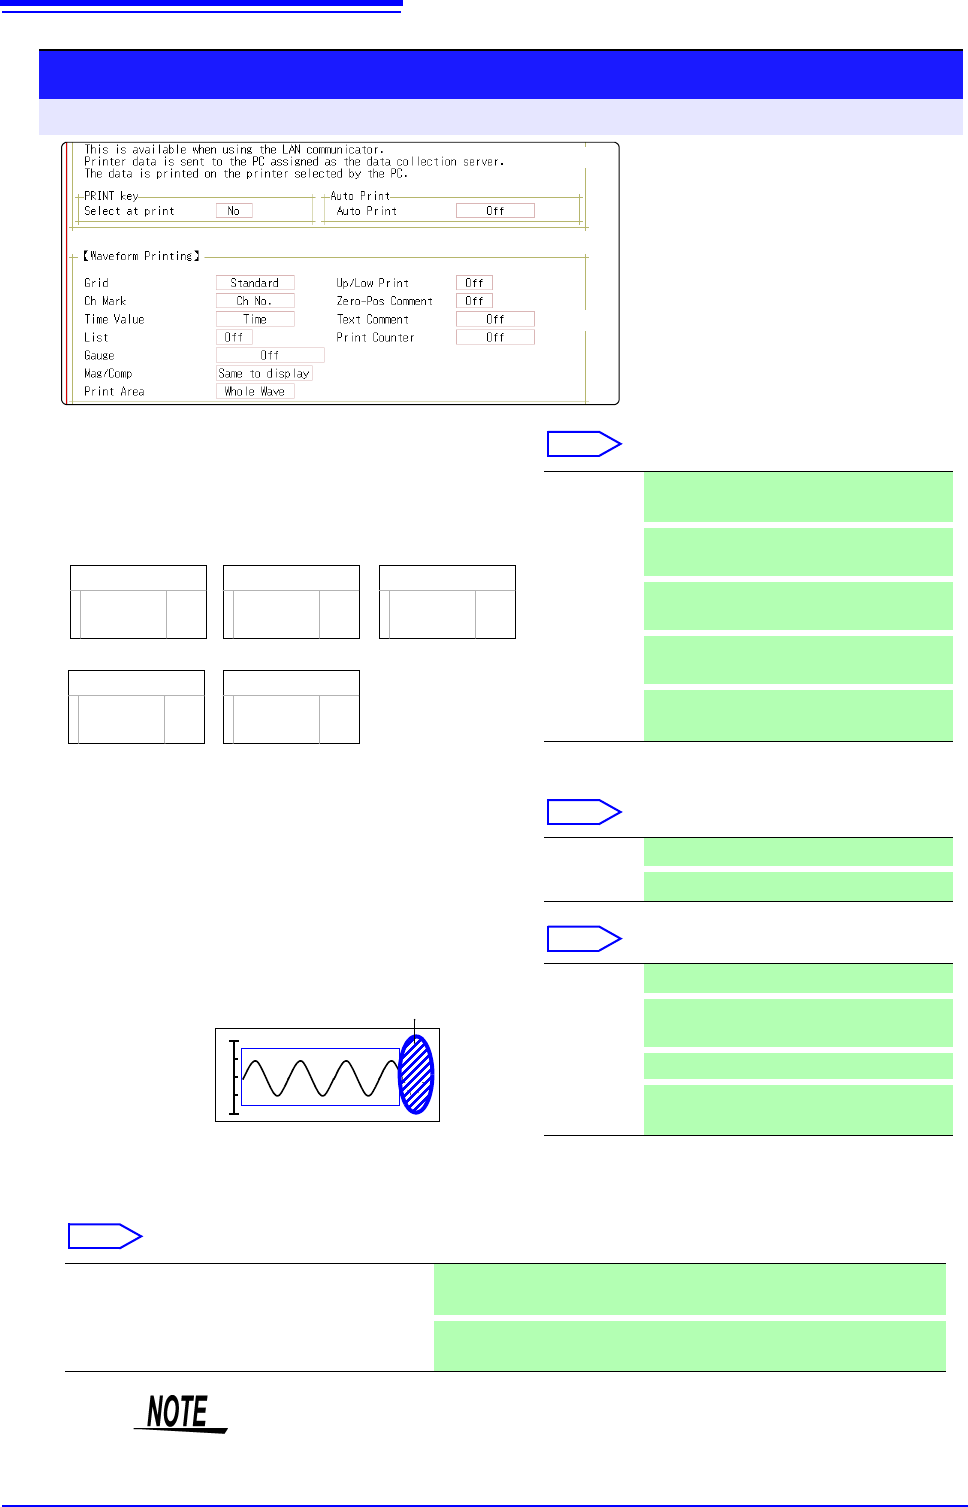
5.4 Set the print contents
114
Print contents setting
To open the screen: Press the SYSTEM key [Printer] sheet
3
Select the horizontal axis (time axis) display
value.
Move the cursor to the [Time Value] item.
Select
* Printing for external sampling is done according to the
[Sample] setting.
4
Print a list of settings
Move the cursor to the [List] item.
Select
5
Select the type of gauge.
Move the cursor to the [Gauge] item.
Select
6
Set the horizontal axis (time axis) magnification and compression.
Move the cursor to the [Mag/Comp] item.
Select
Time
Time (60)
div
Date
-2.000000 s
1m40 s
5
’04-10-30 10:20:30
Sample Num
500
<Print Example>
Time* Print the time from trigger event (unit is
fixed). (default setting)
Time (60)*
Print the time from trigger event (unit is
modulo 60).
div
Print the number of divisions from trigger
event.
Date*
Print the date and time when waveform
was acquired.
Sample
Num
Print the number of samples from trigger
event.
Off Do not print a list. (default setting)
On Print list after waveform.
<Print Example>
Gauge
List
Off Do not print a gauge. (default setting)
Before
Wave
Print gauge before waveform.
After Wave
Print gauge after waveform.
Before&Aft
Wave
Print gauge before and after waveform.
x10 to x1/200000 (Memory Function case)
x1 to x1/50000 (Recorder Function case)
Print using the magnification or compression ratio set here.
Same to display
Print using the magnification or compression ratio set for the waveform
screen. (default setting)
3
4
5
9
7
9
8
( p.117)
( p.116)
Horizontal axis (Time axis) zoom
When time axis zoom has been set, printing will be carried out using this zoom
setting, regardless of the zoom setting on the Waveform screen.