MR8740、MR8741_user_manual_eng_20191016H.pdf - 第152页
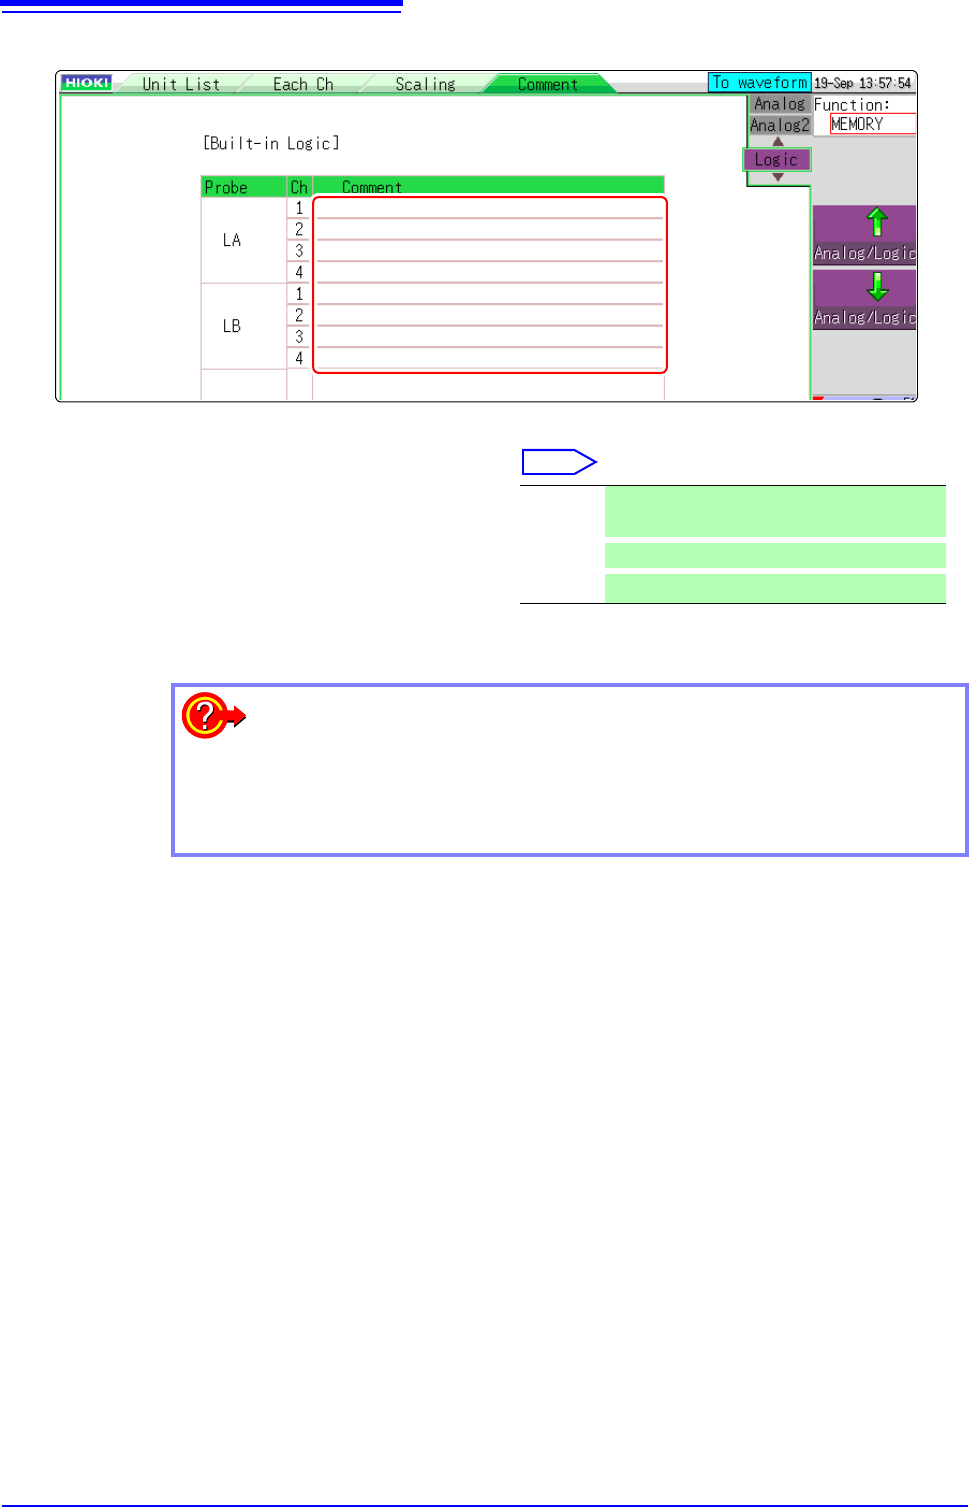
7.1 Adding Comments 140 2 Enter the co mment for each lo gic channel. Select Move the flashing cursor to the [Comment] item, and then click. Input Enter comment text. See: "Entering T ext" (p.141) Clear Clear e…
7.1 Adding Comments
139
6
Chapter 7 Utility Functions
7
Comments added for each channel can be displayed on-screen. (Allowed number of characters: up
to 40)
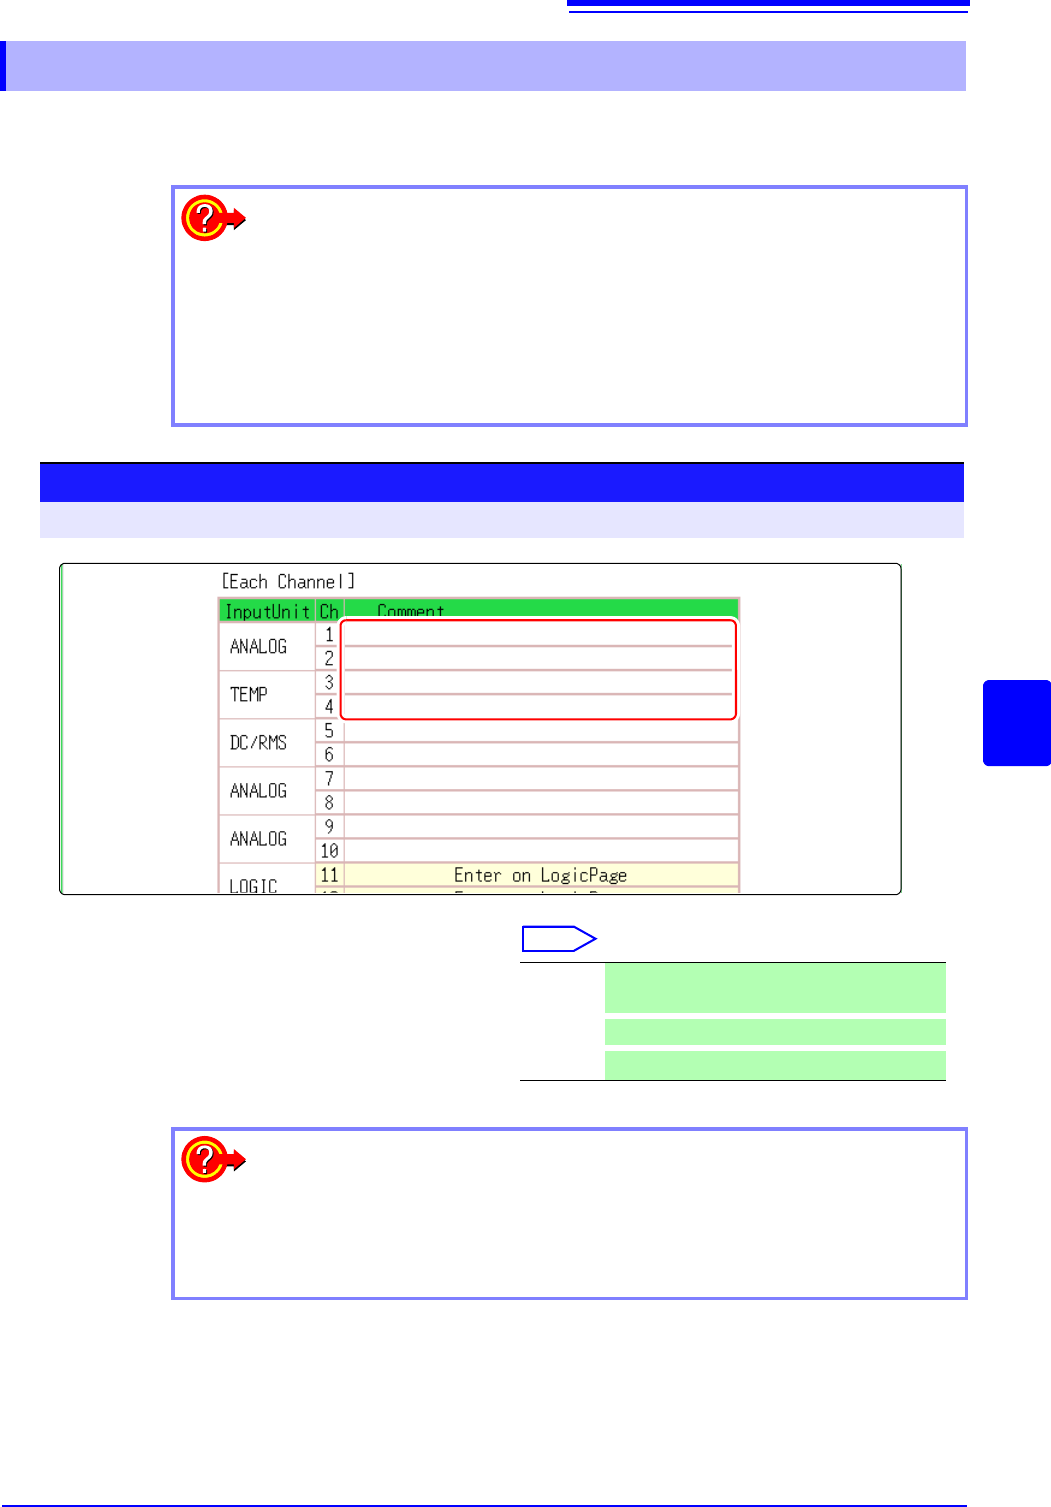
7.1.2 Adding a Channel Comment
To display a comment on the screen
Right-click and select [DISP] , and then select a comment.
See: "6.7.2 Showing Comments On Waveform Screen" (p.134)
To copy a comment to another channel
The [Comment] sheet can be used to copy a comment.
See: "7.8 Copying settings to other channels (calculation No.) (Copy function)" (p.160)
1
Procedure
To open the screen: Right-click and select [CHAN] [Comment] sheet
1
Enter the comment for each analog chan-
nel.
Select
Move the flashing cursor to the [Comment]
item, and then click.
Input Enter comment text.
See: "Entering Text" (p.141)
Clear
Clear entered information
Undo
Return to condition of preceding step
To select from preset terms
Clicking [PRESET] after activating text input brings up a list of preset terms.
It is also possible to select words from previously entered titles (History func-
tion).
See: "Entering Text From a Term List Or History List" (p.142)
7.1 Adding Comments
140
2
Enter the comment for each logic channel.
Select
Move the flashing cursor to the [Comment]
item, and then click.
Input Enter comment text.
See: "Entering Text" (p.141)
Clear Clear entered information
Undo
Return to condition of preceding step
2
3
To select from preset terms
Clicking [PRESET] after activating text input brings up a list of preset terms.
It is also possible to select words from previously entered titles (History func-
tion).
See: "Entering Text From a Term List Or History List" (p.142)
7.1 Adding Comments
141
6
Chapter 7 Utility Functions
7
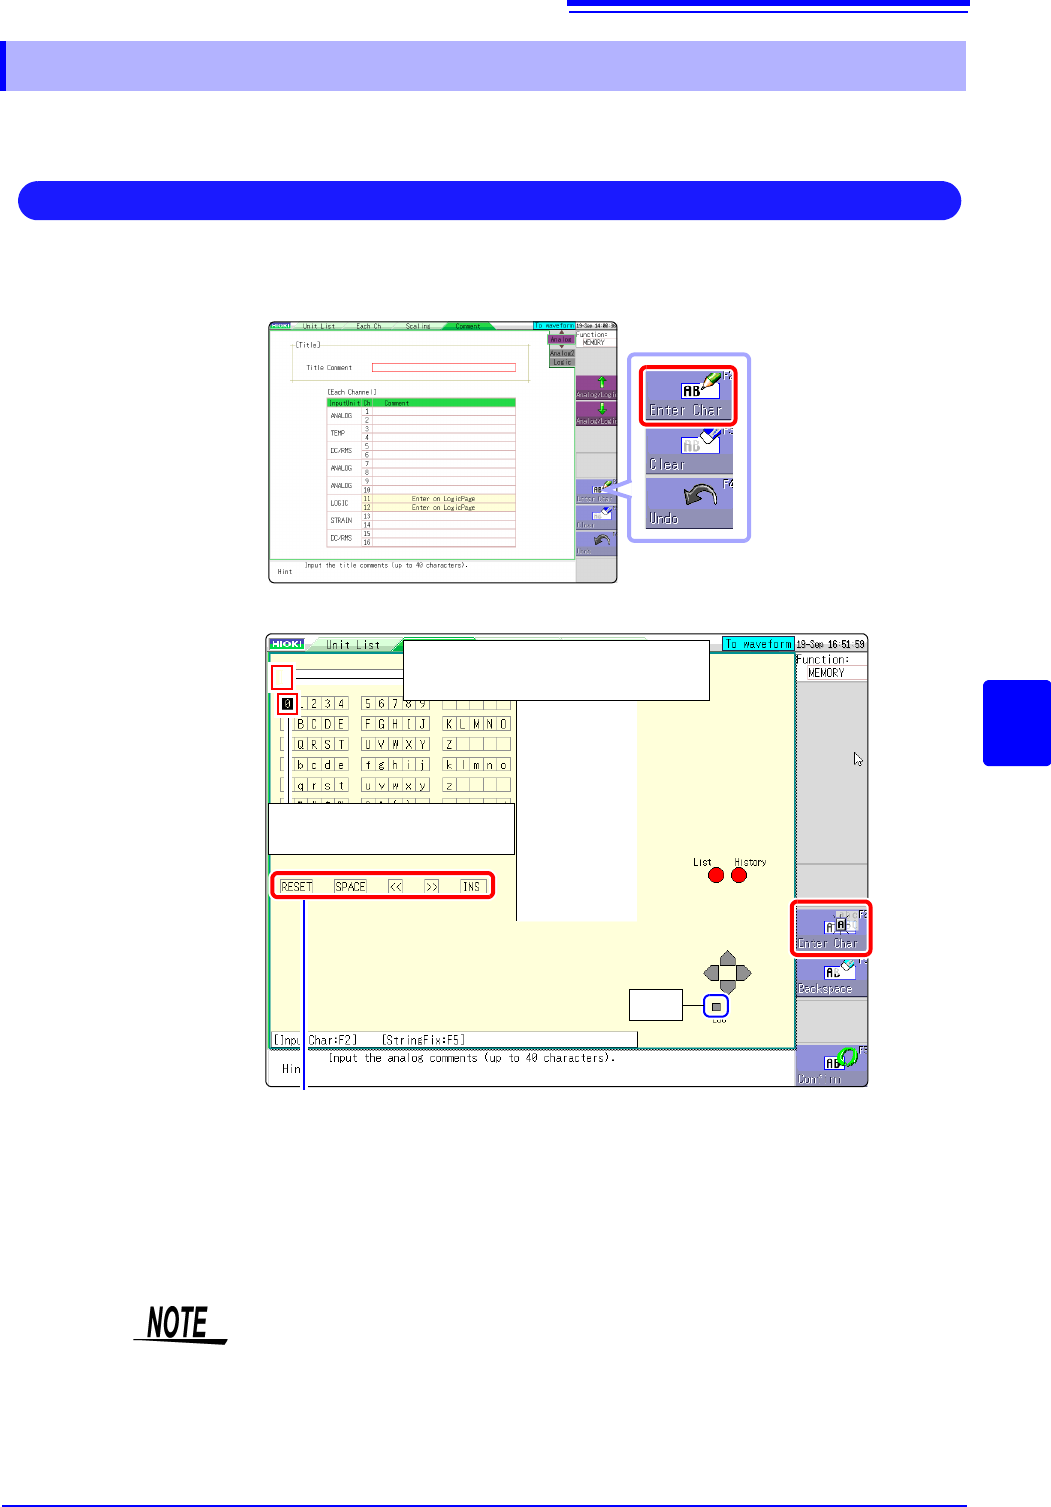
Move the flashing cursor to the setting item for which to make the input, and choose the content with
the mouse.
1. Move the flashing cursor to the field for entering text with the mouse, and then
click [Enter Char].
A virtual keyboard appears.
2. Select a character from the virtual keyboard to enter it.
3. Select [Confirm] to accept the entry.
Click [ESC] to cancel the input.
(Clicking [ESC] again closes the virtual keyboard)
7.1.3 Alphanumeric Input
Entering Text
RESET: Deletes all entered characters.
SPACE: Inserts a space.
OVWR/INS: Toggles between Overwrite (OVWR) and Insert (INS) mode.
<<: Move the character input position left.
>>: Move the character input position right.
Character input position
Move with << >> or the mouse wheel.
Character selection cursor
ESC
Entering units and symbols
Characters entered at the unit may be saved differently.
Save (saving of numerical calculation results or text format information)
2
^2,
3
^3, ~u, ~o, ~e, °~c ,
±
~+, (display only)uE, °C (display only)C
Characters not allowed in the file name have been detected. (Please use only
uppercase letters.)