MR8740、MR8741_user_manual_eng_20191016H.pdf - 第385页
18.1 Trouble Shooting 373 Chapter 18 Maintenance and Service 14 18 If the cause is unknown Perform a system reset. All settings are returned to their factory defaults. See: "18.2 Initializing the Instrument" (p…
18.1 Trouble Shooting
372
18.1 Trouble Shooting
If damage is suspected, check the "Troubleshooting" section before
contacting your dealer or Hioki representative.
If Power and Operating Mouse Malfunction
Symptom Check Item, or Cause Remedy and Reference
The display does not
appear when you turn the
power on.
Is the power cord disconnected?
Are connections made correctly?
Verify that the power cord is connected
properly.
"2.4 Supplying Power" (p.55)
Cannot operate the instru-
ment with a mouse.
• Is the USB mouse connected?
• Are you using a hub or special
mouse?
• Is there a source of interference
nearby?
• Check the USB connector.
• If you are using a hub, connect the
mouse directly to the instrument.
Use an ordinary mouse.
• Move the mouse away from the source
of interference.
If the Display or Operations Malfunction
Symptom Check Item, or Cause Remedy and Reference
Data is not displayed on
an external LCD monitor.
• Is it connected properly?
• Is it a digital LCD monitor?
• Are you using a VGA-DVI adapter
cable?
• Check the connections and power of the
instrument and LCD monitor.
• An analog monitor (VGA output) cannot
be used. Use an LCD monitor with a DVI-
D (digital output) connector.
The monitor flickers.
• Is there a source of interference
nearby?
• Are you using a special LCD moni-
tor? (Although extremely uncom-
mon, flickering may be caused by
incompatibility with the LCD monitor.)
• Move the cable away from the source of
interference.
• Use an ordinary LCD monitor.
A waveform does not
appear when measure-
ment is started
• Is the “Pre-Trigger wait” message
displayed?
• Is the "Trigger wait" message dis-
played?
When pre-triggering is enabled, triggering is
ignored until the pre-trigger portion of the
waveform has been acquired. Recording
starts when a trigger occurs.
No changes occur in the
displayed waveform.
• Is the clamp sensor or connection
cable connected correctly?
• Is the vertical axis (voltage axis)
range set properly?
• Is the low-pass filter enabled?
Verify that the clamp sensor or connection
cable is connected correctly.
Verify the input channel settings.
While measuring with the
memory function, the dis-
played frequency is much
lower than the actual fre-
quency.
Aliasing may be occurring.
Change the timebase to use a faster sam-
pling rate.
"3.4.2 Time Axis Range and Sampling
Rate" (p.67)
18.1 Trouble Shooting
373
Chapter 18 Maintenance and Service
14
18
If the cause is unknown
Perform a system reset. All settings are returned to their factory defaults.
See: "18.2 Initializing the Instrument" (p.374)
The displayed waveform
size does not change
when the input range is
changed.
Is the Variable function enabled?
Turn the Variable function off.
"7.5 Variable Function (Setting the
Waveform Display Freely)" (p.155)
If the Display or Operations Malfunction
Symptom Check Item, or Cause Remedy and Reference
If Saving is Not Possible
Symptom Check Item, or Cause Remedy and Reference
If saving is not possible to
the USB memory stick
• Is the storage media inserted properly?
• Is the storage media formatted?
• Is the remaining capacity of the storage
media too low?
• Has the number of files in the folder
reached the limit?
"2.3 Recording Media Preparation"
(p.53)
"Media information" (p.84)
Others
Symptom Check Item, or Cause Remedy and Reference
The response of remote
control is very slow.
Check the java settings.
About the java settings, see the applica-
tion disk supplied with the instrument.
18.2 Initializing the Instrument
374
Select groups of settings currently in force on the instrument, and initialize the settings. Initialization returns
the instrument to the factory default state. By default, the setting of [Setting (Stat, Ch, Trig)] and [Setting
(Env)] are selected for initialization in this screen.
Discard the waveform data saved in memory and initialize the data.
18.2 Initializing the Instrument
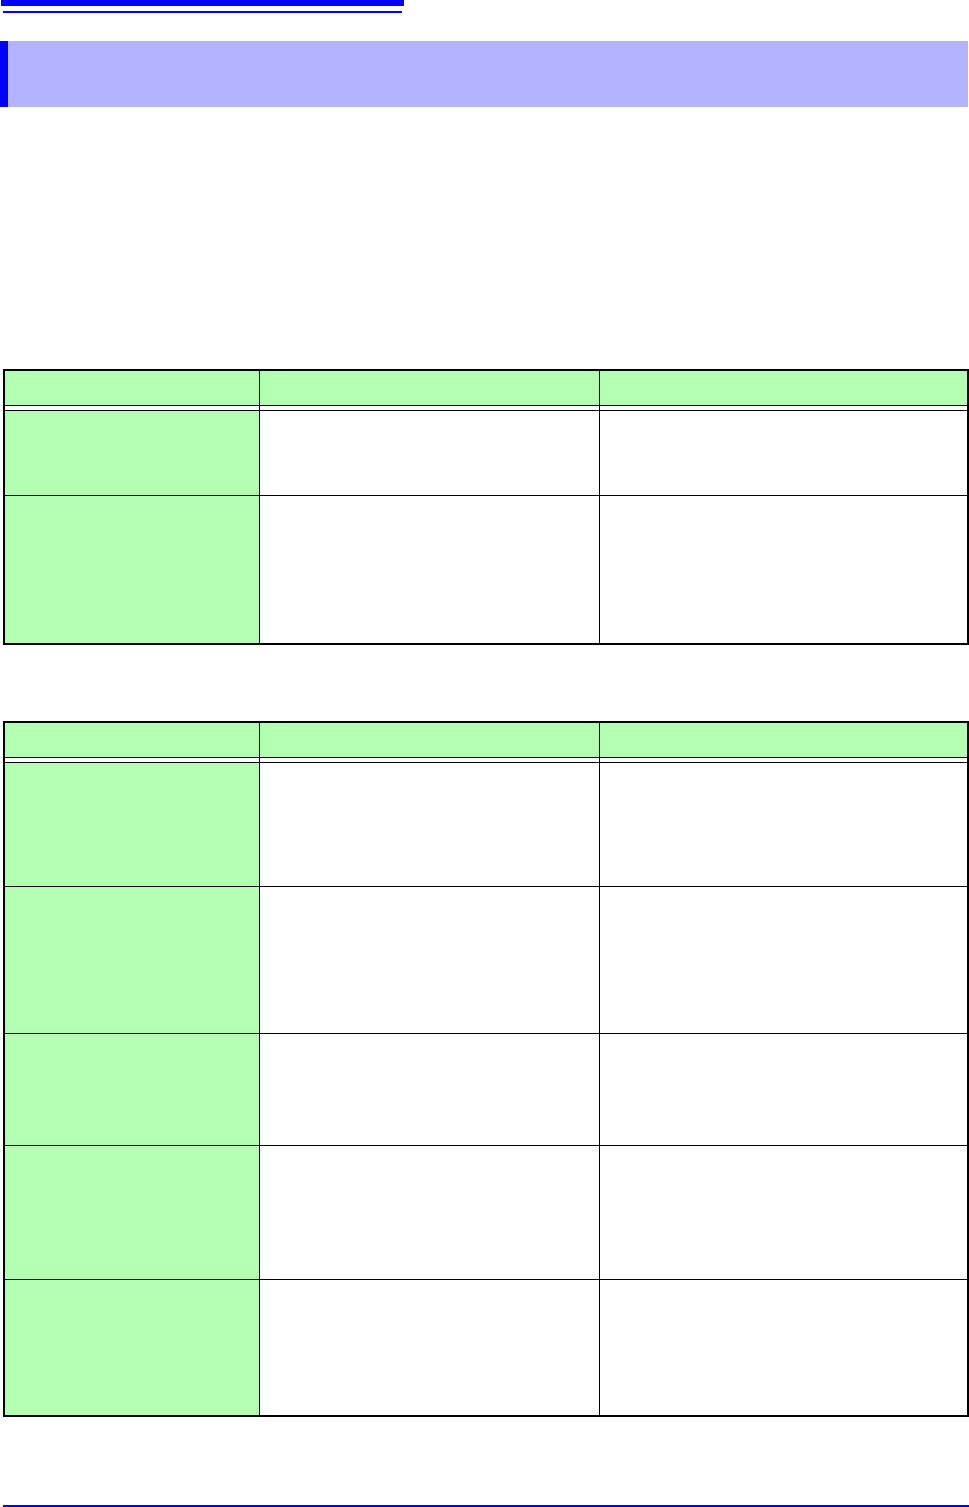
18.2.1 Initializing System Settings (System Reset)
1
2
3
Procedure
To open the screen: Right-click and select [SYSTEM] [Init] sheet
1
Move the flashing cursor to the item you want to initialize.
2
Select [On].
Select [Off] for the groups of settings that you do not want to initial-
ize.
3
Move the flashing cursor to the [System Reset].
4
Select [Exec].
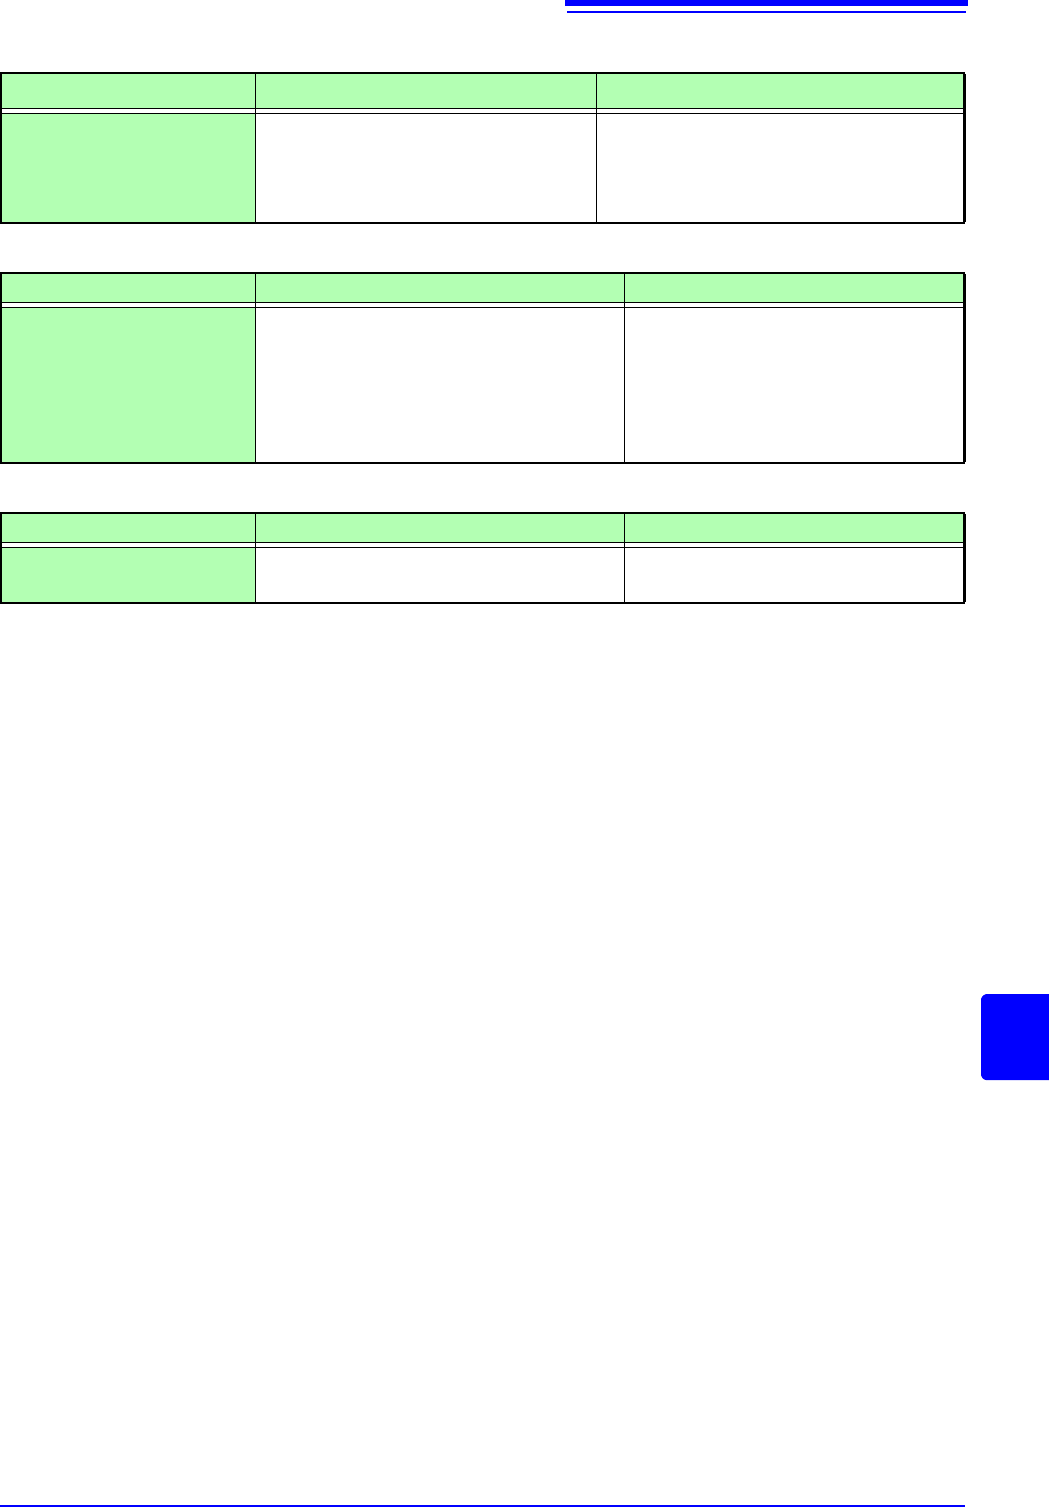
A confirmation dialog box appears.
5
Select [Yes].
To cancel initializing:
Select [No].
Initialization is complete when "System initialized" appears.
(Status, Ch, Trig-
ger)
Current settings in Status screen, Channel screen,
and Trigger setting window (Default setting: On)
(Environment)
Current settings in the Environment sheet and File
Save sheet (Default setting: On)
(Interface)
Current settings in the Interface sheet (Default setting:
Off)
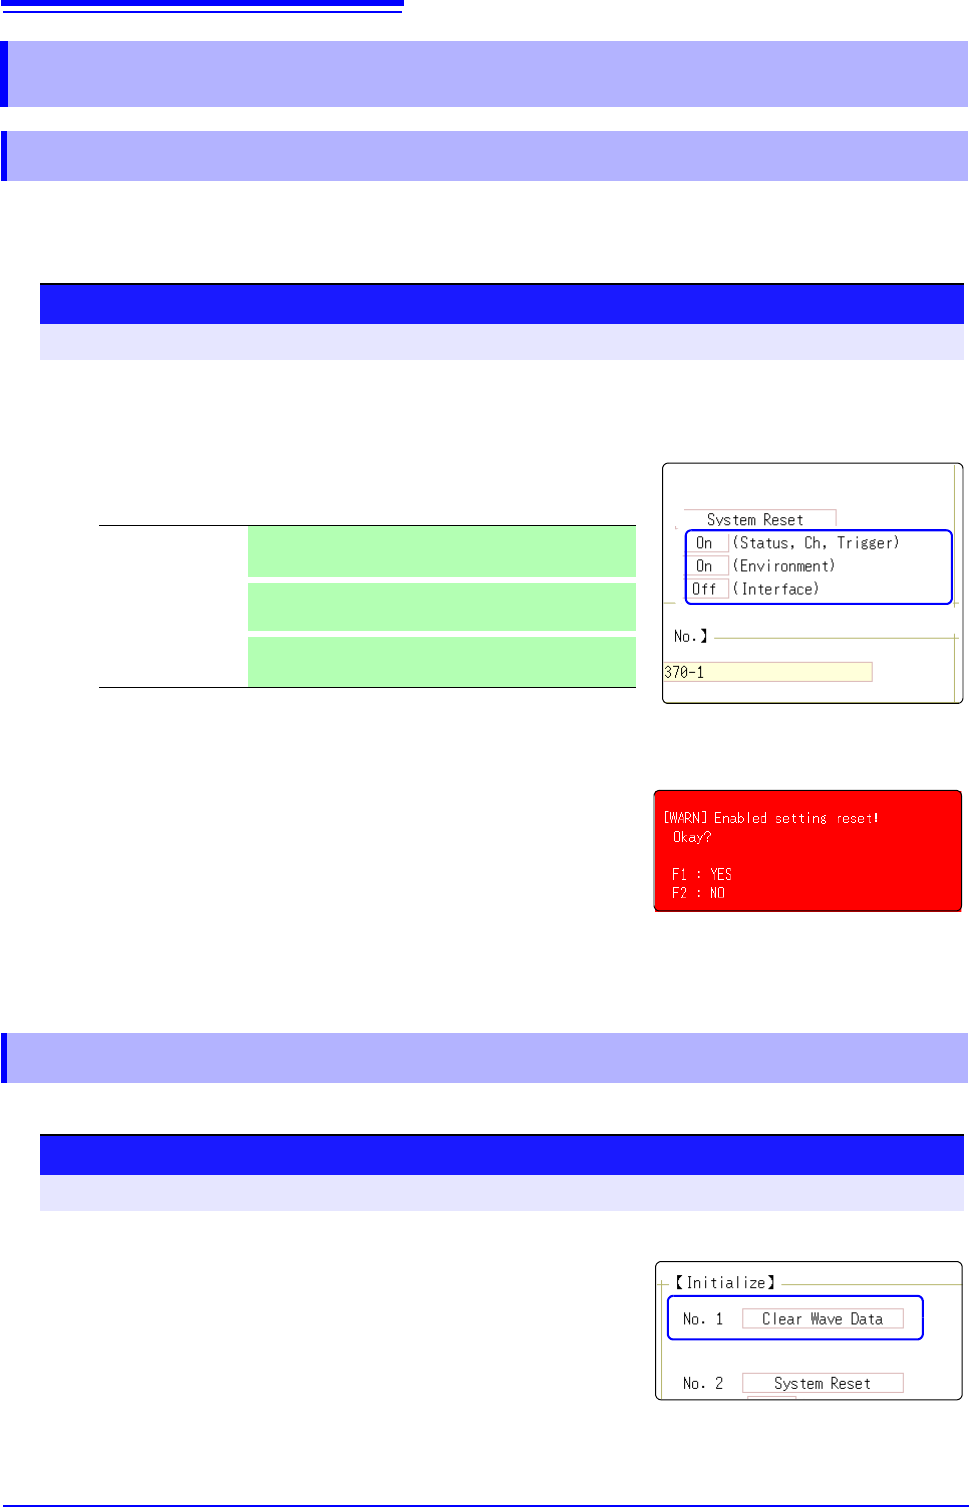
18.2.2 Initializing Waveform Data
Procedure
To open the screen: Right-click and select [SYSTEM] [Init] sheet
1
Move the flashing cursor to the [Clear Wave Data].
2
Select [Exec].
Initialization is complete when "Waveform data erased." appears.