MR8740、MR8741_user_manual_eng_20191016H.pdf - 第127页
5.4 Set the print contents 115 6 Chapter 5 Printing 5 7 Set the upper and lower limit value Move the cursor to the [Up/Low Print] item. Select 8 Set the zero-position comment Move the cursor to the [Zero-Pos Comment] ite…
5.4 Set the print contents
114
Print contents setting
To open the screen: Press the SYSTEM key [Printer] sheet
3
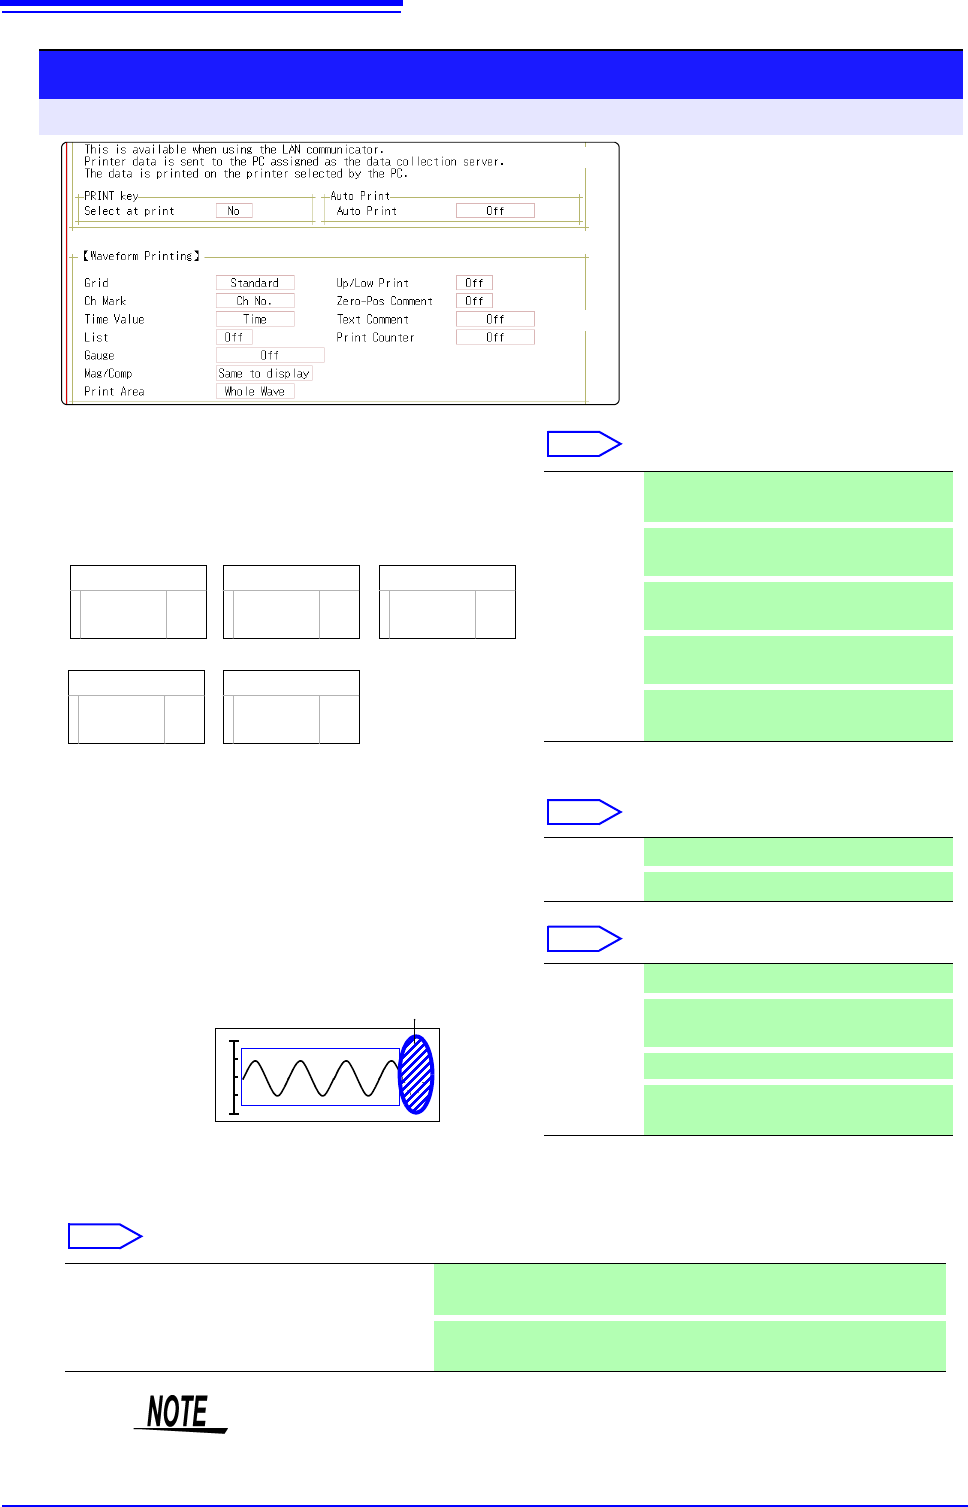
Select the horizontal axis (time axis) display
value.
Move the cursor to the [Time Value] item.
Select
* Printing for external sampling is done according to the
[Sample] setting.
4
Print a list of settings
Move the cursor to the [List] item.
Select
5
Select the type of gauge.
Move the cursor to the [Gauge] item.
Select
6
Set the horizontal axis (time axis) magnification and compression.
Move the cursor to the [Mag/Comp] item.
Select
Time
Time (60)
div
Date
-2.000000 s
1m40 s
5
’04-10-30 10:20:30
Sample Num
500
<Print Example>
Time* Print the time from trigger event (unit is
fixed). (default setting)
Time (60)*
Print the time from trigger event (unit is
modulo 60).
div
Print the number of divisions from trigger
event.
Date*
Print the date and time when waveform
was acquired.
Sample
Num
Print the number of samples from trigger
event.
Off Do not print a list. (default setting)
On Print list after waveform.
<Print Example>
Gauge
List
Off Do not print a gauge. (default setting)
Before
Wave
Print gauge before waveform.
After Wave
Print gauge after waveform.
Before&Aft
Wave
Print gauge before and after waveform.
x10 to x1/200000 (Memory Function case)
x1 to x1/50000 (Recorder Function case)
Print using the magnification or compression ratio set here.
Same to display
Print using the magnification or compression ratio set for the waveform
screen. (default setting)
3
4
5
9
7
9
8
( p.117)
( p.116)
Horizontal axis (Time axis) zoom
When time axis zoom has been set, printing will be carried out using this zoom
setting, regardless of the zoom setting on the Waveform screen.
5.4 Set the print contents
115
6
Chapter 5 Printing
5
7
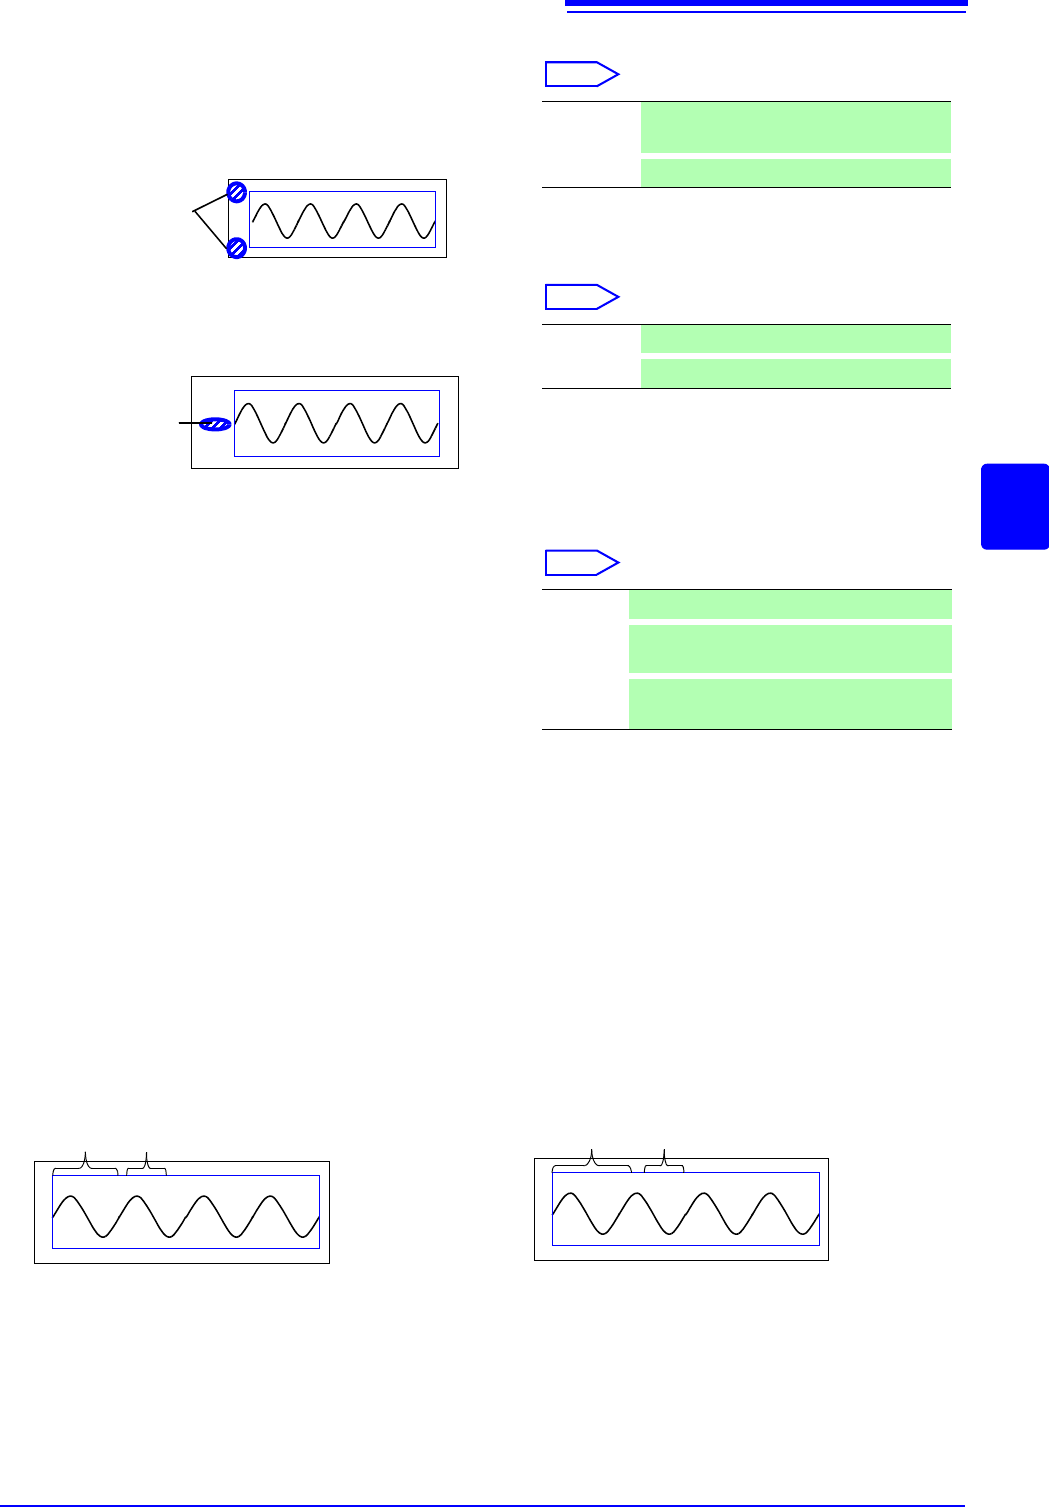
Set the upper and lower limit value
Move the cursor to the [Up/Low Print] item.
Select
8
Set the zero-position comment
Move the cursor to the [Zero-Pos Comment] item.
Select
The zero position comment is not printed in the following
case:
• When the waveform screen format has been set to X-Y,
or FFT display
• When no comment has been set for a channel
See: "7.1 Adding Comments" ( p.138)
9
Select the counter print.
Move the cursor to the [Print Counter] item.
Select
(When [Date] or [Name] is selected)
If you want to begin from an arbitrary count
Move the cursor to the [Counter Num], and set an arbitrary count.
See: "7.1.3 Alphanumeric Input" ( p.141)
The count is automatically cleared to zero when the instrument is powered on.
The count is increased by 1 each time a waveform is acquired. (Maximum count 9999)
(When [Name] is selected)
Enter a counter name.
Move the cursor to the
[Counter Name], and enter a counter name (up to 10 characters).
See: "7.1.3 Alphanumeric Input" ( p.141)
<Print Example>
Upper and
Lower Limit
Off Do not print upper and lower limits. (default
setting)
On
Print upper and lower limits.
<Print Example>
Comment
Off Print the channel number. (default setting)
On
Print zero position comment.
Off Do not print a counter. (default setting)
Date
Print the date of printing and a waveform ac-
quisition count. (Example: 04-8-1-0001)
Name
Print a counter name and a waveform acqui-
sition count. (Example: DeviceA-0001)
<Print Example of Data and Counter>
08-5-1-0001
Date Counter
<Print Example of Counter name and Counter>
DeviceA-0001
Counter name Counter

5.5 Miscellaneous Printing Functions
116
You can produce a hard copy of the screen display, perform report printing or list printing.
To print the hardcopy of the screen, display the screen to be printed, and then execute the "Print
Screen" by using Model 9333.
The waveform range as displayed on the Waveform screen, upper and lower limit values, and chan-
nel settings are printed in A4 size. When zoom display is enabled, two zoom display screens are
printed.
The A/B cursor pair shown on the Waveform screen is also printed.
If the comment type is set to
[Comment] or [Set&Com] on the Comment sheet of the Channel
screen, the title comment can also be printed. ( )
5.5 Miscellaneous Printing Functions
5.5.1 Screen Hard Copy
GUI print setting
To open the screen: Press the SYSTEM key [Printer] sheet
<Print Example>
GUI section
5.5.2 Report Print (A4 Size Print)
See: "7.1.1 Adding a Title Comment" ( p.138)
Procedure
To open the screen: Press the DISP key File screen, Press the DISP key Select the [WAVE WIDTH] menu
A/B Cursor
Execute the "Get/Print Report Image" by using
Model 9333.
<Print Example>
Settings
Cursor A/B
Value
Channel
Title
Upper and Lower
Limit Value