MR8740、MR8741_user_manual_eng_20191016H.pdf - 第46页
1.5 Basic Operations 34 You can change the displayed folder, load files, an d perform other file operations on the File screen. 1.5.7 File Operations Moving to a folder To move to a folder, double-c lick the folder to wh…
1.5 Basic Operations
33
1
Chapter 1 Overview
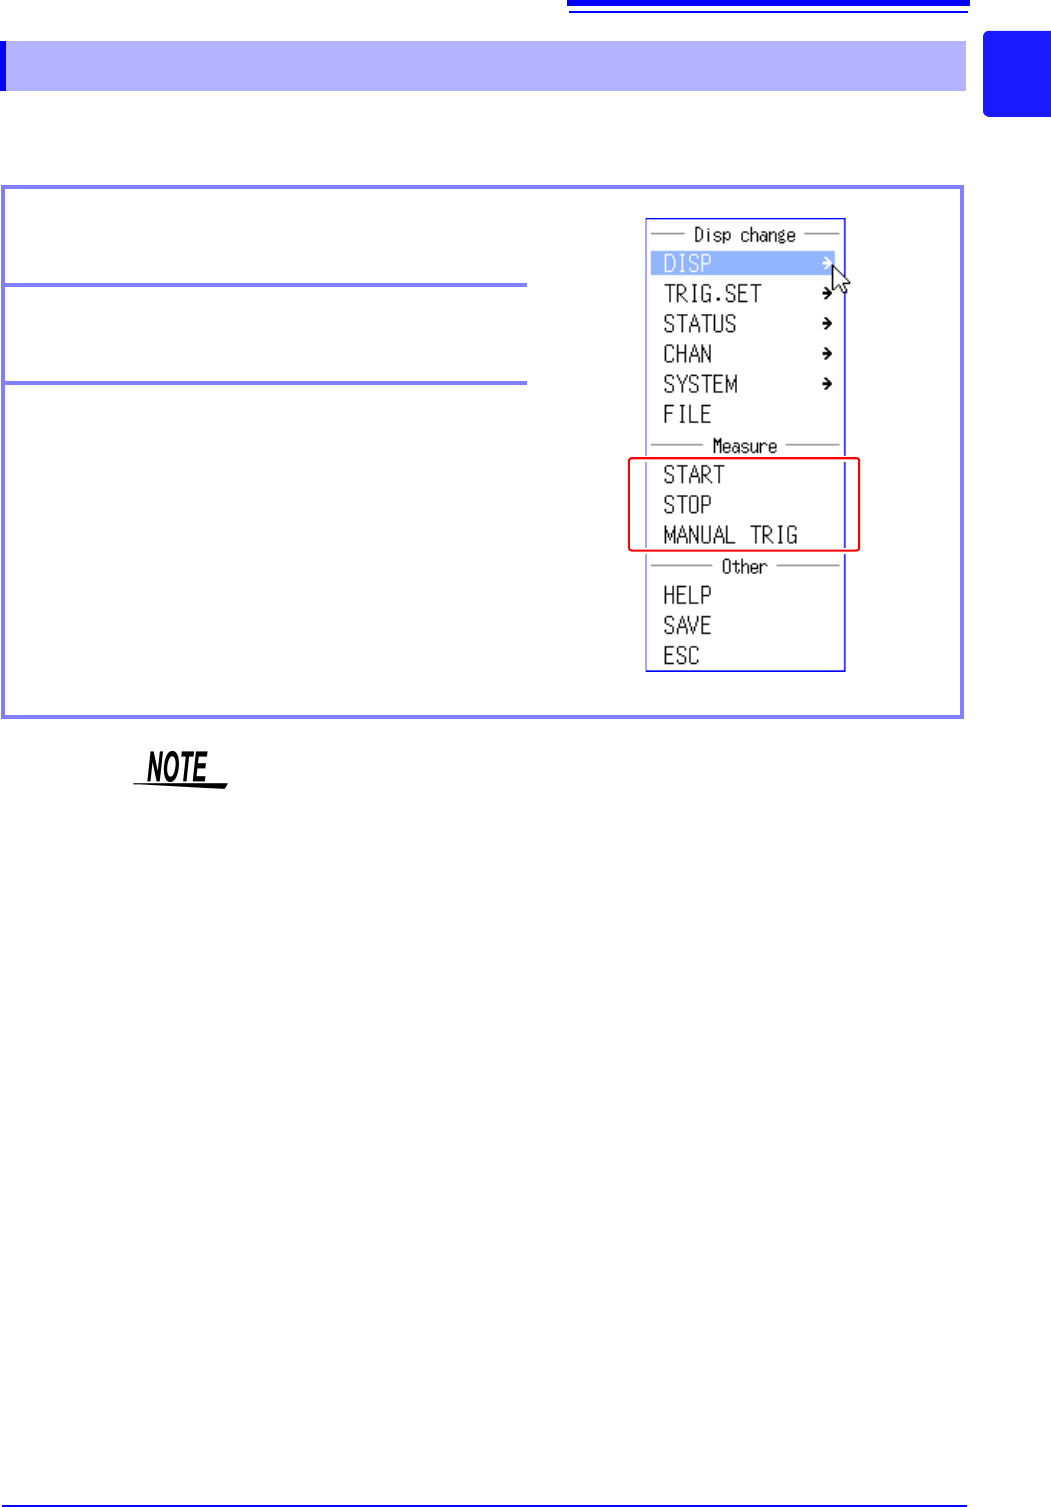
You can control the starting and stopping of measurement from the menu that is displayed by right-
clicking.
1.5.6 Measurement Operations
Starting measurement
Click [START] to start measurement.
Stopping measurement
Click [STOP] to stop measurement.
Triggering manually
When the instrument is in a measuring state, you can
click [MANUAL TRIG] to apply a trigger manually.
You can also start and stop measurement as described below.
[START] Press the right mouse button, drag right, and then release the button.
[STOP] Press the right mouse button, drag left, and then release the button.
1.5 Basic Operations
34
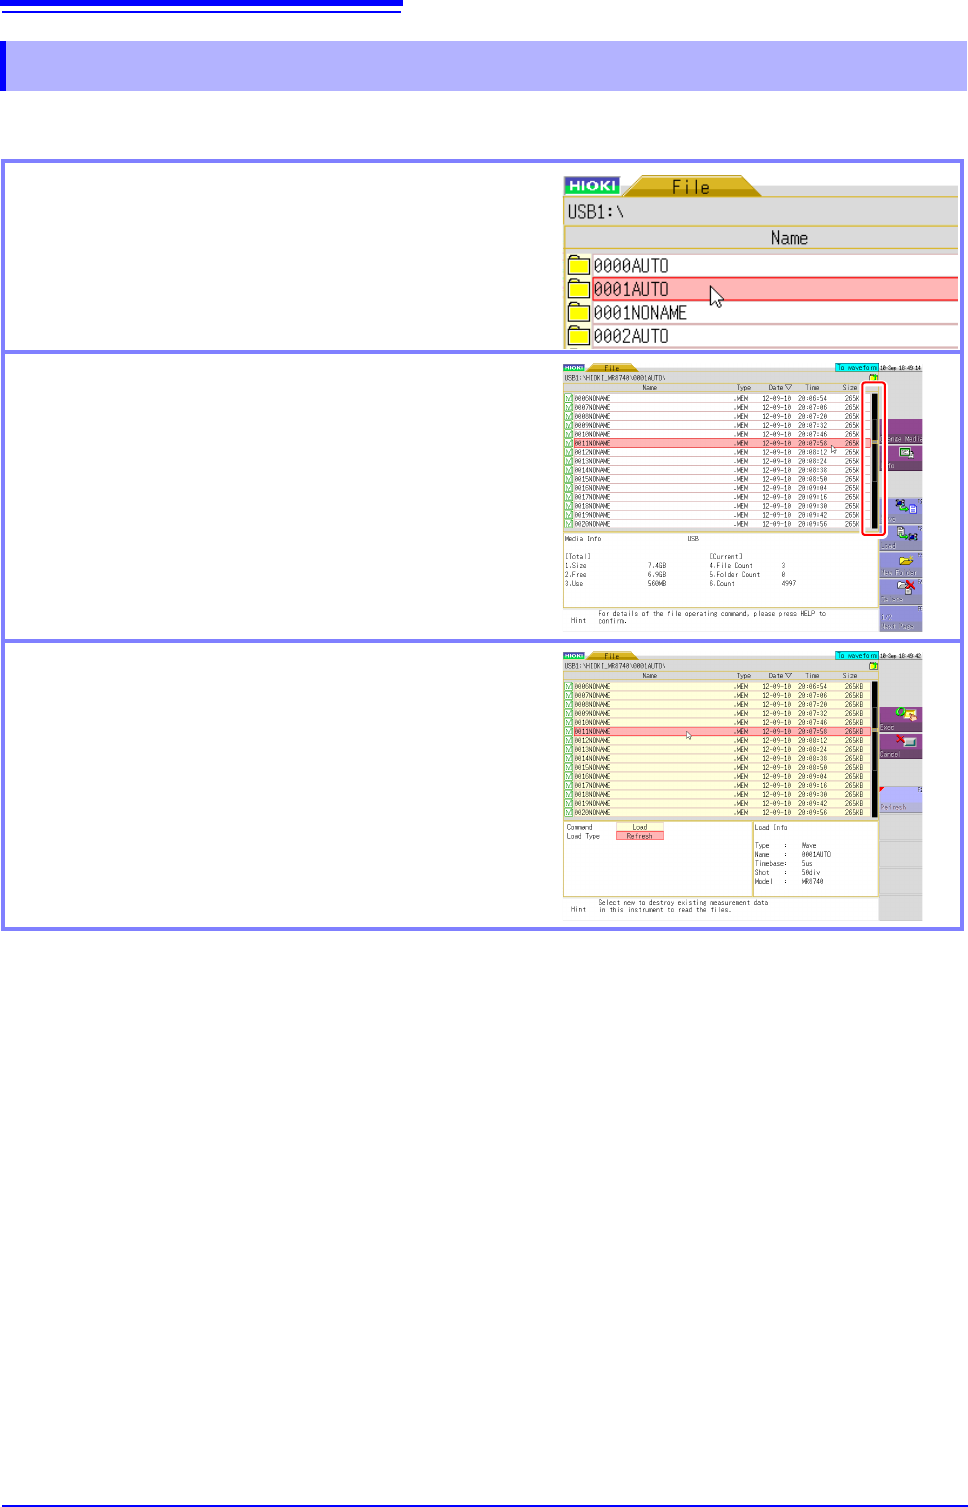
You can change the displayed folder, load files, and perform other file operations on the File screen.
1.5.7 File Operations
Moving to a folder
To move to a folder, double-click the folder to which you
want to move. To move to the folder one layer up, click
the folder path part.
Scrolling a file list
Click the bar on the right side of the screen to scroll a
list. You can also scroll the list one item at a time by
rotating the wheel button forward or backward.
Selecting the file to load
If you double-click the list, you can select the file to load.
35
2
Chapter 2 Measurement Preparations
Measurement
Preparations Chapter 2
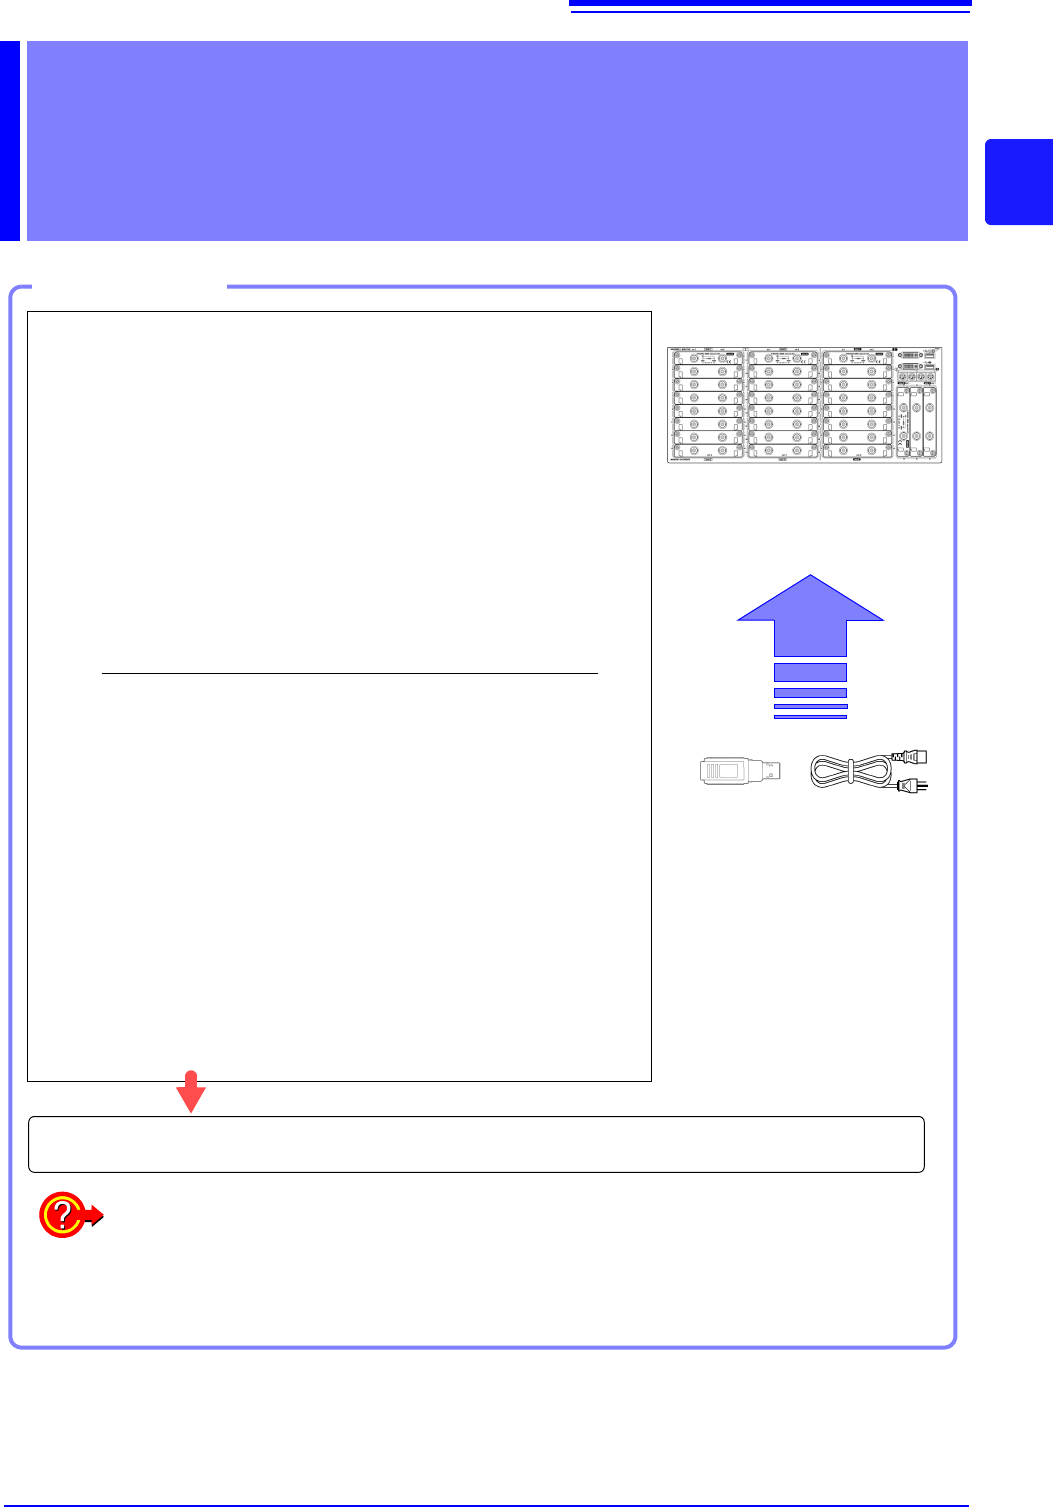
Work Flow
1
Install this instrument (p.8)
2
Install or remove modules.
(When adding or replacing modules)
(p.36)
3
Connect a logic probe to the Standard
LOGIC terminals
(When measuring logic signals)
(p.48)
4
Connect the input cable(s) to the input
module
(When measuring analog signals)
(p.39)
Probes and cables will differ depending on the measurement purpose.
5
Connect an LCD monitor
(p.18)
6
Insert media (USB memory stick)
(p.53)
7
Connect the power cord
(p.55)
8
Turn the power on
(p.56)
9
Setting the clock
(p.57)
10
Perform zero-adjust
(p.58)
When preparations are complete, let's start a measurement (p.61)
Using communication functions
See: "Chapter 15 Connection to a Computer" (p.313)
Using external control functions
See: "Chapter 16 External Control (MR8741 Only)" (p.335)