MR8740、MR8741_user_manual_eng_20191016H.pdf - 第70页
2.6 Adjusting the Zero Position (Zero-Adjust) 58 This procedure compensates for mo dule differences and sets the refer ence potential of the inst ru- ment to 0 V. The compensation procedure is perfo rmed for all channels…
2.5 Setting the Clocks
57
2
Chapter 2 Measurement Preparations
Set date and time for the built-in clock as follows.
The clock has an automatic calendar with leap year correction and 24-hour format.
The functions listed below make use of the clock. Ensure that the clock is set correctly before using
these functions.
• Measurement with timer-based trigger
• Saving measurement data
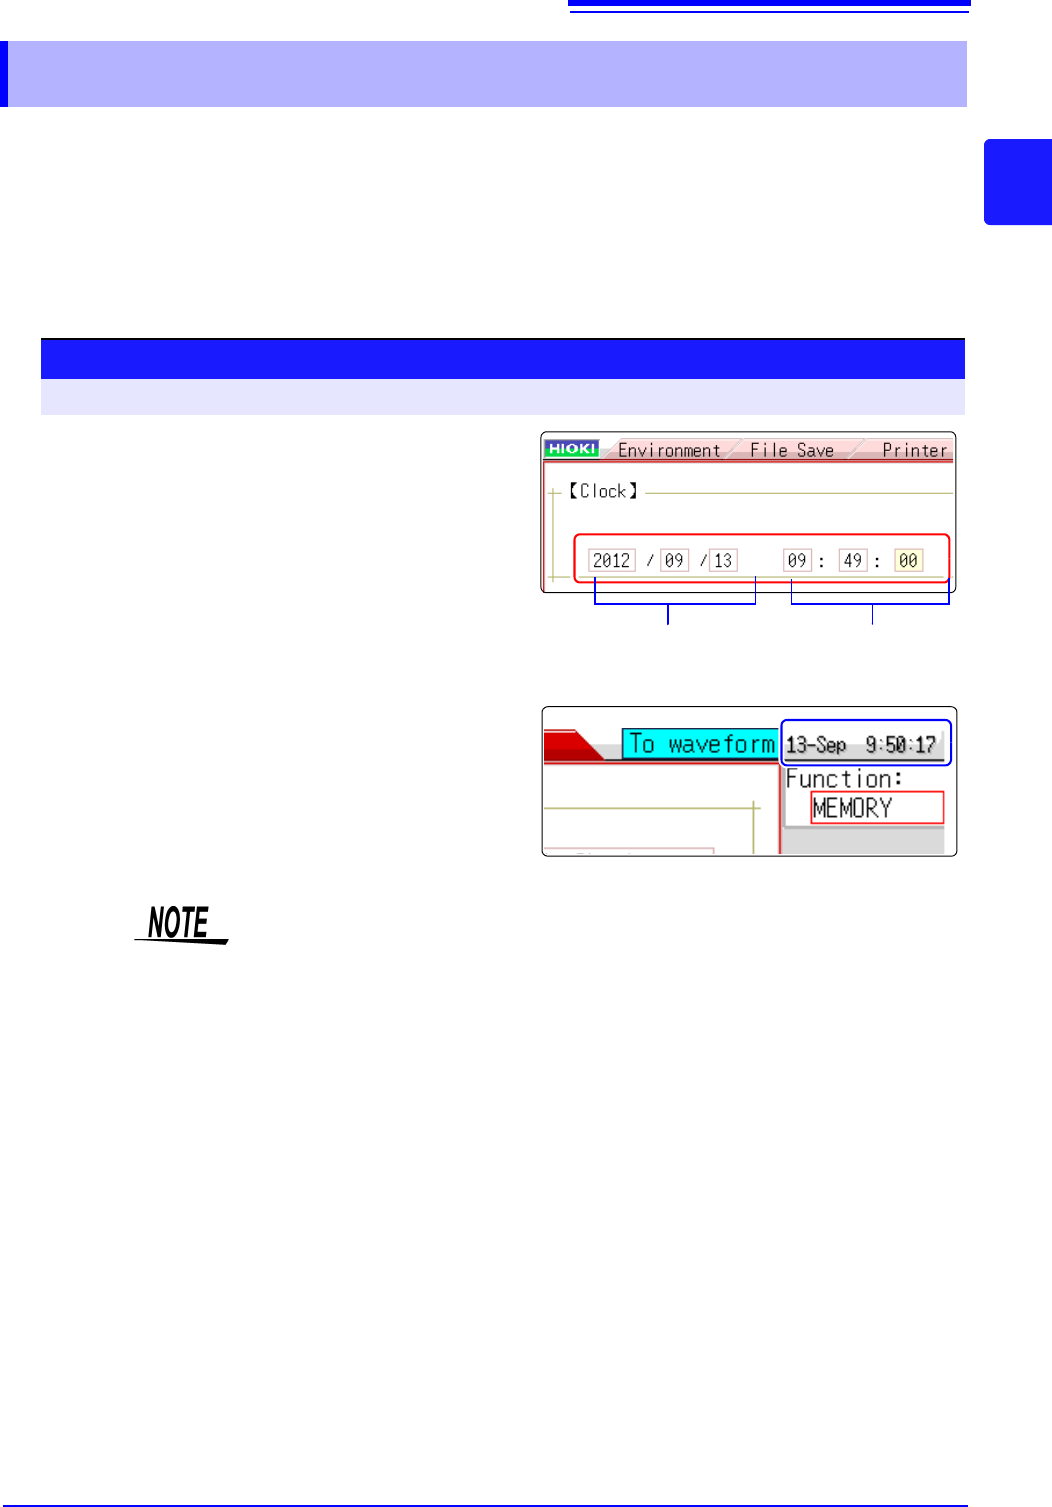
2.5 Setting the Clocks
Date setting
(Year, Month, Day)
Time setting
(Hour, Minutes,
Seconds)
Procedure
To open the screen: Right-click and select [SYSTEM] [Init] sheet
1
Move the flashing cursor to the [Clock] item.
2
Select the digit to change and set the numeric
value.
3
When you select [Apply] while the flashing
cursor is on the [Clock] item, the clock is set
to the current date and time values.
The date and time indication is shown at the top right of the
screen.
The instrument contains a built-in backup lithium battery, which offers a service
life of about ten years. If the date and time deviate substantially when the instru-
ment is switched on, it is the time to replace that battery. Contact your dealer or
Hioki representative.
2.6 Adjusting the Zero Position (Zero-Adjust)
58
This procedure compensates for module differences and sets the reference potential of the instru-
ment to 0 V.
The compensation procedure is performed for all channels and ranges.
Perform zero-adjust in the following cases.
• When an module was changed.
• When power was turned off and on again.
• When settings were initialized (system reset).
• When DC/RMS is switched at the 8971Current Unit (model MR8740 only),
8972 DC/RMS Unit, or U8974 High Voltage Unit
• When measurement mode has been switched on Model U8979 Charge Unit.
• When the ambient temperature has changed significantly.
Zero-position drift
*
may occur.
* Drift: This refers to spurious output caused by a shift in the operating point of an opera-
tional amprifier. Drift can occur due to changes in temperature and due to compo-
nent aging over a period of use.
2.6 Adjusting the Zero Position (Zero-Adjust)
• To obtain precise measurements, provide about 30 minutes warm-up after turning power on to allow
the internal temperature of the modules to stabilize.
• Note that zero-adjust cannot be performed during a measurement.
• During zero-adjust, the mouse operation is disabled. (The procedure may take several seconds.)
Before starting zero-adjust
Procedure
To open the screen: Right-click and select [CHAN] [Unit List] sheet
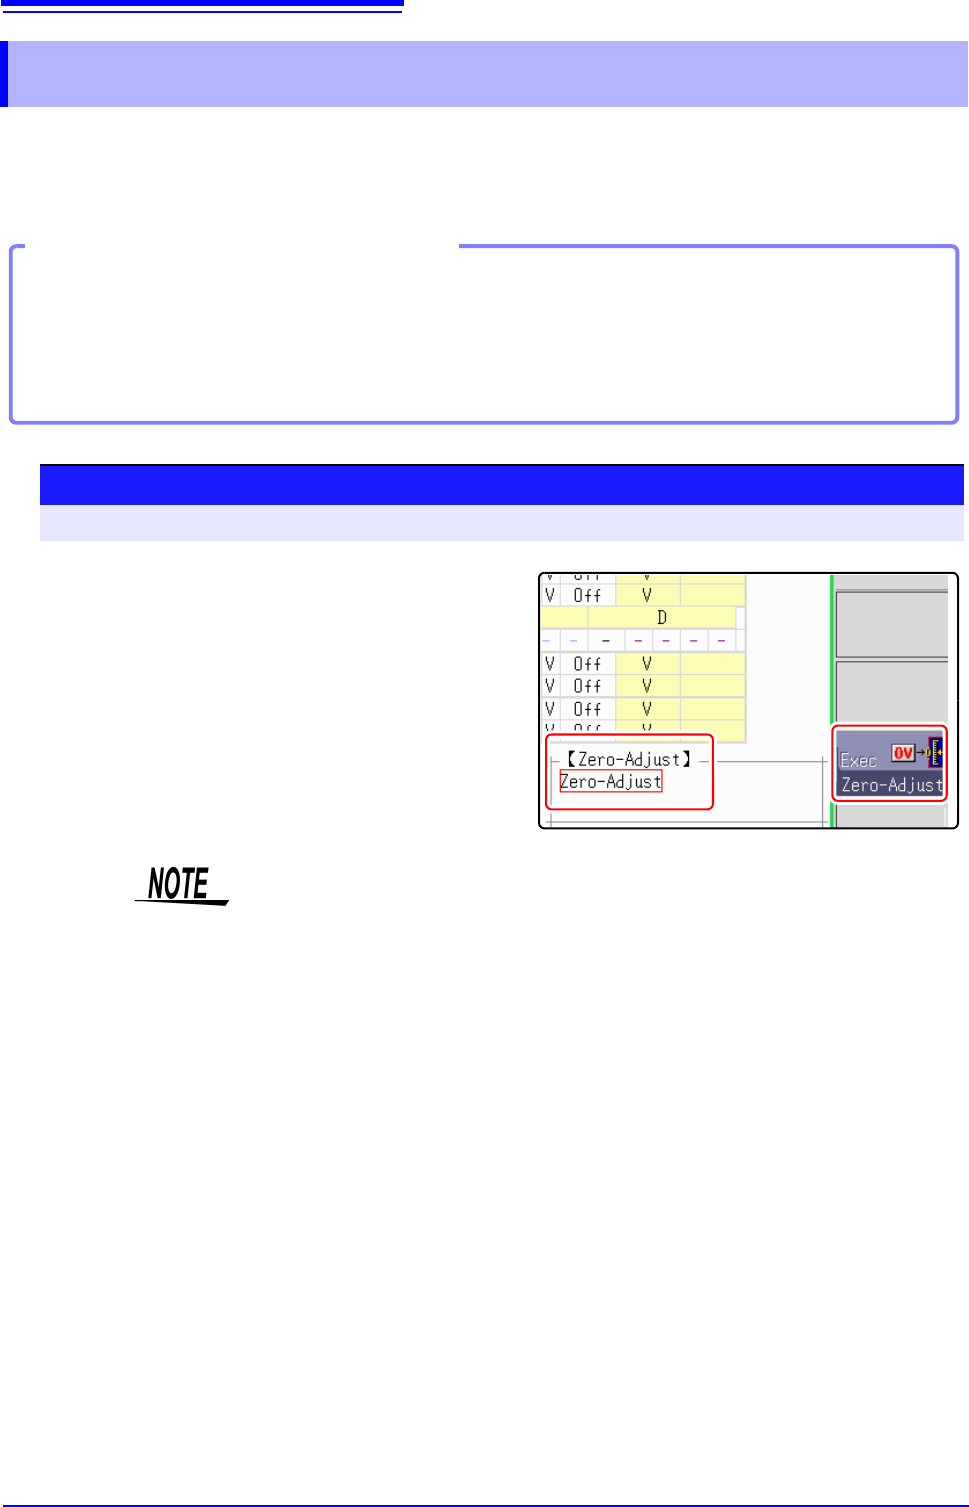
1
Move the flashing cursor to the [Zero-Adjust]
item.
2
Select [Exec Zero-Adjust].
The zero-adjust procedure is carried out.
• Zero-adjust has no effect on the 8969 and U8969 Strain Unit.
(Perform zero-adjust using Auto Balance.)
See:"7.9.4 Setting Model 8969 and U8969 Strain Unit" (p.165)
• MR8990 Digital Voltmeter Unit performs calibration when zero adjustment is
performed.
See:"2.7 Performing Calibration (When Mounting MR8990)" (p.59)
2.7 Performing Calibration (When Mounting MR8990)
59
2
Chapter 2 Measurement Preparations
This procedure compensates for MR8990 Digital Voltmeter Unit differences.
The compensation procedure is performed for all channels and ranges.
In the following cases, calibration should be executed again.
• When a module was changed.
• When power was turned off and on again.
• When settings were initialized (system reset).
• When the ambient temperature has changed significantly.
2.7 Performing Calibration (When Mounting
MR8990)
• Before performing this procedure, allow the equipment to warm up for about 30 minutes after the
power is turned on to enable the internal temperature of the modules to stabilize.
• Note that calibration cannot be performed during measurement. However, if the calibration setting is
set to ON, calibration is performed at the start of measurement.
• Mouse operations are not accepted during calibration. (The procedure may take several seconds.)
Before starting calibration
Procedure
To open the screen: Right-click and select [CHAN] [Unit List] sheet
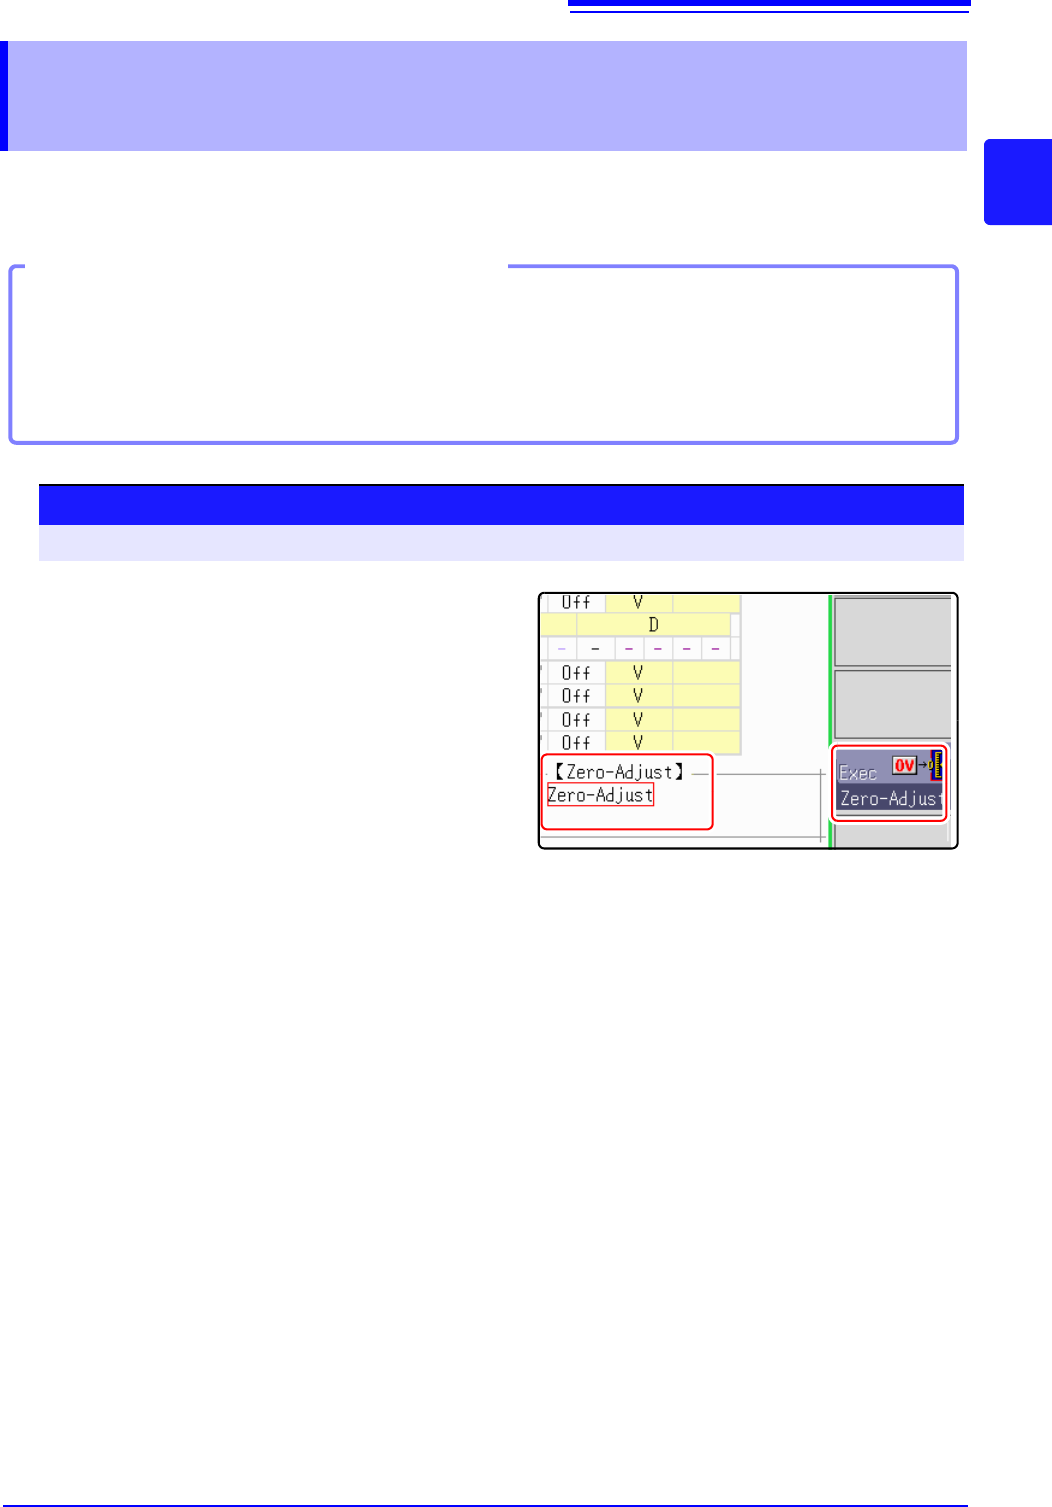
1
Move the flashing cursor to the [Zero-Adjust].
2
Select [Execute Zero-Adjust].
Calibration is executed.