KJ-01.02.Instruction Manual.REV.02.pdf - 第95页
4 − 24 W hen the machine finishes searching a nozzle data file throug h the insert ed floppy disk, t he screen shown in Figure 4.3.10. 4 appears on the scr een. Figure 4.3.10.4 Q uit of nozzle data installati on screen Y…
4 − 23
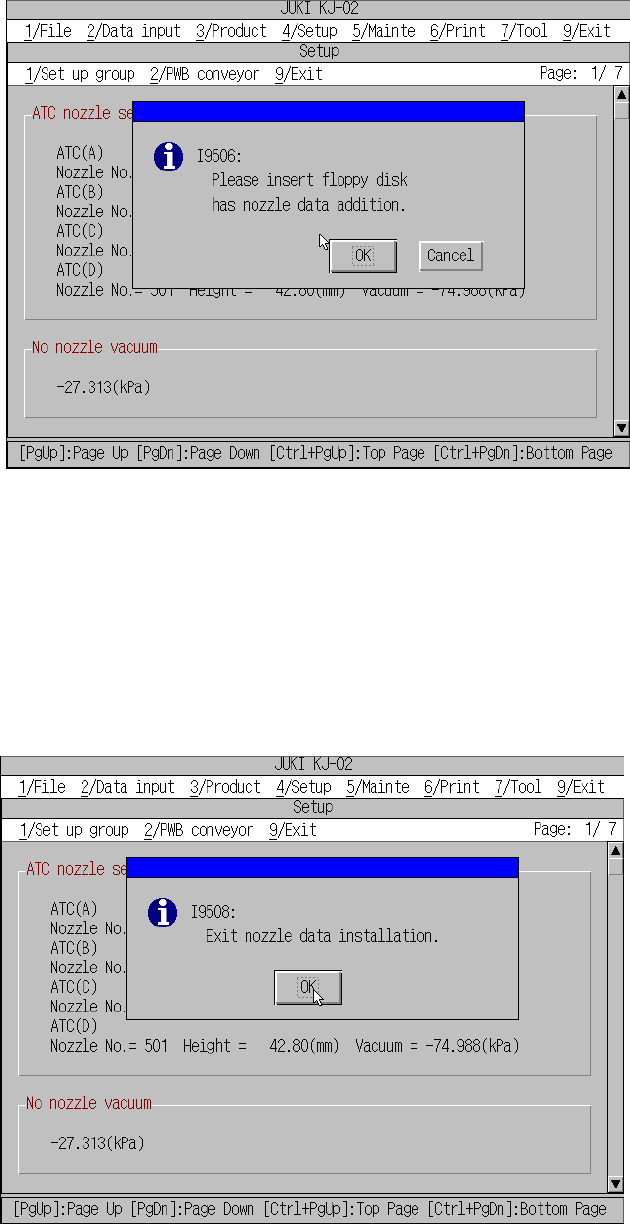
Figure 4.3.10.2 Floppy disk insertion dialog box
When you click the <OK> button on the dialog box above, the machine searches the
necessary file through the inserted floppy disk, and then automatically installs it to
itself. After the machine finishes installing the file, the dialog box shown in Figure
4.3.10.3 appears on the screen.
Figure 4.3.10.3 End of nozzle data installation screen
4 − 24
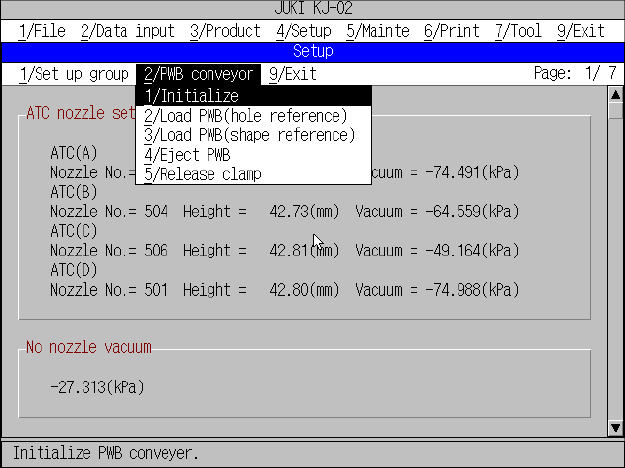
When the machine finishes searching a nozzle data file through the inserted floppy
disk, the screen shown in Figure 4.3.10.4 appears on the screen.
Figure 4.3.10.4 Quit of nozzle data installation screen
You have finished installing nozzle data to the machine here. You can use the
installed nozzle data on the ATC nozzle setup screen or Component data screen.
4 − 25
4.3.11 PWB conveyor
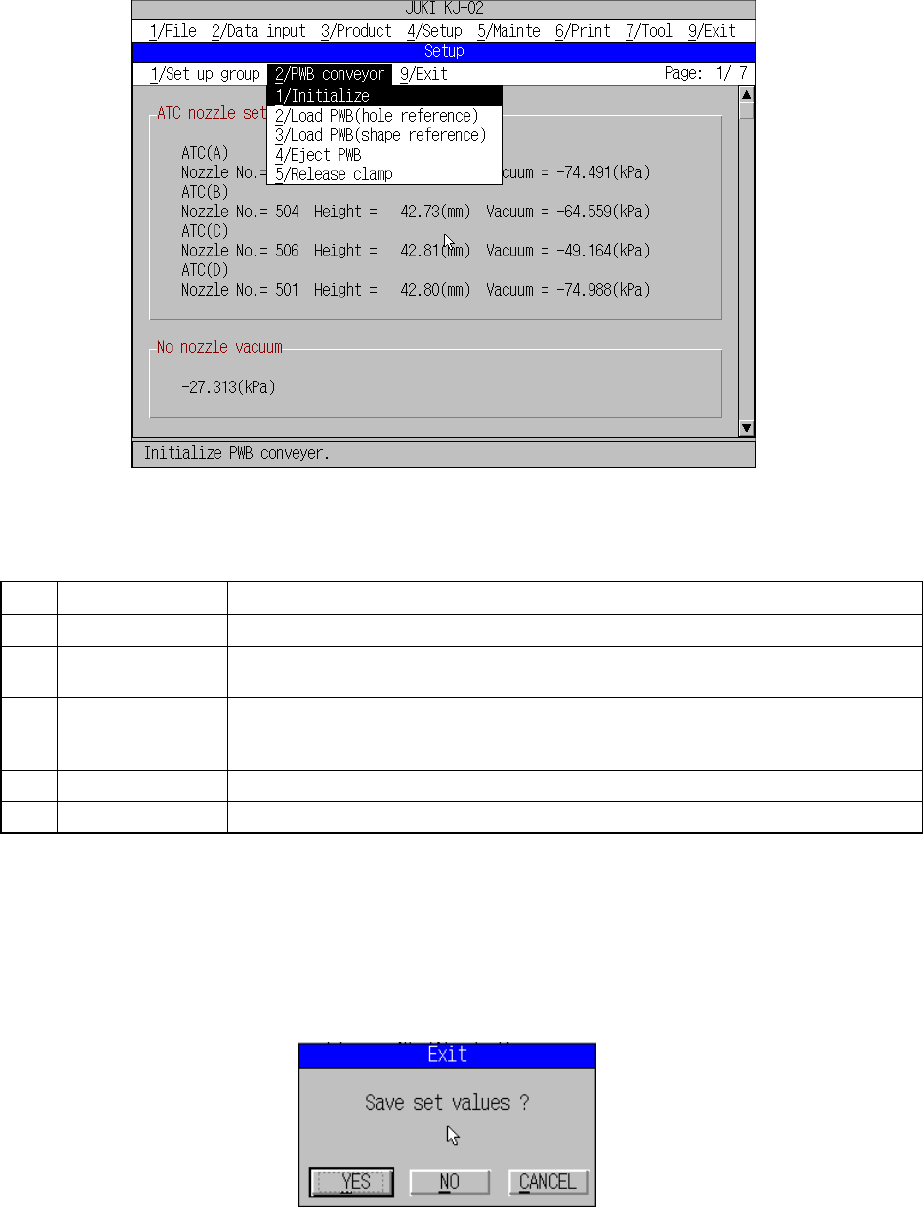
When you want to transport a board, select the [2/PWB conveyor] command on the
menu bar (see Figure 4.3.11.1).
Figure 4.3.11.1 “PWB conveyor” dialog box
(1) PWB conveyor commands
No. Command Description
1 Initialize Initializes the PWB conveyor.
2 Load PWB
(hole reference)
Loads a board with regarding the pin as the reference position.
If any board is clamped already, the machine ejects it before loading a new board.
3 Load PWB
(shape reference)
Loads a board with regarding the board edges as the reference positions.
If any board is clamped already, the machine ejects it before loading a new board.
(The machine will not function if it is not equipped with any shape reference option.)
4 Eject PWB Ejects a board.
5 Release clamp Releases the clamped board only.
If the item “Conveyor connect” is not checked on the “Use unit” screen, these
commands are disabled.
4.3.12 Exit
Select [9/ Exit] from the menu bar, and complete the machine setup sequence.
Figure 4.3.12.1 Machine setup exit screen
For operations after this, see 4.3 (3) “Saving the settings”.