Hanwha SM481 PLUS Series Administrator’s Guide Eng.pdf.pdf - 第130页
6-20 Fast Flexible Placer SM481(L) PLUS Administ r ator’s Guide Figure6.5 “Fiducial P osition & Mark” dialog box (When the Position Type is “2 Panel”) 1: Grid Cell <No> column A serial number of the position …
6-19
Board Definition
points are used selectively when compensating the distortion of the X, Y or R
coordinate of the PCB.
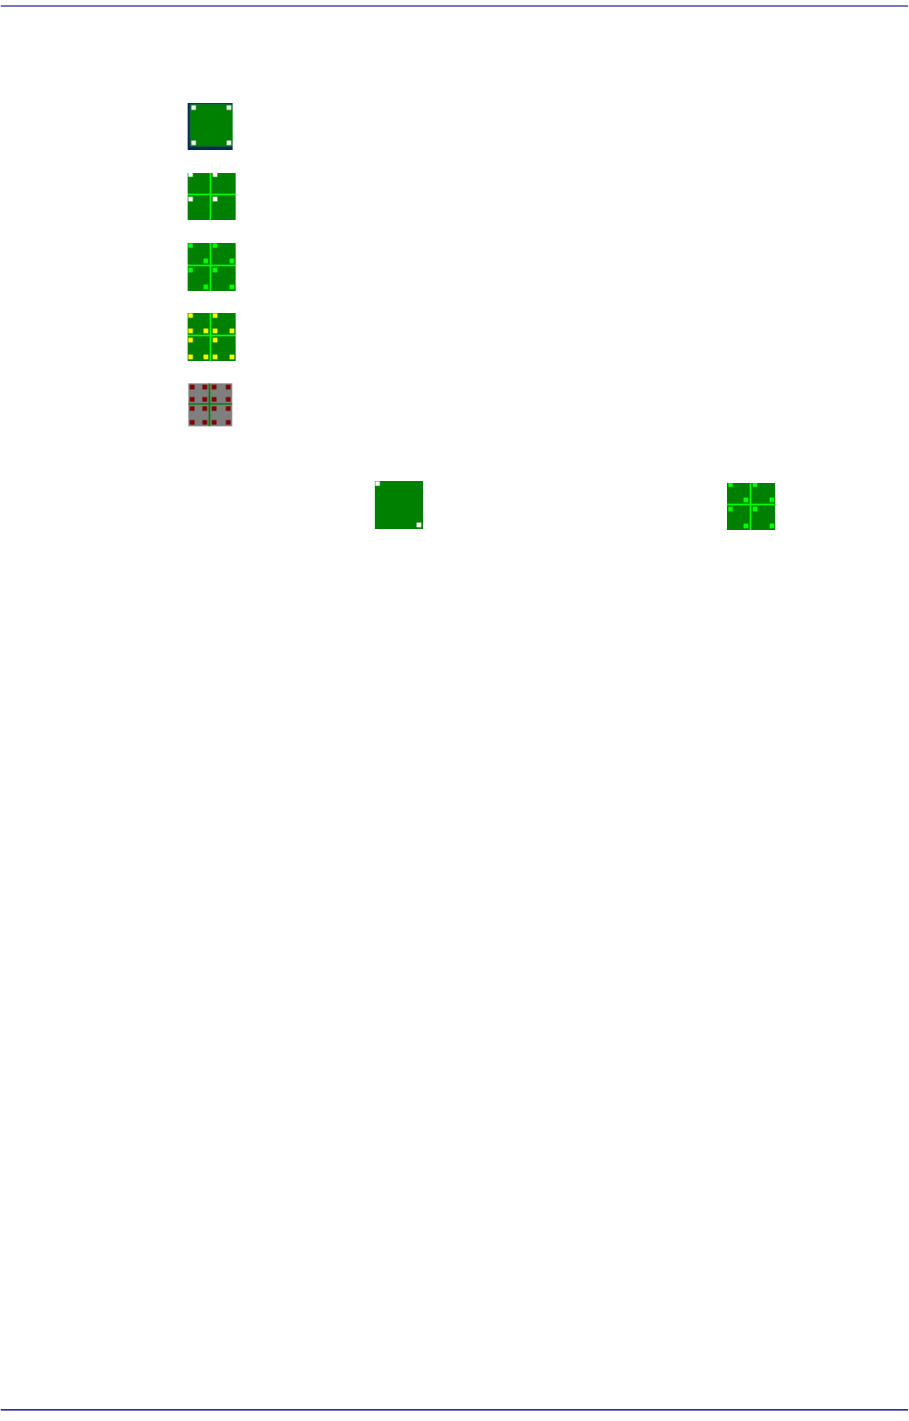
4 Panel: 4 fiducial marks for PCB correction.
1 Array: 1 fiducial mark for Array PCB correction in each Array PCB.
2 Array: 2 fiducial marks for Array PCB correction in each Array PCB.
3 Array: 3 fiducial marks for Array PCB correction in each Array PCB.
4 Array: Each Array PCB has 4 fiducial marks for the calibration of the
PCB board.
It is recommended to use two panels for a general PCB and two arrays for
an array PCB.
<2. Mark Position> group
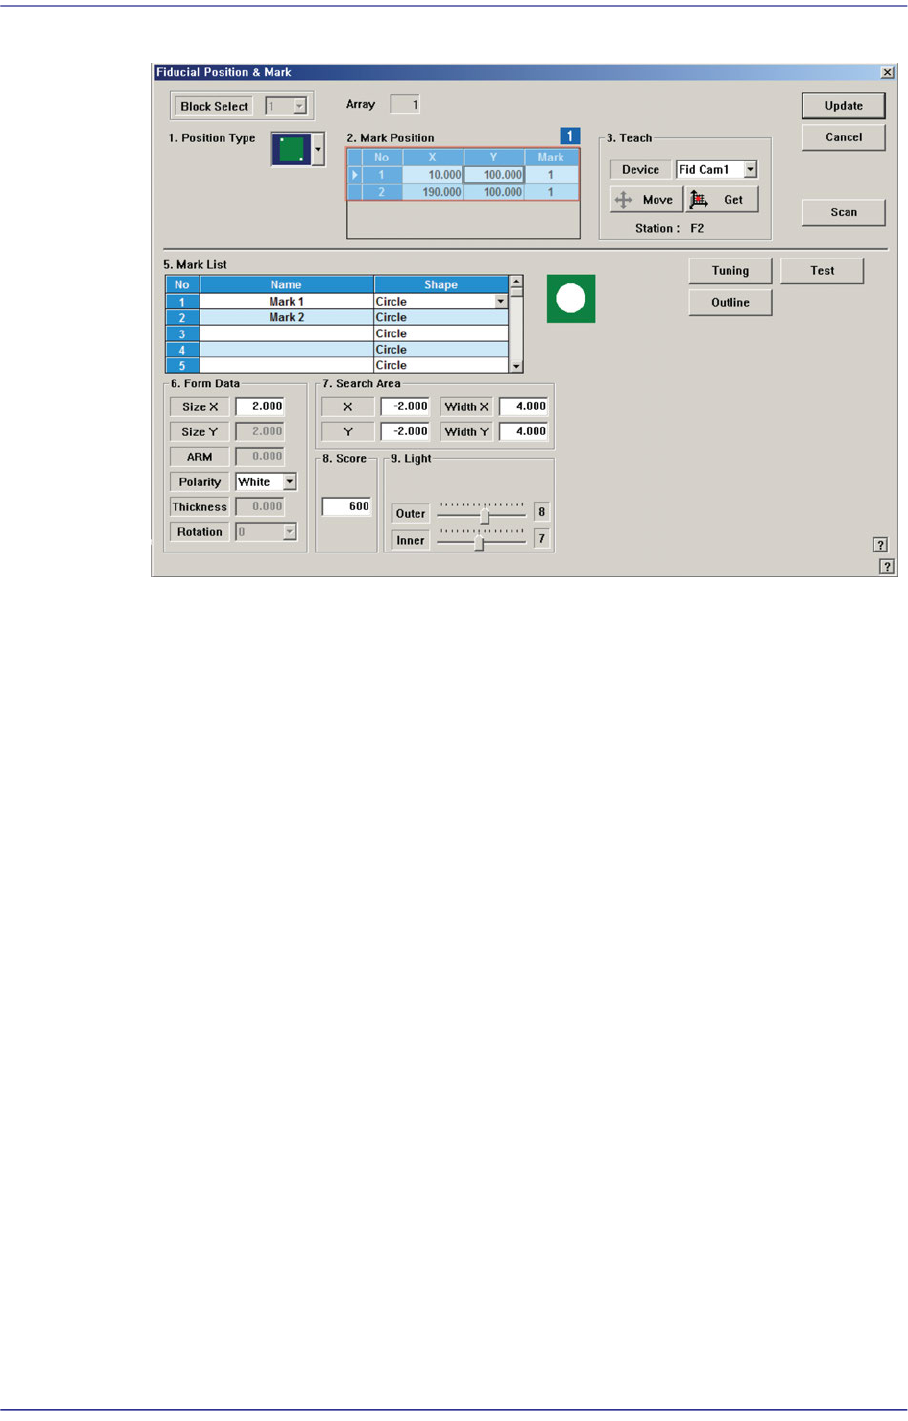
If “None” is not selected in the <1. Position Type> combo box, data is created as many
as the number of the selected fiducial marks. For example, when “2 Panel” is selected,
the following dialog box is displayed.
6-20
Fast Flexible Placer SM481(L) PLUS Administrator’s Guide
Figure6.5 “Fiducial Position & Mark” dialog box (When the Position Type is “2 Panel”)
1: Grid Cell
<No> column
A serial number of the position of fiducial mark.
<X> column
The X position value of fiducial mark.
<Y> column
The Y position value of fiducial mark.
<Mark ID> column
The mark ID value of fiducial mark. This value must be set from a series of
numbers in <5. Mark List>.
<4. Teach > group
Used to teach the fiducial mark position.
<Device> combo box
Select the Camera for checking Fiducial Mark
Fid Cam2: Select the fiducial camera on the front gantry.
<Move> button
Move the object selected in the <Device> combo box to the position of the
assigned coordinates. Before executing <Move> button, the cell in the grid
(Coordinates of the fiducial mark) corresponding to the desired position must be
clicked on with a mouse.

6-21
Board Definition
<Get> button
Obtain coordinates for XY axis with reference to the object selected in the
<Device> combo box. At this time, the objects (Coordinates of the fiducial mark)
related with coordinates must first be clicked with the mouse before clicking on
the <Get> button.
<Station> group
Indicates the station in which the current PCB is to be worked on. (F2: Front, R2:
Rear)