Hanwha SM481 PLUS Series Administrator’s Guide Eng.pdf.pdf - 第181页
7-23 Part Registration 7.2.2.3. CENTER AREA Sets the part inspection range and part center in o rder to recognize a part easi ly . <Align & ROI> switch button Using the mouse will automatically set the part i…
7-22
Fast Flexible Placer SM481(L) PLUS Administrator’s Guide
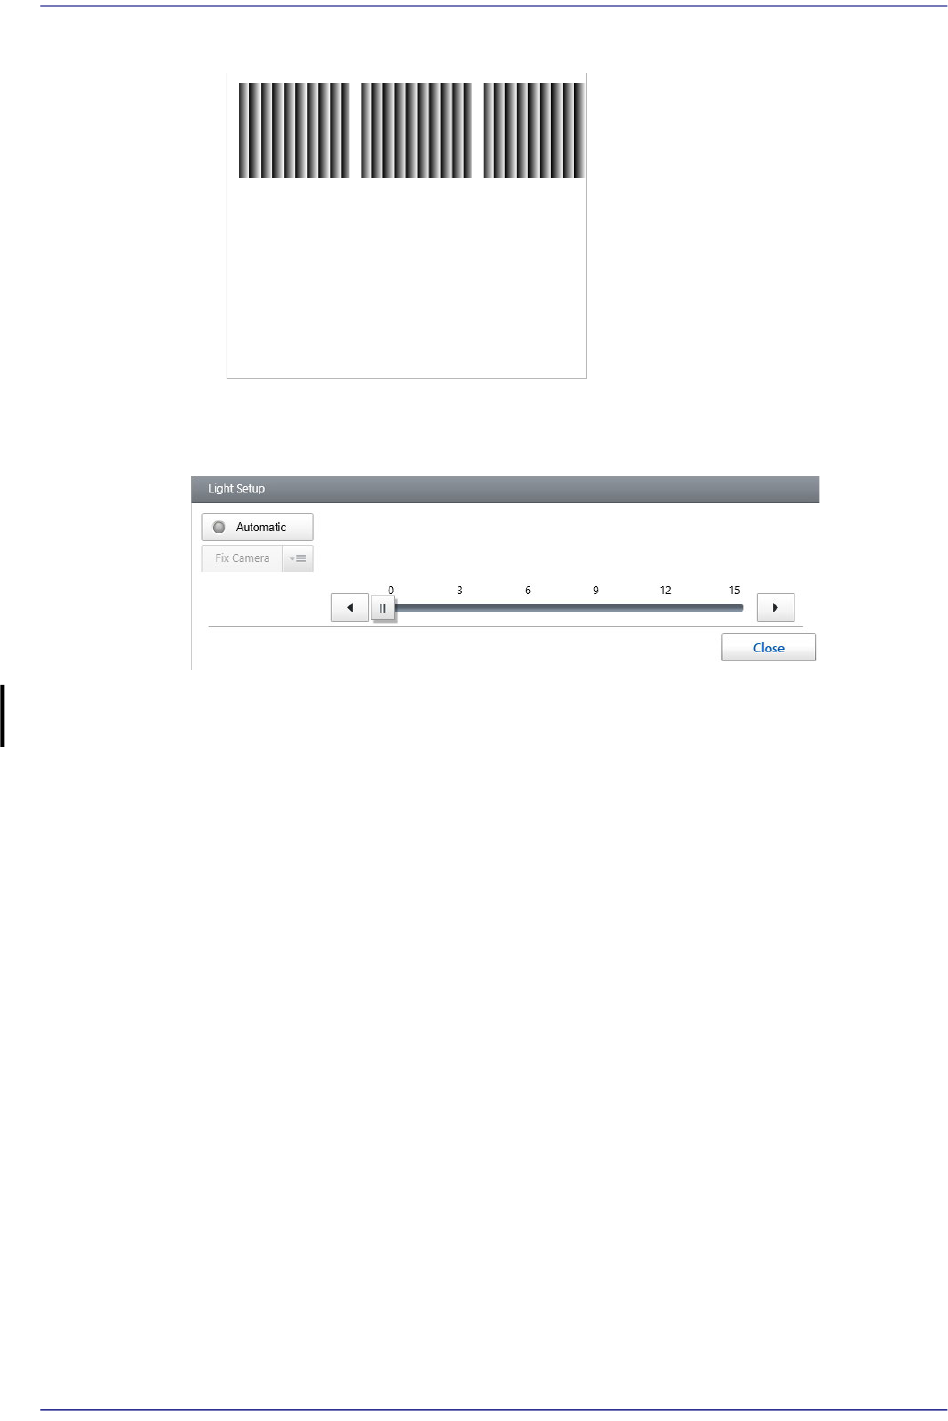
Displays the thumbnail image of the part captured according to the lighting value.
<Light Setup> group
Sets the lighting value of the camera recognizing a part.
<Automatic> switch button
Selected when the camera to recognize the part is set automatically.
<Image Refresh> button
Refresh the image of the displayed part in the vision window.
7-23
Part Registration
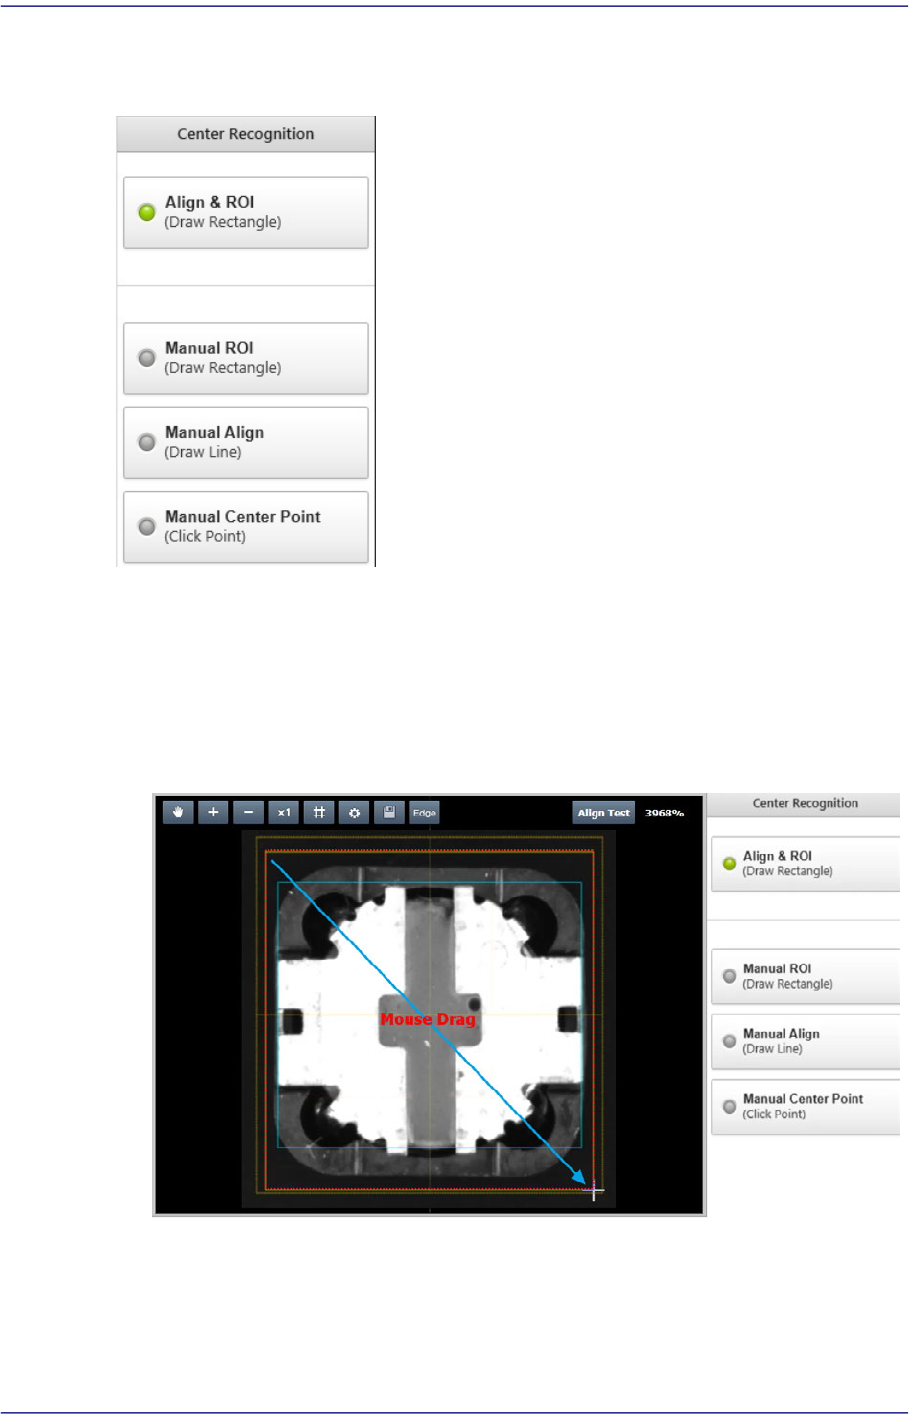
7.2.2.3. CENTER AREA
Sets the part inspection range and part center in order to recognize a part easily.
<Align & ROI> switch button
Using the mouse will automatically set the part inspection range and part center by
drawing a rectangle using the mouse so that the part is to be included in the vision
window.
In addition, it creates a part image by automatically rotating the part image at an angle
at which the part can be easily edited.

7-24
Fast Flexible Placer SM481(L) PLUS Administrator’s Guide
Memo If the <Align & ROI> switch button is selected, the part editor will
remove all registered shape objects and create a new shape object.
This button is mainly selected to register or edit parts in the ELITE
PRO.
On the other hand, when editing the existing part, select the manual
option to edit the part while maintaining the registered shape object.
<Manual ROI> switch button
It is possible to draw a rectangle manually using the mouse so that the part is to be
included in the vision window and set the part inspection range.
<Manual Align> switch button
It is possible to rotate the part image manually using the mouse so that it will be
parallel with the horizontal line displayed in the vision window.
First, using the mouse, draw a horizontal line in parallel with the horizontal line
displayed in the vision window and rotate the part image.
<Manual Center Point> switch button
It is possible to set the part center manually using the mouse.