Hanwha SM481 PLUS Series Administrator’s Guide Eng.pdf.pdf - 第152页
6-42 Fast Flexible Placer SM481(L) PLUS Administ r ator’s Guide <QR Code> option Button Refers to the barcode containing t he information in two directio ns: vertically and horizontally . <5. Search Area>…
6-41
Board Definition
<Array> Area
Teaches the 2D barcode position attached to an array of a board using the fiducial
camera selected from the <3. Teach> area or performs setup for 2D barcode
attachment to the array of the board.
<Array> combo box
Displays the number of the array selected currently.
<X/Y/Z> edit box
Refer to the corresponding description in the <Board> area.
<Inspection> check box
Refer to the corresponding description in the <Board> area.
<Placing> check box
Refer to the corresponding description in the <Board> area.
Part
Refer to the corresponding description in the <Board> area.
<Feeder> combo box
Refer to the corresponding description in the <Board> area.
<3. Teach> group
Used to move the teaching camera on the barcode to recognize the 2D barcode on the
PCB.
<4. Bar Code Type> group
Sets the type of the 2D barcode.
<Data Matrix> option Button
Refers to the barcode with the rectangular module of fixed size containing
information.

6-42
Fast Flexible Placer SM481(L) PLUS Administrator’s Guide
<QR Code> option Button
Refers to the barcode containing the information in two directions: vertically and
horizontally.
<5. Search Area> group
Sets the size of the area in which the existence of the 2D barcode is checked from the
image obtained from the camera.
<width> edit box
Sets the checking range in the X axis direction. Generally, it is set to 8mm.
<Height> edit box
Sets the checking range in the Y axis direction. Generally, it is set to 8mm.
<6. Data Matrix Parameter> group
<Size> group
<Width> edit box
Sets the 2D barcode size in the X axis. Generally, it is set to 4mm.
<Height> edit box
Sets the 2D barcode size in the Y axis. Generally, it is set to 4mm.
<Shape> group
<SQUARE> option Button
Sets the square type barcode.
<Rectangle> option Button
Sets the bar type rectangular barcode.
<7. Bar Code Color> group
<White > option Button
The barcode looks brighter than its surrounding.
<Black > option Button
The barcode looks darker than its surrounding.
<8. Parameter > group
<Score > edit box
Sets the basis by which it is determined whether the 2D barcode exists when
analyzing the image. The recommended value is 600.
<Light > group
Sets the light value when checking the barcode. Generally, it is set to 5. However,
adjust it appropriately according to the state of the barcode.
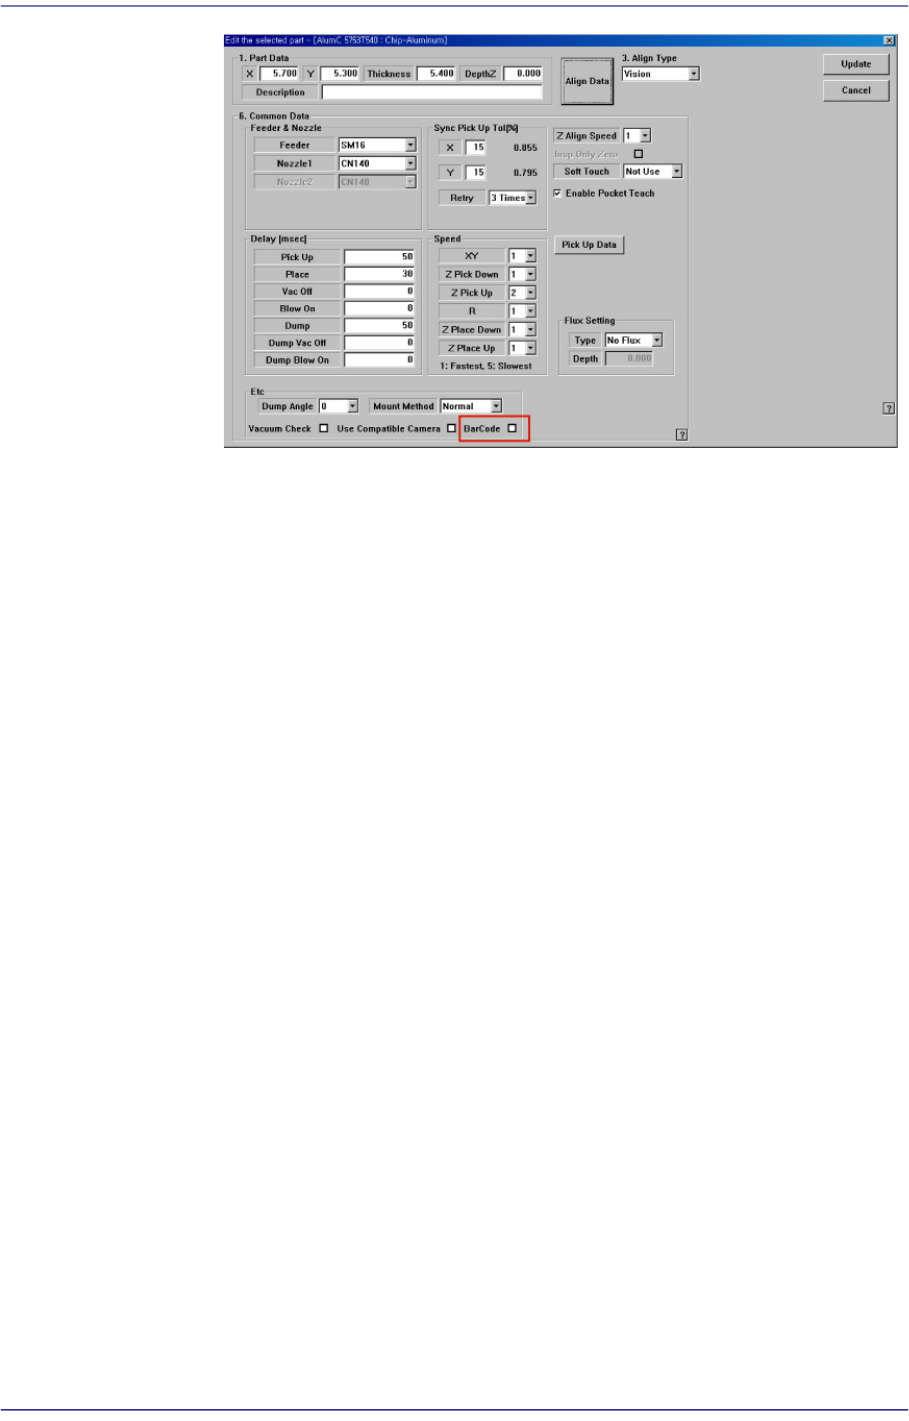
<Test> button
Checks if the read barcode data can be used. If the test is successfully performed,
6-43
Board Definition
the following window is displayed.
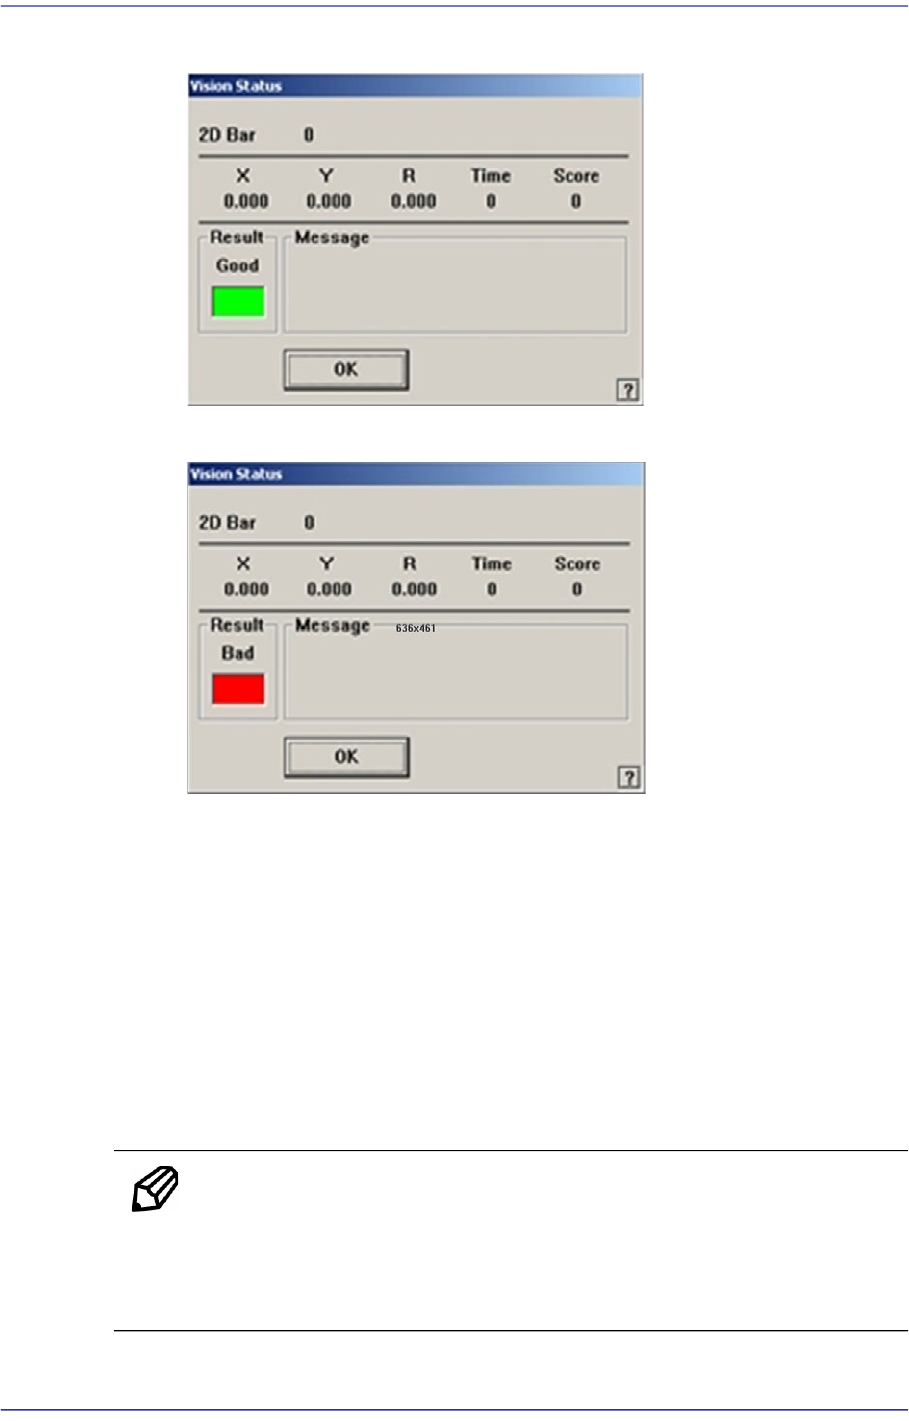
If the test fails, the following window is displayed.
<Update> button
Save the array setup data and close the “Barcode Position” dialog box.
<Cancel> button
Close the “Barcode Position” dialog box without saving the array setup data.
6.6.3. Manual 2D Barcode Confirm Dialog Box
If 2D barcode recognition error occurs during automatic production when using the 2D
barcode function, pressing the ‘Stop’ Button on the machine operation panel will display
the screen for processed errors as follows.
Memo In order to enable the following screen, the system constant setup
must be preceded. If you want to take measures against the error
during automatic production, please contact our CS or local
representative office.