Hanwha SM481 PLUS Series Administrator’s Guide Eng.pdf.pdf - 第199页
7-41 Part Registration <W idth> edit box Input the widt h of an object to suit the image of an actual part. If the selected object is round, set the diameter . <Height> edit box Input t h e height of a n …
7-40
Fast Flexible Placer SM481(L) PLUS Administrator’s Guide
<Pos.> combo box
Selecting 'Triangle' as the shape of the mark direction after selecting 'Mark
Direction' as the type of direction mark will enable this combo box.
Select the position at which the direction mark exists on a part.
<Color> combo box
As a direction mark type, this check button is displayed when selecting 'Flip
Check' as a direction mark shape.
Select the color of the direction mark. Available colors are as follows:
White
Select the mark looks brighter than its surroundings. When the mark shape
is 'Left Convex' and 'Right Convex', this color cannot be selected.
Black
Select the mark looks darker than its surroundings.
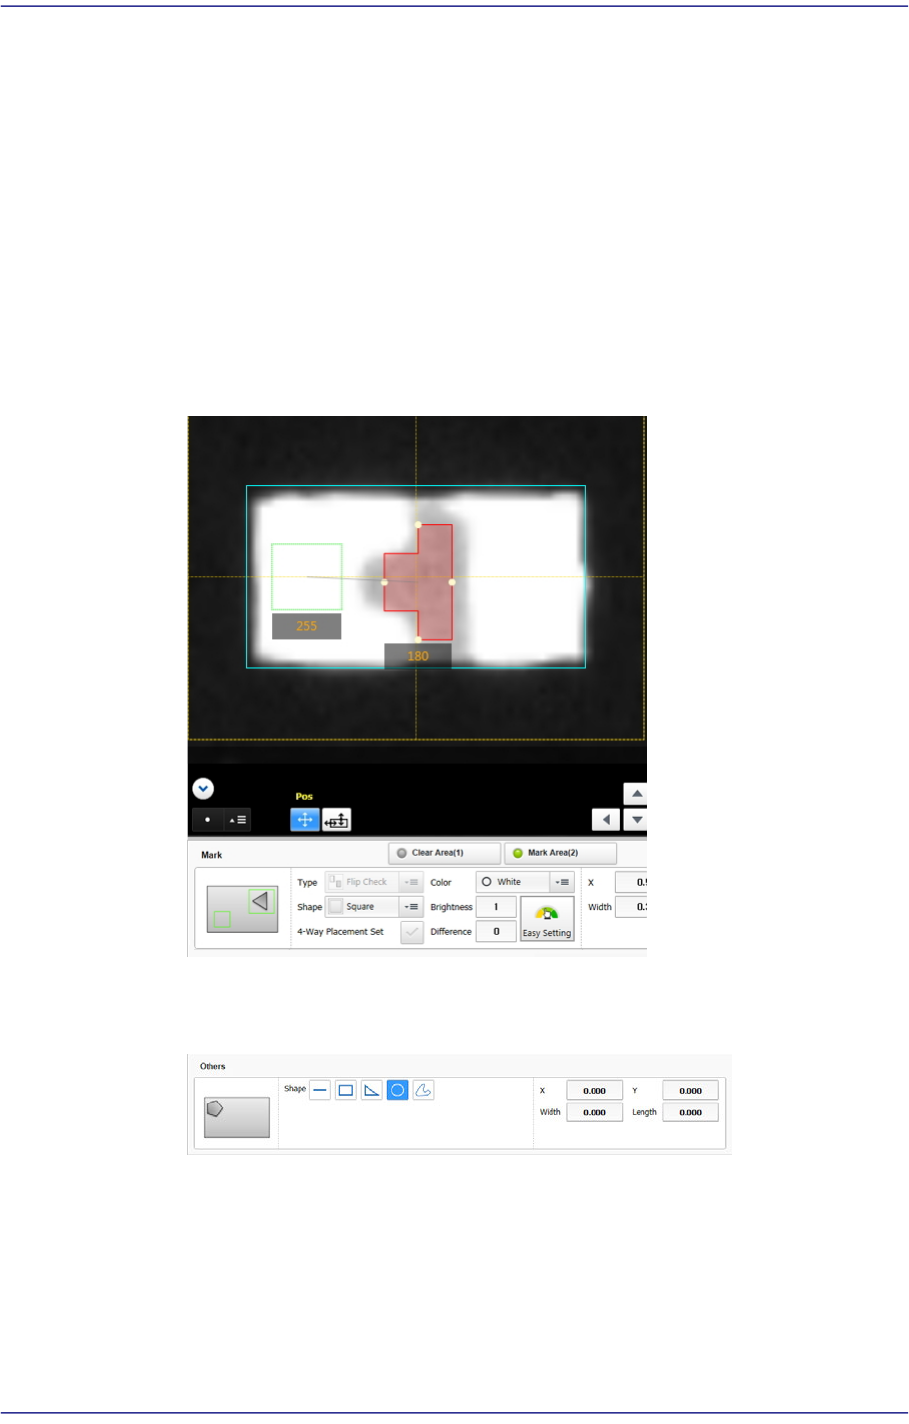
<Brightness> edit box
As a direction mark type, this input field is displayed when selecting 'Flip
Check' as a direction mark shape.
Refers to the reference value of the area. The area with a value less than the
reference value can be considered normal. Generally, it has a value of 200 and
above.
<Difference> edit box
When the <Mark Area (2)> switch button is selected after selecting 'Flip
Check' as a direction mark type, this input field is displayed.
Input the minimum value of the difference in brightness between Clear Area
(1) and Mark Area (2). In general, input 40.
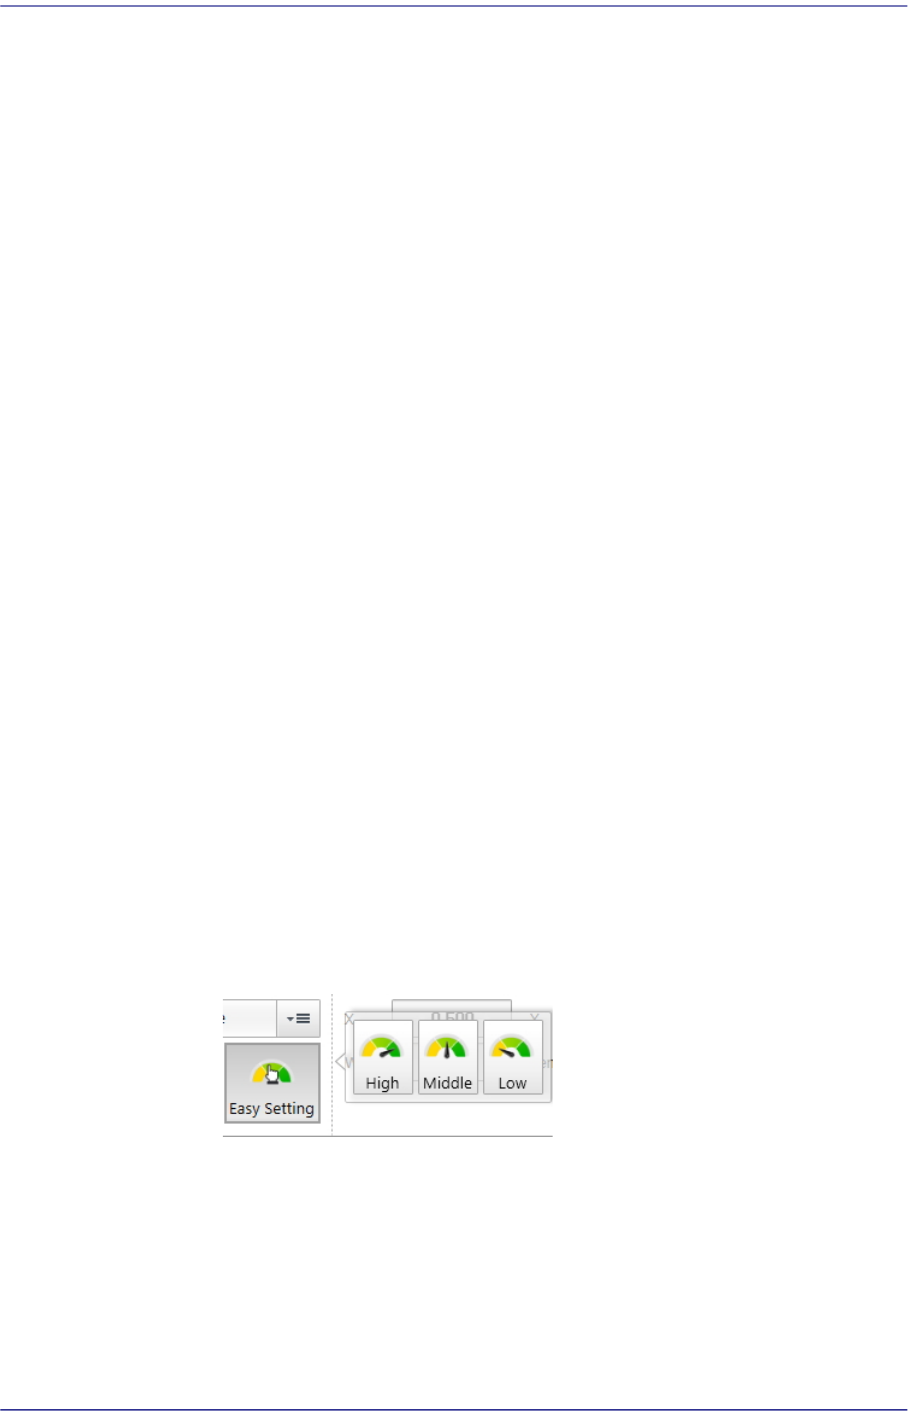
‘Set Brightness / Difference’ area
It is possible to set the Brightness and Difference values.
High / Middle / Low
It is possible to apply the default set value depending on the Brightness
and Difference level.
<X/ Y> edit box
Input the X and Y offsets between the vision window center and the center of
the selected object.
7-41
Part Registration
<Width> edit box
Input the width of an object to suit the image of an actual part. If the selected
object is round, set the diameter.
<Height> edit box
Input the height of an object to suit the image of an actual part. Only when the
selected object is rectangular is this enabled.
<Clear Area (1)> switch button
Selected in order to set the area where there is no LED mark.
<Mark Area (2)> switch button
Selected in order to set the Black area where there is an LED mark.
Others
Edits other shapes to objects or deletes them.
<Shape> group
It is possible to select shapes such as straight lines, rectangles, triangles,
circles, polygons, etc.
Shape definition - Others (Line)

7-42
Fast Flexible Placer SM481(L) PLUS Administrator’s Guide
1: Length and direction of the line ( Position change of the selected point )
Shape definition - Others (Rectangle)
1: Length of the rectangle in the X direction
2: Length of the rectangle in the Y direction
Shape definition - Others (Triangle)
1: Position change of the selected point
2: Position change of the selected point
3: Position change of the selected point
Shape definition - Others (Circle)
1: Length of the oval in the X direction
2: Length of the oval in the Y direction