Operating Instructions_VF335_en.pdf - 第227页
6|Function description 6.13.3 Recording a soldering report Recorded soldering reports are saved automatically and can be later reimported and displayed for documentation purposes. Recording a soldering report ü To reco…
6|Function description
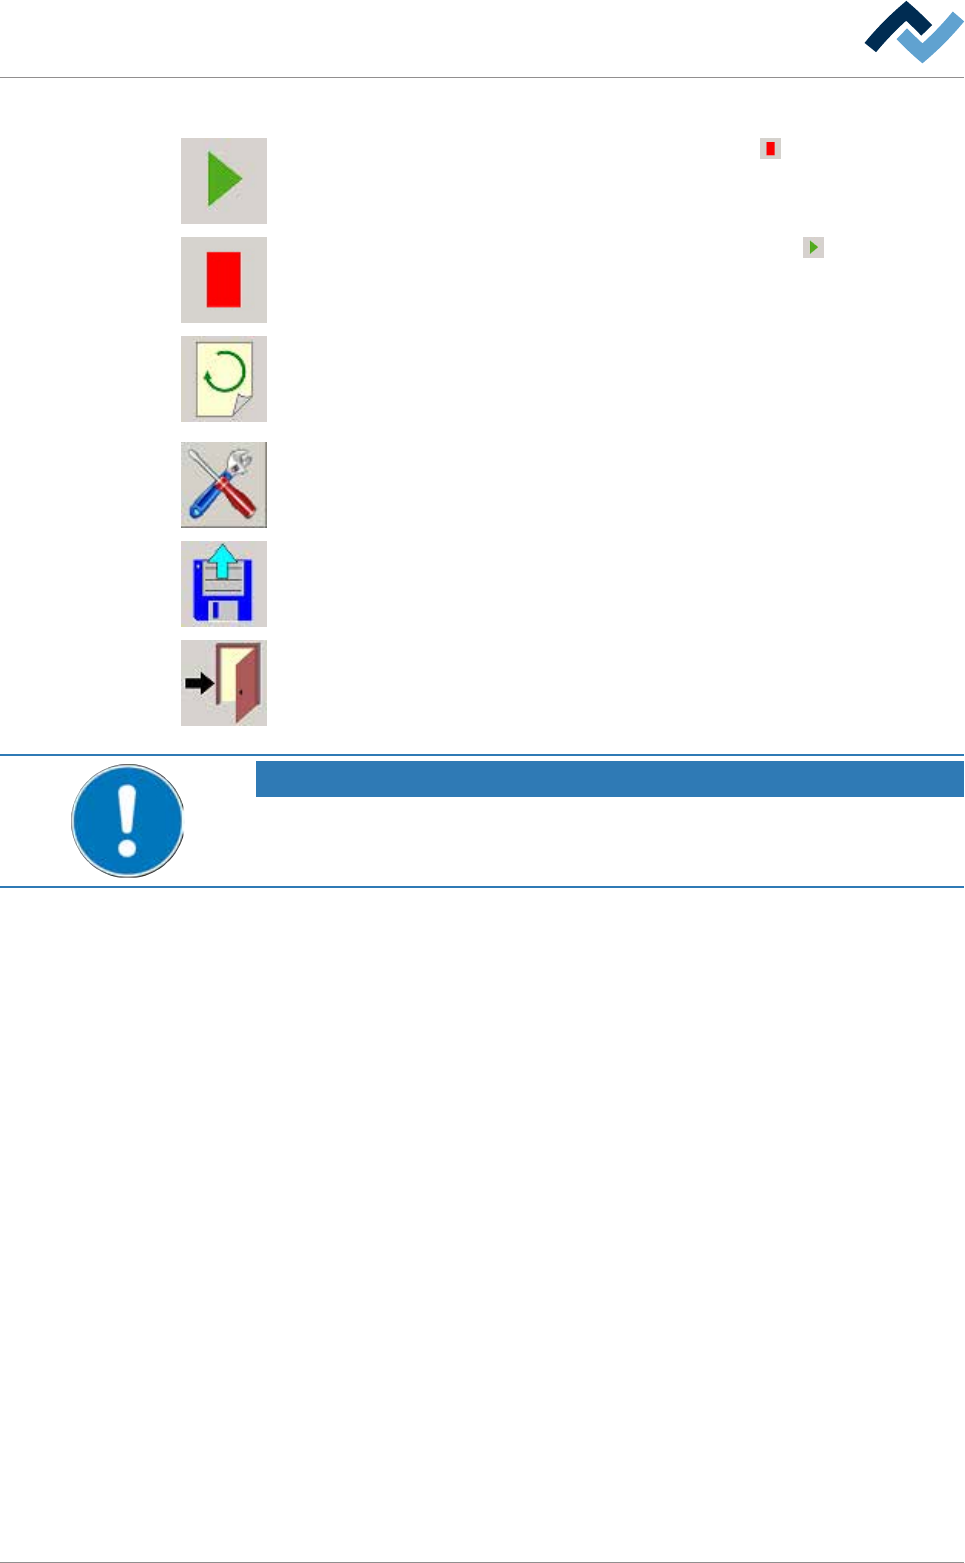
The bottom toolbar contains the following buttons:
Start recording. During recording, the button changes into . In the [Automatic
mode] operating mode, recording cannot be started!
Stop recording. If recording is stopped, the button changes into .
It updates the display of the soldering report. The display of the soldering report is
static and always applies to the board which the machine has just fed out. The dis-
play must be updated as soon as the next board has left the machine. To update,
click on these buttons.
It opens the [Soldering report] setting dialog. During the recording of the soldering
report, this button is not available.
It imports saved soldering reports and shows them.
It closes the dialog.
NOTE
How are set values and actual values displayed?
Set values are always highlighted in white in this dialog, actual values in yellow.
Ersa GmbH Operating Instructions_VF335_en|Rev. 14|30/11/2017 226/695
6|Function description
6.13.3 Recording a soldering report
Recorded soldering reports are saved automatically and can be later reimported
and displayed for documentation purposes.
Recording a soldering report
ü To record a soldering report:
a) set the machine to the [Maintenance mode] operating mode.
b) Insert a board into the machine infeed.
c) Click on the
button in the bottom toolbar of the [Soldering report] dialog.
ð The button will change into
. The soldering report is recorded.
d) Start a soldering program.
ð The machine switches to the [Automatic mode] operating mode. The
board is transported and processed inside the machine. As soon as the
board has left the machine, the soldering report is stored and displayed.
ð The report is automatically saved in a file whose size can be specified by you.
As soon as this file size has been exceeded, ERSAsoft closes the file automatic-
ally and creates a new file.
On this regard, please read Chapter The [File paths] editing dialog [
}139].
NOTE
How do I find a recorded soldering report again?
The files are automatically named in chronological order by the system and stored in
appropriate folders and subfolders. You can specify the structure of the folders in the
setting dialog. The file naming is automatic: The file identification itself is performed
by default in the following format: YYYYMMDD_hhmmss_yyyyyyy.xxx. (Y = 7-digit
counting number). You can change the file name and other parameters in the [Solder-
ing report] setting dialog.
6.13.4 Importing and displaying a soldering report
You can import and display soldering reports which were recorded at an earlier
point in time.
ü Importing soldering reports:
a) Set the machine to the [Maintenance mode] operating mode.
b) Click on the
button in the bottom toolbar of the [Soldering report] dialog.
ð Windows Explorer is displayed.
c) Locate and open the report file.
ð The file is imported, the report is displayed.
Ersa GmbH Operating Instructions_VF335_en|Rev. 14|30/11/2017 227/695
6|Function description
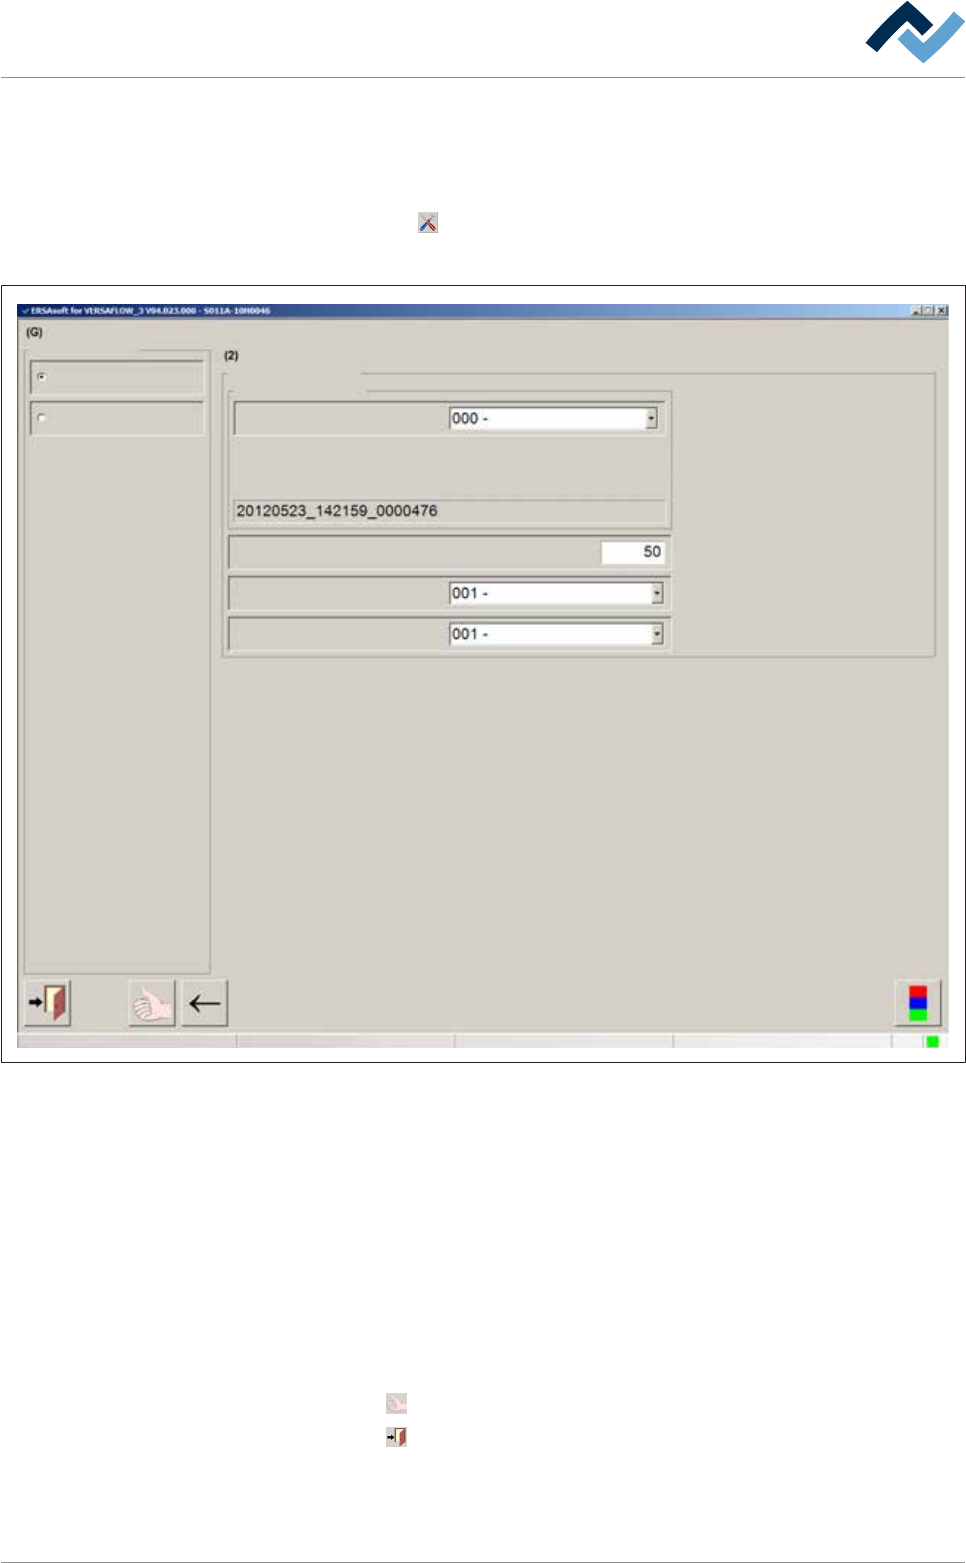
6.13.5 Settings for file naming, directories, file size
You can customize these setting in the [Soldering report] setting dialog:
ü Opening the [Soldering report] setting dialog:
a) Click on the
button in the bottom toolbar of the [Soldering report] dialog.
ð The [Soldering report] setting dialog is displayed:
Soldering report and operating data Soldering report
Selection
Soldering report
Operating data
ersaUser
Settings Soldering report
File format
File name
Type of file name
Maximum number of data sets per file
Directory subdivide
Additional type of protocol
Serial board number
daily
ZVEI
Maintenance mode
Fig.57: The setting dialog [Soldering report]
– [Type of file name]: You can select one of the following file name types: [Serial
board number], [Text _Program _timestamp] and [Not defined]
– [Maximum number of data sets per file]: Enter a value in the input field. Ex-
ample: If you enter value [1] here, a separate file is created for each data set. If
you enter value [50], after 50 data sets a new file is created.
– [Directory subdivide]: You can select one of the following subdivisions: [never],
[daily] and [Not defined].
– [Additional type of protocol]: You can select one of the following report types:
[none], [ZVEI] and [Not defined] .
ü Accept settings, close dialogs
a) Click on
to accept a setting.
b) Click on
to close a dialog.
Ersa GmbH Operating Instructions_VF335_en|Rev. 14|30/11/2017 228/695