Operating Instructions_VF335_en.pdf - 第366页
8|Service and maintenance 8 8 9 10 11 8 8 Fig.126: Removing the cover ü To remove the cover: a) Open all four locks (8). b) Clean the tray (9). c) Lift the cover (10) and drain the flux material adhering to the tank. …
8|Service and maintenance
4
8 6 5 7
3
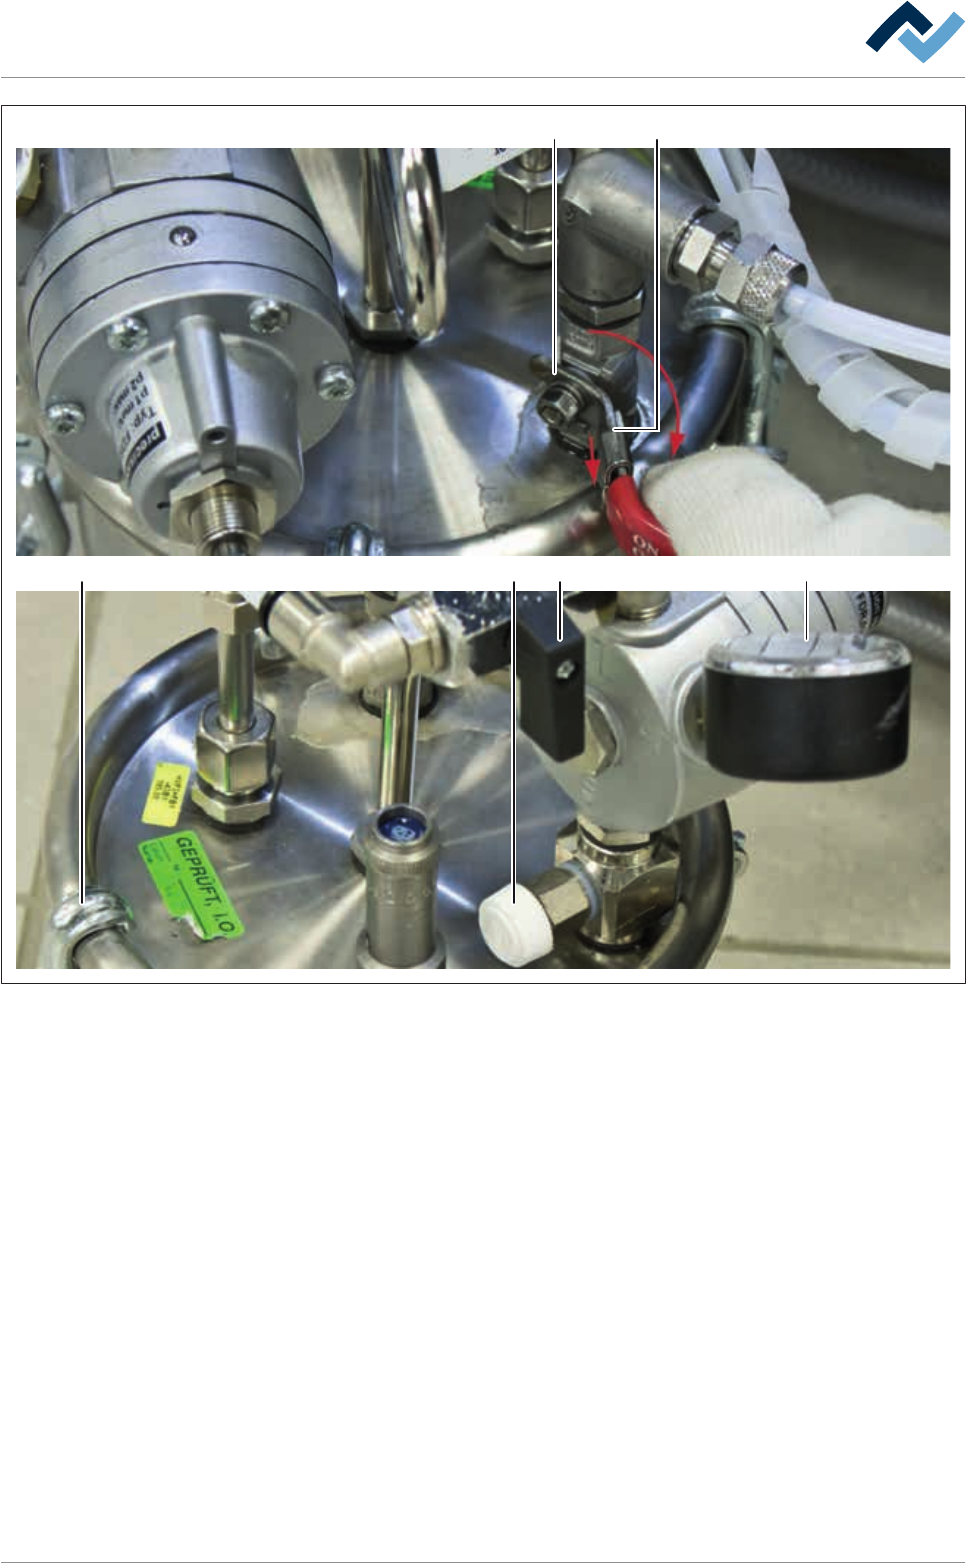
Fig.125: Opening the flux material storage tank
ü Opening the tank:
a) Move the locking bow (3) by the handle end and close the tap (4) in the OFF
direction
b) Close the nitrogen supply tap (5).
c) Release the pressure from the tank. To do this, slowly open the valve (6) until
wind noise can no longer be heard and the pressure gauge (7) shows a value of
0 bar. Close the valve (6) again.
ð The tank is now depressurized.
Ersa GmbH Operating Instructions_VF335_en|Rev. 14|30/11/2017 365/695
8|Service and maintenance
88
9 10 11
8 8
Fig.126: Removing the cover
ü To remove the cover:
a) Open all four locks (8).
b) Clean the tray (9).
c) Lift the cover (10) and drain the flux material adhering to the tank. Remove the
cover on the tray (9).
d) Visual inspection of the sealing (11). Clean the contaminated sealing. Use a
cleaning agent recommended by the flux material manufacturer. Replace any
porous or hardened sealing.
e) Empty the tank. Visual inspection of all parts of the flux material tank for debris
and corrosion.
f) Replace damaged or worn parts. Clean contaminated parts.
g) Visual inspection of the interior of the flux material tank. Remove all debris.
Ersa GmbH Operating Instructions_VF335_en|Rev. 14|30/11/2017 366/695

8|Service and maintenance
12
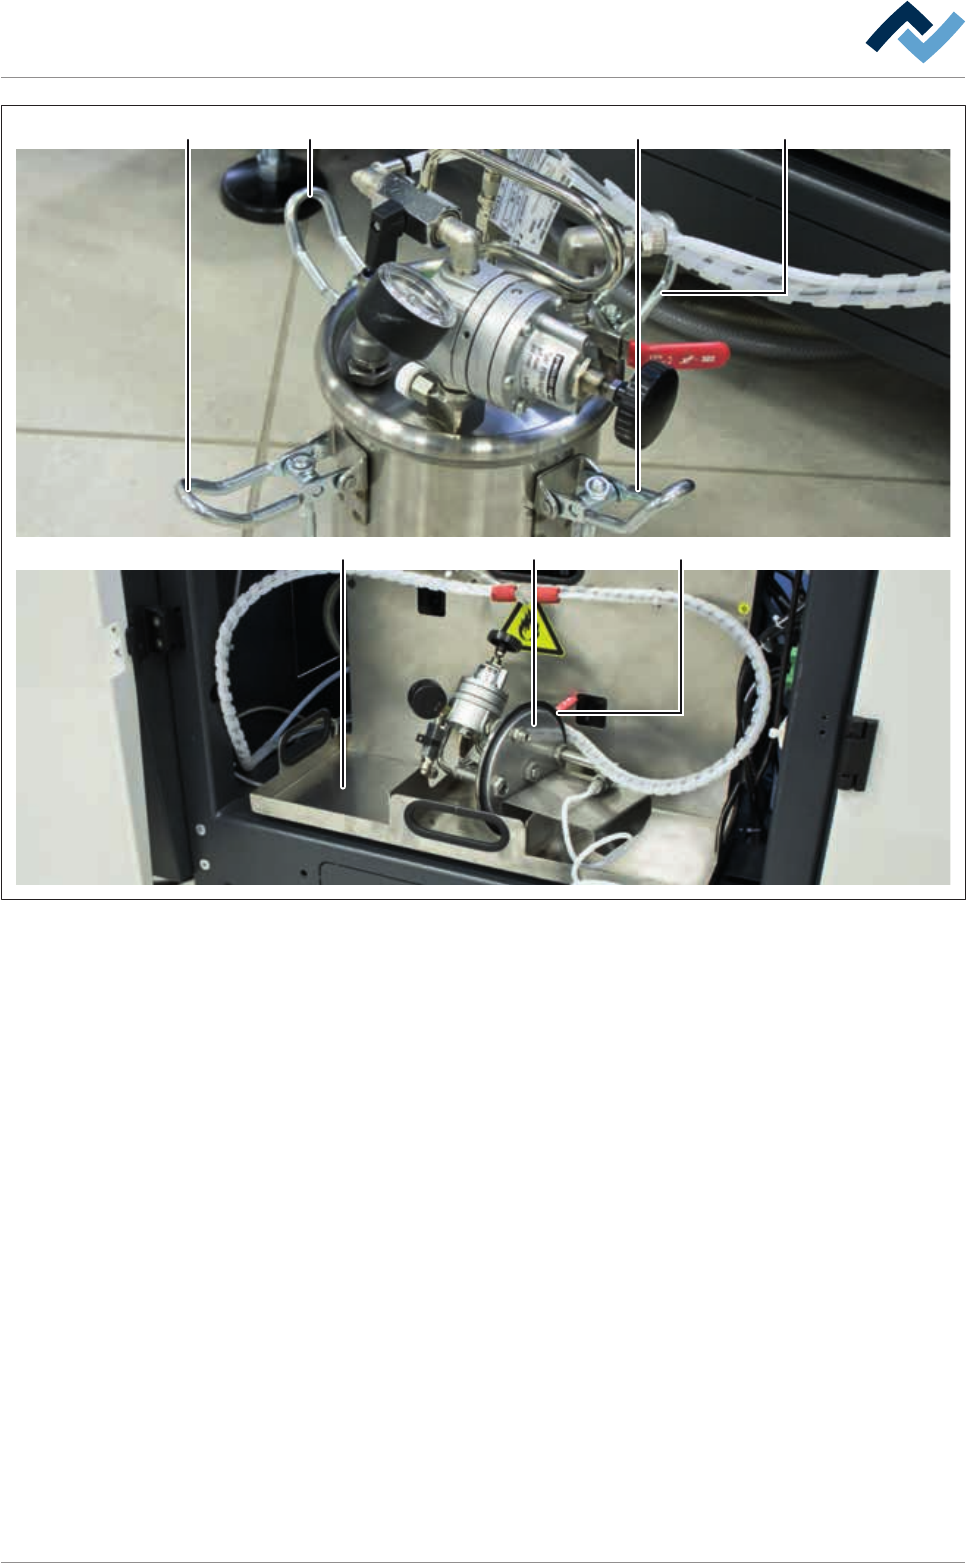
Fig.127: Filling with flux material
ü Filling with flux material :
a) Fill with flux material (maximum capacity 2 litres) up to 40mm below the edge.
b) Clean the edge of the flux material tank with a lint-free cloth.
c) Carefully lift the cover (10) of the flux tank and put it into the container. Close
all four locks (8).
d) Place the tank into the storage space.
Ersa GmbH Operating Instructions_VF335_en|Rev. 14|30/11/2017 367/695