Operating Instructions_VF335_en.pdf - 第266页
6|Function description Specifying a flux type in the soldering program ü Entering a flux type: a) In the start dialog click the button. ð The soldering program editor will open. b) Press the flux sprayer icon in the ed…
6|Function description
Enter the flux type in the [Flux unit 1- mount data] setting dialog
ü Entering a flux type:
ü A user logging into the system has respective rights.
ü The machine is in the operating mode [Maintenance mode] function.
a) Press the flux sprayer icon in the basic dialog window.
ð The [Flux unit 1] window appears.
b) Click on the button in the lower toolbar.
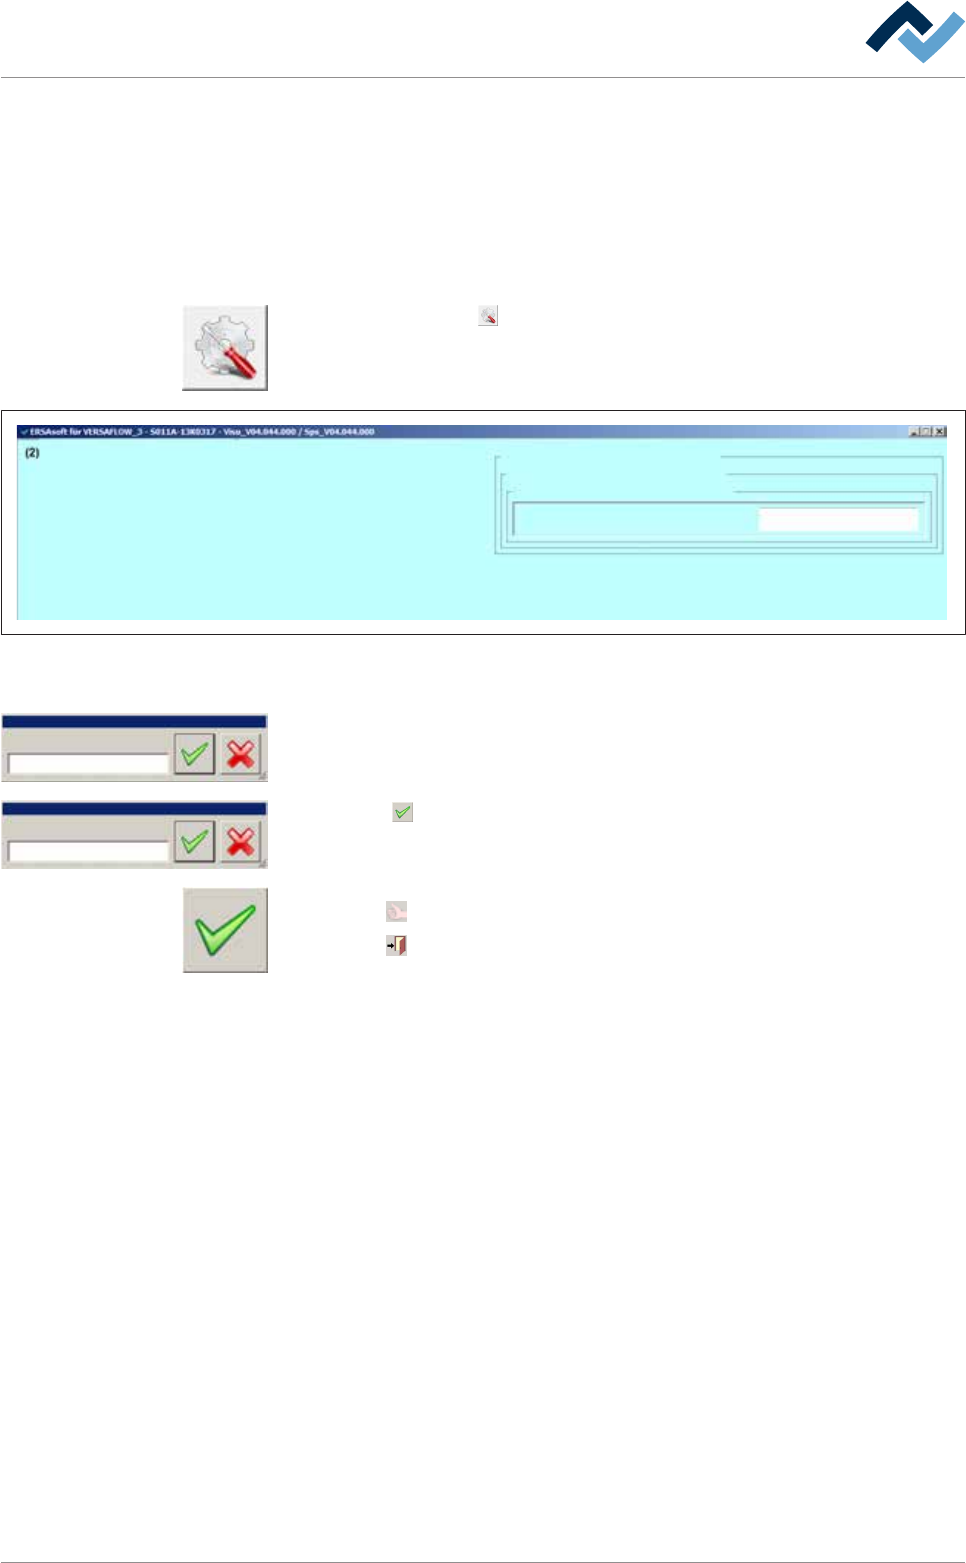
ð The settings dialogue [Flux unit 1 mount data] window appears:
Settings Flux unit 1
user:
Administrator
Maintenance mode
mount data
vessel 1
Flux material data
mount data
Name
Fig.73: The settings dialogue [Flux unit 1 - mount data] function.
c) In the [mount data] frame click on the [Name] input field.
Name
Edit dialog Text
Name
Edit dialog Text
2092960010
ð The [Name] window appears.
d) Enter the flux name from the keyboard in the [Edit dialog: Text] input field or
read the code with a reader.
e) Click the
button.
f) The text will be saved.
ü Accept settings, close dialogs
a) Click on
to accept a setting.
b) Click on
to close a dialog.
Ersa GmbH Operating Instructions_VF335_en|Rev. 14|30/11/2017 265/695
6|Function description
Specifying a flux type in the soldering program
ü Entering a flux type:
a) In the start dialog click the button.
ð The soldering program editor will open.
b) Press the flux sprayer icon in the editor.
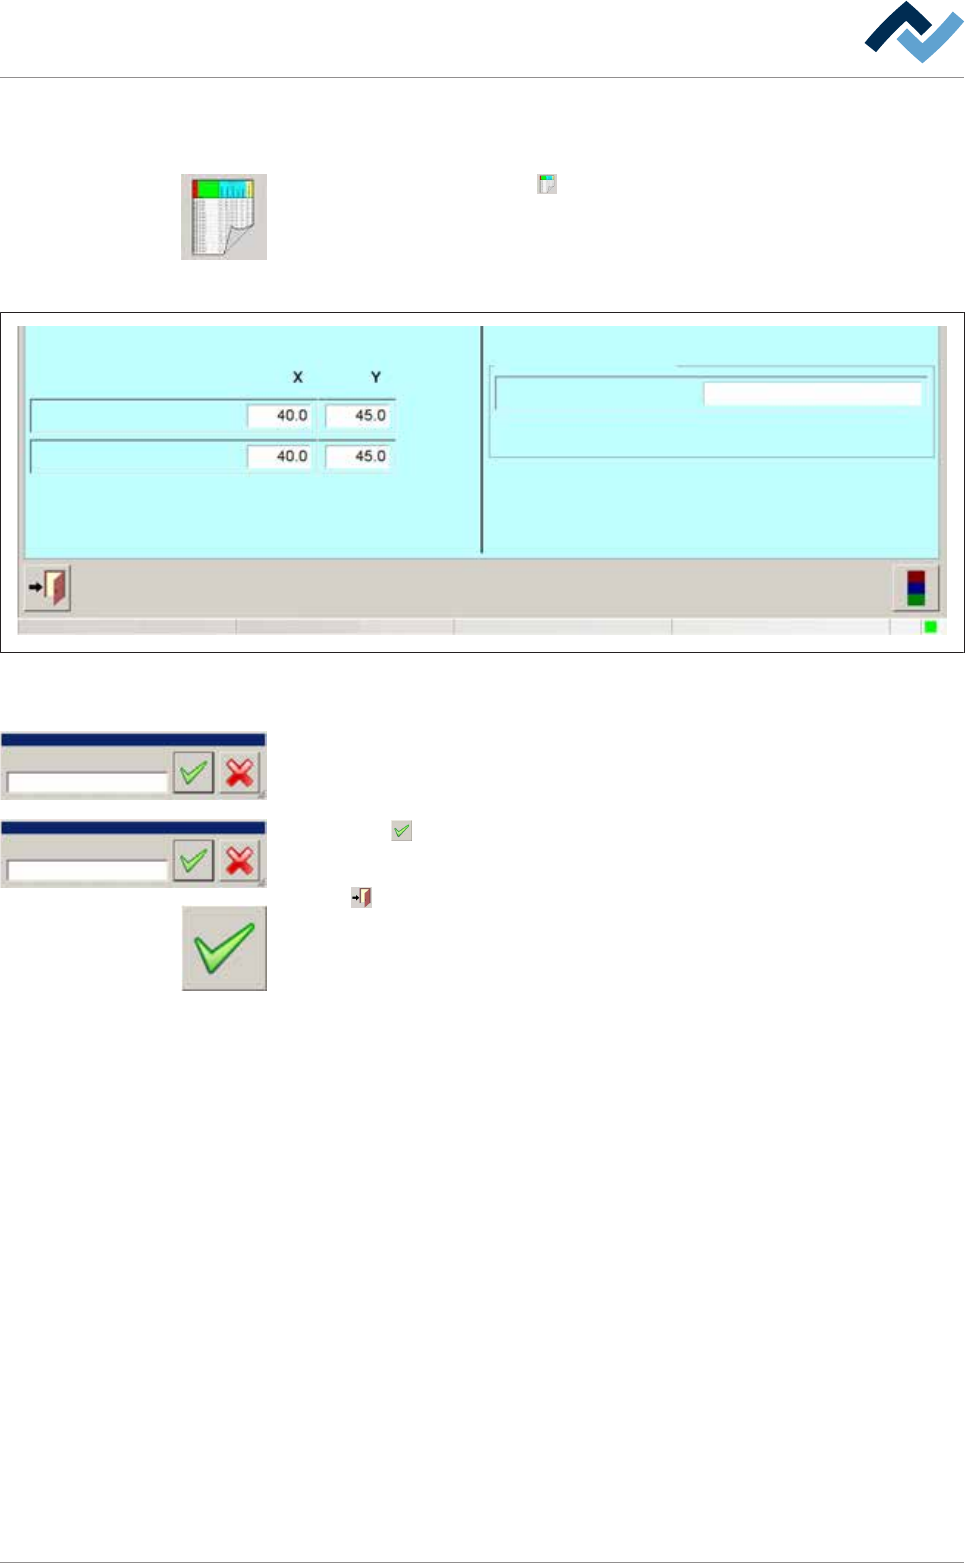
c) The [General additional data Flux unit 1] window appears:
user:
ersa
Soldering program editor General additional data
Program informations
Program name
Version:
Last modification by:
Infotext:
Conveyor
Conveyor width adjustment
Graphical
data
Process time
Process time
Fix horizontal permanently
Park position
Congestion position
Flux unit
General additional data
Maintenance mode
Flux unit 1
vessel 1
Flux material data
Fig.74: The [General additional data Flux unit 1] function.
d) In the [Flux material data] frame click on the [vessel 1] input field.
Name
Edit dialog Text
Name
Edit dialog Text
2092960010
ð The [Name] window appears.
e) Enter the flux name from the keyboard in the [Edit dialog: Text] input field or
read the code with a reader.
f) Click the
button.
g) The text will be saved.
Click on
to close the dialog.
a) Exit the editor. Save changes before exit.
ð The process has now been completed.
Ersa GmbH Operating Instructions_VF335_en|Rev. 14|30/11/2017 266/695

6|Function description
Production using the soldering program
ü Production start:
ü An acceptable program has been chosen.
a) Run the soldering program.
ð If no flux type is specified in the program, production will start irrespective
of the type of flux in the tank.
b) If a flux material type has been specified in the soldering program, the control
system will check if the data in the [Flux unit 1 - mount data] setting dialog
match those of the soldering program.
ð If data do not coincide, the program will not run and a message will be dis-
played.
ð If data coincide, the program will run.
ð The process has now been completed.
Soldering report data
If you work with a program where a certain flux type is specified, these data will
also be recorded in the soldering report.
Low flux level in the tank
When the flux level is insufficient, a message will appear which shall be acknow-
ledged after flux refilling. If in the [Flux unit 1 - mount data] setting dialog you have
defined a flux material type, an additional message will appear. It prompts you to
specify the flux type in the setting window again. Only then you will be able to ac-
knowledge the message and continue operation. See the section Specifying flux
material type in the setting dialog [Flux unit 1- mount data].
Ersa GmbH Operating Instructions_VF335_en|Rev. 14|30/11/2017 267/695