Operating Instructions_VF335_en.pdf - 第235页
6|Function description Conveyor. When the conveyor is running, this button is displayed in yellow. 6.14.5 In and out module The settings correspond to those of the infeed/infeed unit. An exception is repres- ented here…
6|Function description
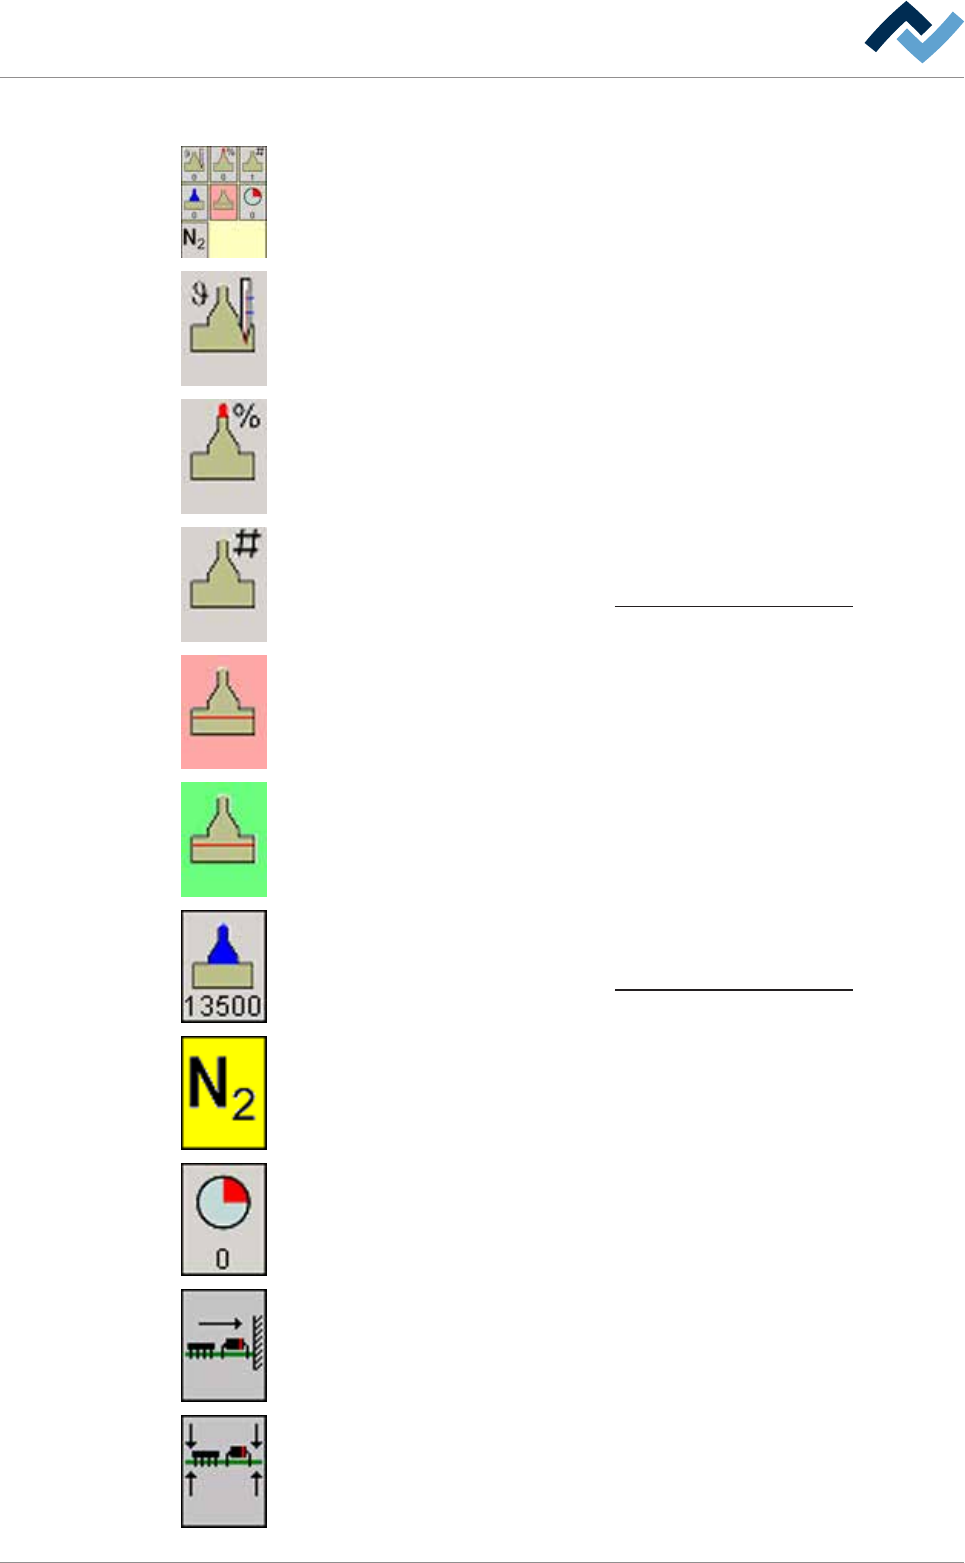
6.14.4 Selective soldering module
The following buttons can be available; clicking on them opens the editing dialog of
the soldering module:
Solder pot heating When heating is active, this button turns yellow. The current ac-
tual temperature in [°C] can be read in the bottom section.
Wave power. When the solder wave is active, this button turns yellow. The current
wave power can be read as a [%] in the bottom section.
Active nozzle number. The number of the nozzle which has been activated in the
nozzle table is displayed in the bottom section.
With regard to this, please read Chapter The solder nozzle data table [
}247].
The solder level minimum value has been exceeded (red).
The solder level is OK (green).
Active wave offset The offset entered into the solder nozzle data table is displayed
in the bottom section.
With regard to this, please read Chapter The solder nozzle data table [
}247].
Nitrogen. If gassing is active, this button turns yellow.
Remaining time in the module. You can read the remaining processing time in the
bottom section. Time runs backwards as soon as the board is processed in the
module.
Board horizontal fixing If fixing is active, this button turns yellow.
Board vertical fixing. If fixing is active, this button turns yellow.
Ersa GmbH Operating Instructions_VF335_en|Rev. 14|30/11/2017 234/695

6|Function description
Conveyor. When the conveyor is running, this button is displayed in yellow.
6.14.5 In and out module
The settings correspond to those of the infeed/infeed unit. An exception is repres-
ented here by the code reader, which is not available at the outfeed. On this re-
gard, please read chapter Infeed and infeed unit [
}231].
Ersa GmbH Operating Instructions_VF335_en|Rev. 14|30/11/2017 235/695
6|Function description
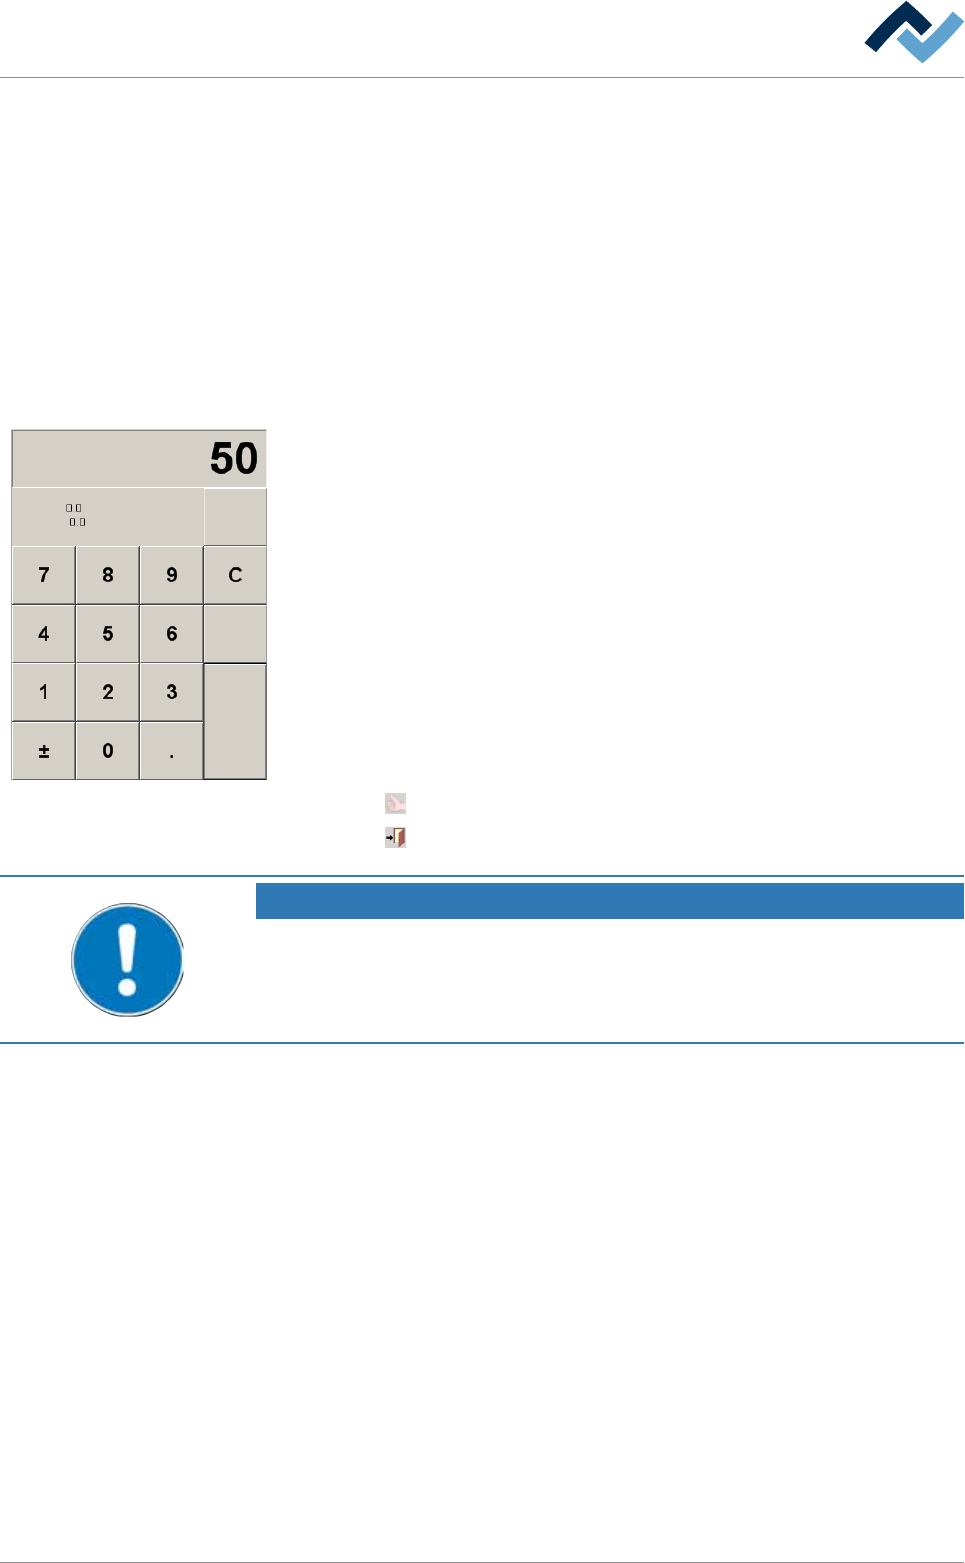
6.14.6 Entering set values
Values are always entered in the input fields of the dialogues via a numerical table.
For this reason, this is only explained once. The numerical table is always displayed
whenever a value is to be entered. You have three options for entering a value:
1. with the mouse: click with the cursor on a digit.
2. With the keyboard: enter values directly via the keyboard.
3. With a Touch Screen Monitor (optional): tap a digit with your finger.
The permissible setting range is specified in each number table. If the permissible
setting range is exceeded or fallen below, the [Min:] / [Max:] setting range is dis-
played in red.
Min:
Max:
Range:
ESC
DEL
CR
Entering values
ü Entering a value using a number table:
a) click on an input field.
ð The number table is displayed.
b) Enter the desired value.
c) Accepting the range: [CR]
ð The number table disappears and the value is accepted in the input field.
d) Deleting the entire range: [C]
e) Deleting the last digit entered: [DEL]
f) Cancelling the operation: [ESC]
ü Accept settings, close dialogs
a) Click on
to accept a setting.
b) Click on
to close a dialog.
NOTE
Why does the number table not appear in all dialogs?
Entering values using a number table is not useful in all dialogs. For example, the entry
of values in data sets, soldering programs or nozzle data tables is always carried out
directly via the keyboard.
Ersa GmbH Operating Instructions_VF335_en|Rev. 14|30/11/2017 236/695