DECAN_F2_Service(Eng_Ver1).pdf - 第210页
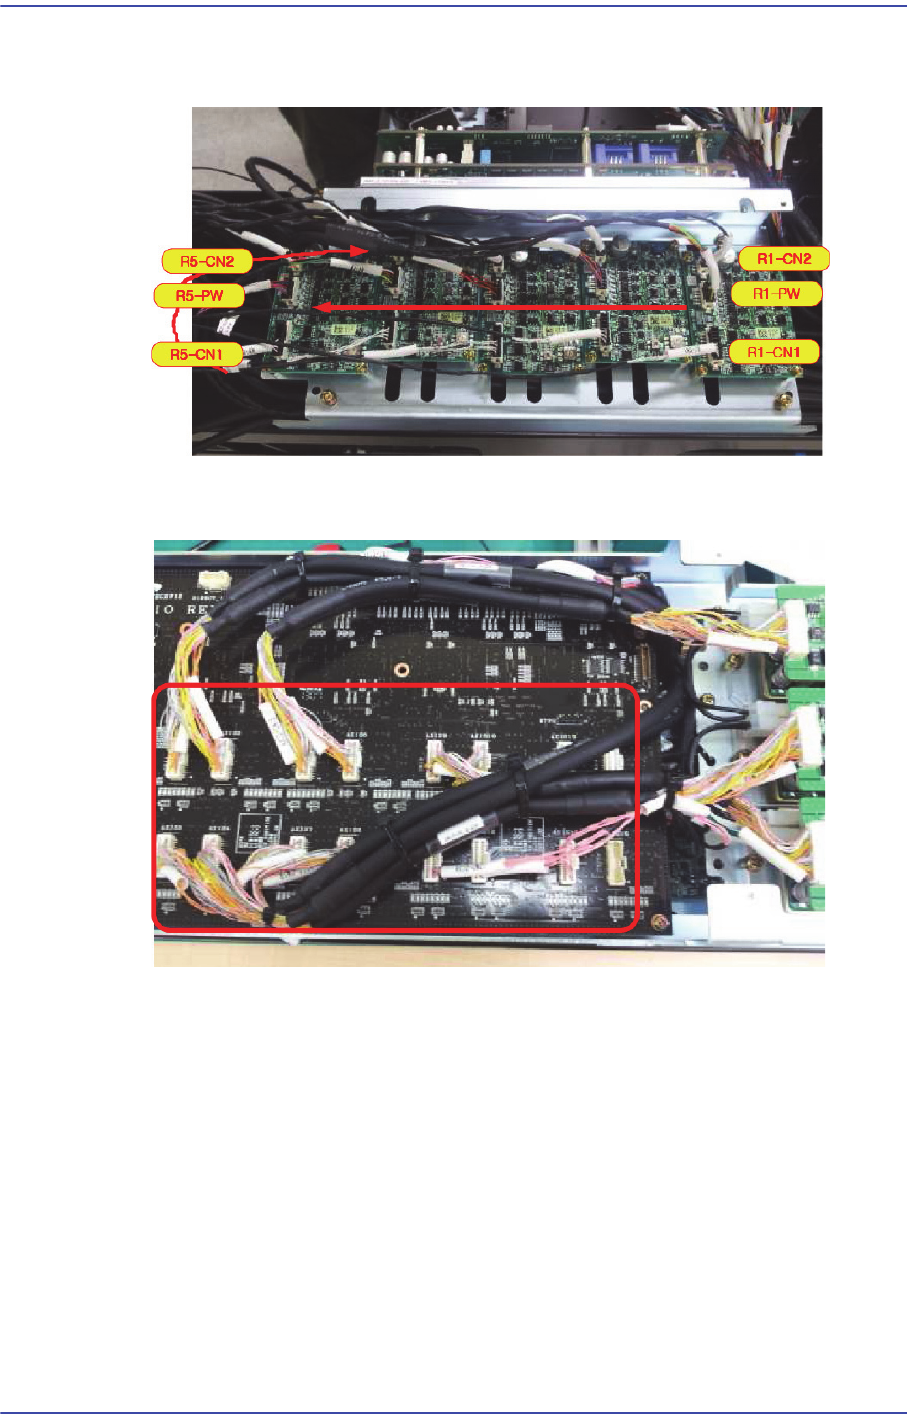
9-10 Fast & Flexible Chip Shooter DECAN F2 Service Manual 3) Match the number of connectors to the orde r of drivers and connect cables in the arrow direction as shown in the following figure. 4) Assemble the 16 Axis…
9-9
Y Frame Duct
9.3. Connect the Cable
9.3.1. Cable connecting method and cautions
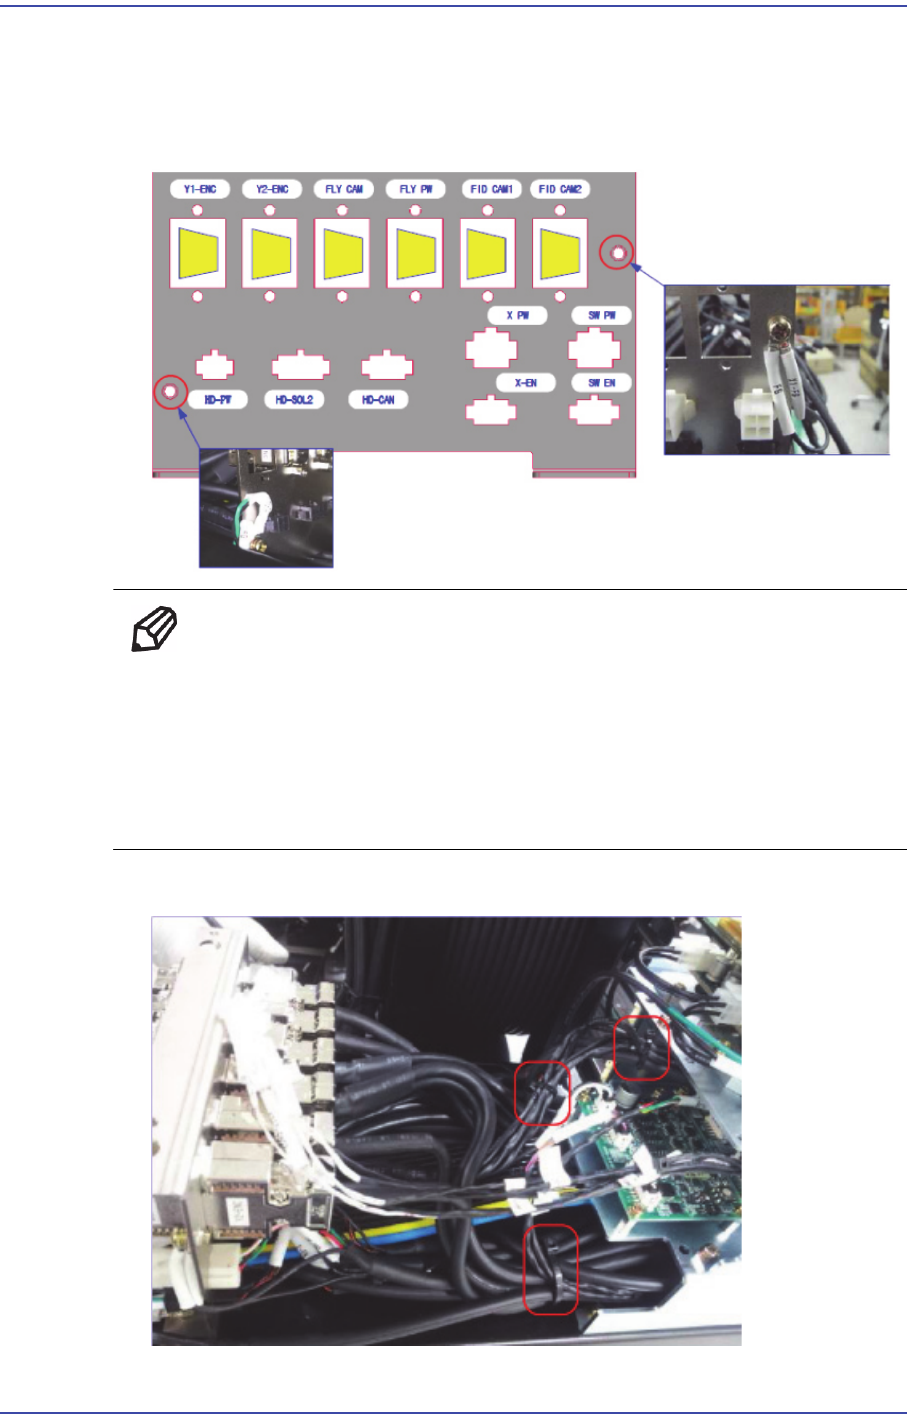
1) Tighten the grounding cable at the left and right of Panel Y using fixing bolts (M4*8).
Ref When assembling the cable, it may come out. Therefore, exercise care
when assembling it.
Install the connector at the designated location use designated screw
and washer.
After assembling the bracket and tightening the fixing bolts, perform
‘I marking'.
2) Secure the cables with cable ties as shown in the following figure.
9-10
Fast & Flexible Chip Shooter DECAN F2 Service Manual
3) Match the number of connectors to the order of drivers and connect cables in the arrow
direction as shown in the following figure.
4) Assemble the 16 Axis Board cables so that the cable connector number matches the
board number.
5) Assemble the Z Motor AMP so that the cable connector number matches the board
number.
9-11
Y Frame Duct
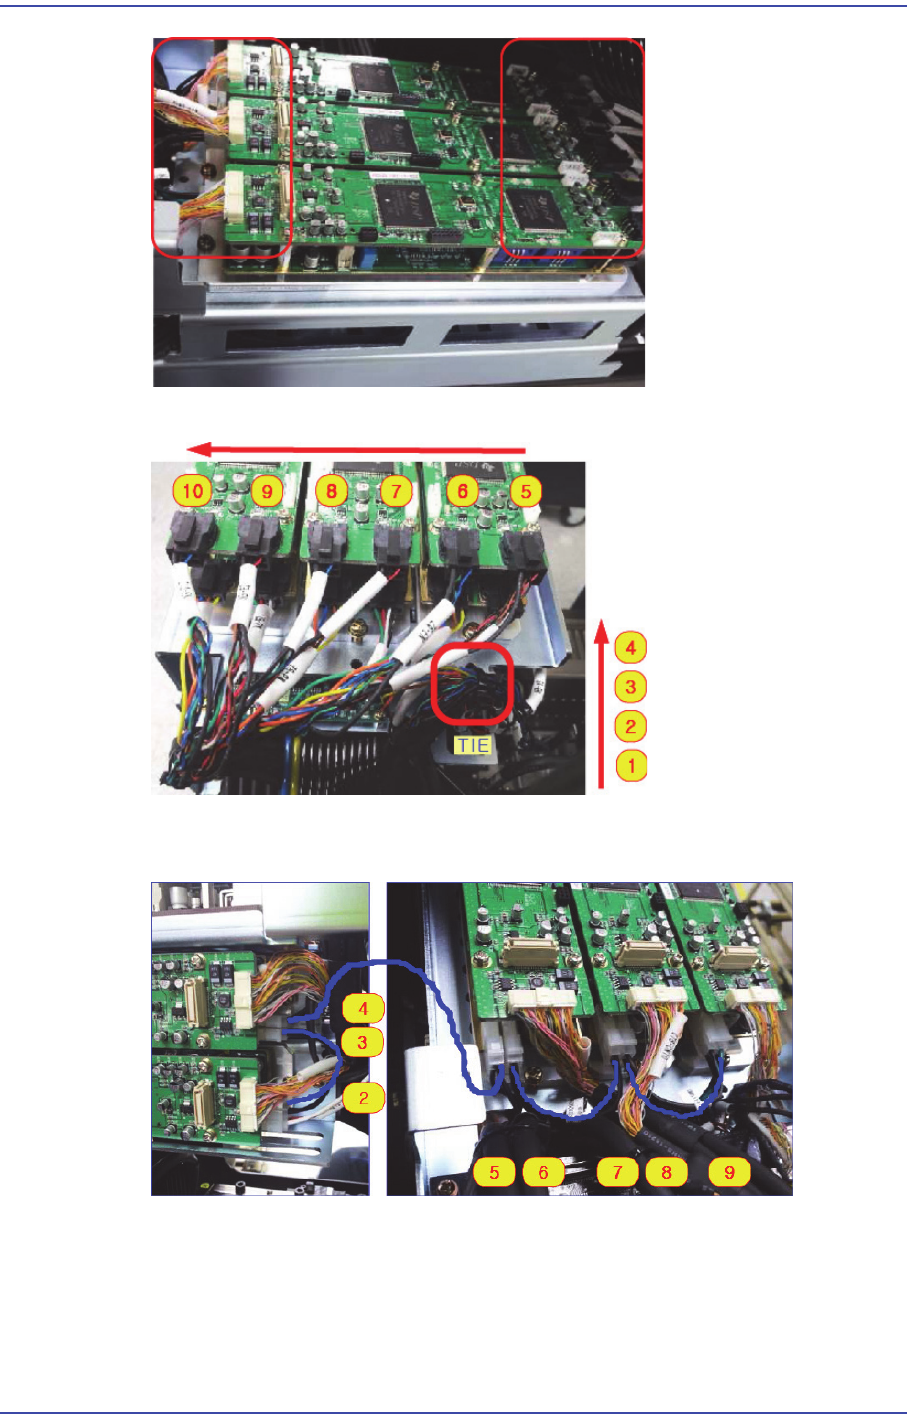
6) Connect the Z Motor AMP cables in the order as shown in the following figure.
7) Connect AMP jump cables Nos. 2 and 3, Nos. 4 and 5, Nos. 6 and 7 and Nos. 8 and 9,
respectively.