DECAN_F2_Service(Eng_Ver1).pdf - 第463页
17-51 Troubleshooting 17.3.8. Noise/ Vi bration (E0C) E0C00 Noise, vibration and shak ing of the Z-axis/R-axis [Cause] Problem with the Z-axis belt tension W orking environment has been changed according to the workp…

17-50
Fast & Flexible Chip Shooter DECAN F2 Service Manual
Check the alarm code
[Measures]
Replace the motor drive.
Replace the motor.
Replace the cable with a normal axis cable.
Check the cable connecting the ZMP board and driver.
E0B11 Overvoltage related alarm occurred
[Cause]
Voltage is high.
[How to Check]
1. Check the input power supply.
2. Check the main input power supply.
[Measures]
1. Check the input power supply.
2. Check the main input power supply.
E0B12 Undervoltage related alarm occurred
[Cause]
Voltage is low.
[How to Check]
1. Check the input power supply.
2. Check the main input power supply.
[Measures]
1. Check the input power supply.
2. Check the main input power supply.
17-51
Troubleshooting
17.3.8. Noise/ Vibration (E0C)
E0C00 Noise, vibration and shaking of the Z-axis/R-axis
[Cause]
Problem with the Z-axis belt tension
Working environment has been changed according to the workplace conditions
Defective cable pin work (defective green pin work of the R-axis motor power cable)
Defective R-Stepping Driver
Defective contact of the connector connecting the flat cable between the motor driver
and head
A crack occurred in the Right Head Board Bracket
Defective Z-axis offset and insufficient grease
[How to Check]
1. Adjust the Z belt tension.
2. Check the grease injection state.
3. Check the assembling state of the Z and R motor power cables and encoder cable
( Driver).
4. Check the Z offset setup and up/down and left/right movement.
[Measures]
Readjust the Z-axis belt tension using a head tension gauge.
Measurement value before adjustment: 110Hz ~ 130Hz
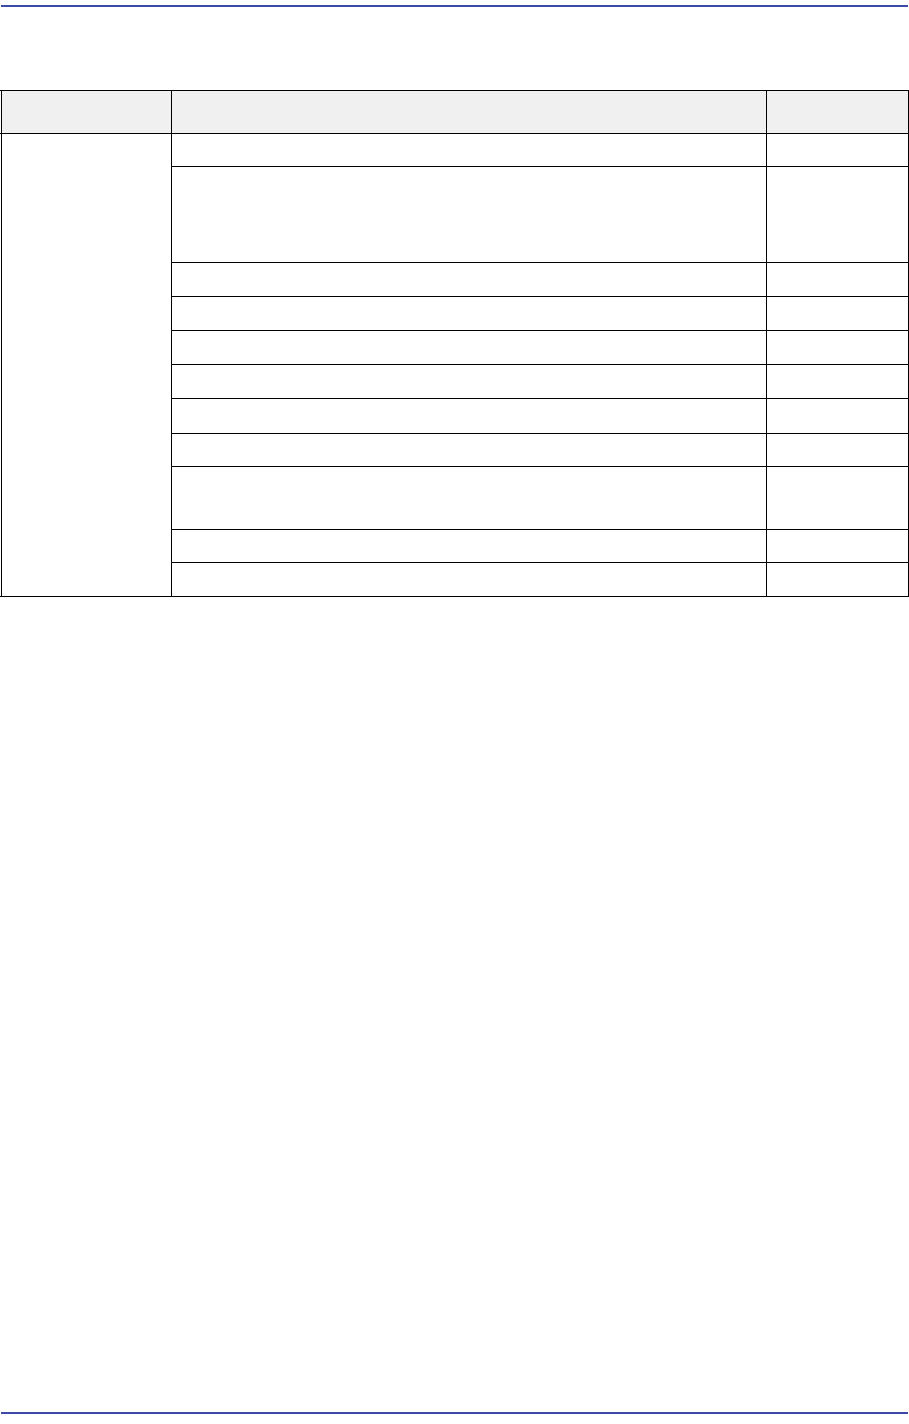
Cause Description Remarks
Noise and
vibration
Noise, vibration and shaking of the Z-axis/R-axis E0C00
Noise occurred to the X-axis
[Warm up the specific area in which vibration occurs and
press Ready button]
E0C01
Noise and vibration occurred to the Y-axis E0C02
Vacuum Generator Noise E0C03
Air leaks from the Air Regulator E0C04
Air leaks from the head E0C05
Vacuum Pump Noise E0C06
Air leaking noise from the feeder base E0C07
Vibration and noise is generated when operating the
conveyor belt
E0C08
Noise due to fan operation E0C09
Generation of other noise E0C0A

17-52
Fast & Flexible Chip Shooter DECAN F2 Service Manual
Measurement value after adjustment: 165Hz ~ 185Hz
Check the parameter.
Modify the parameter as follows:
#12: 812
#14: 7550
#1D: 550650
#1E: 21
Check the upper part of the Y-axis frame.
(Connect one set of the green connector pin of the motor power cable connector)
Replace the R-Stepping Driver.
Reassemble the connector connecting the flat cable between the motor drive and head.
Replace the Right Head Board Bracket.
Set the Z-axis offset again and apply grease.
E0C01 Noise occurred to the X-axis [Warm up the specific area in which vibration occurs and
press Ready button]
[Cause]
Working environment has been changed according to the workplace conditions
Grease is hardened at the X-axis ball screw hole.
The grease on the X-axis ball screw has turned black.
A machine with 3 phase and 220V was delivered. However, since it was operated with
3 phase and 380V after electrical work, a problem occurred to the driver.
With the X-axis Inner Guide-Mat being folded, friction between the Inner Guide-Mat
and the flat cable caused a noise.
Defective X-axis motor
[How to Check]
1. Check the grease application status (existence of grease and discoloration).
2. Check the status of the movement in the X direction in the Ready Off state (check
for any problems with the movement).
3. Using the jog box, check the status of the movement in the X direction in the Ready
On state. (Check for any problems with the movement)
4. Modify the Servo Driver Parameter (refer to the range of modification separately).
5. After replacing the Servo Driver, Coupling, Motor and Ball Screw in order, test
them.
[Measures]
Modify the Servo Driver Parameter setup values as follows: